| Table of Contents |
|---|
Introduction
The SCD 30 Humidity driver is used to detect the humidity level of the sensor’s surroundings. The SCD 30 can also detect changes in CO2 and temperature. The SCD30 measures humidity via a variably resistant moisture absorbing substrate. To measure CO2 concentrations the SCD30 employs the use of NDIR measurement technology, and can detect concentrations between 0 and 40,000 ppm with ±(30ppm + 3%) accuracy in the 400 to 10,000ppm range. The SCD30 can also measure temperature through the use of a thermistor. Humidity, temperature, and CO2 measurements can be taken in tandem with each other. The SCD30 uses the I2C protocol to send data to the builder base.
Driver Parameters
The SCD30 Humidity driver has two parameters that need to be configured:
I2C Address
This is the address the device is being referenced by on the I2C bus. The SCD30 has only one possible address of 0x61.
Resolution(%)
A value between 0% and 5% can be selected with the default being 1%. This is the change threshold that determines when the builder base will detect a change in humidity. For example if the last read value was 60% and the resolution is set to 2%, the builder base will send out the next message when the data is either <58% or >62%.
Wiring
The pinout for the SCD30 can be found below:
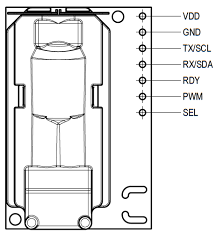
Example
The GND and Power pins on the SCD30 are connected to the GND and 3.3V pins on the Builder Base. The SCL and SDA pins on the SCD30 are then connected respectively to the SCL and SDA pins found on the Builder Base.
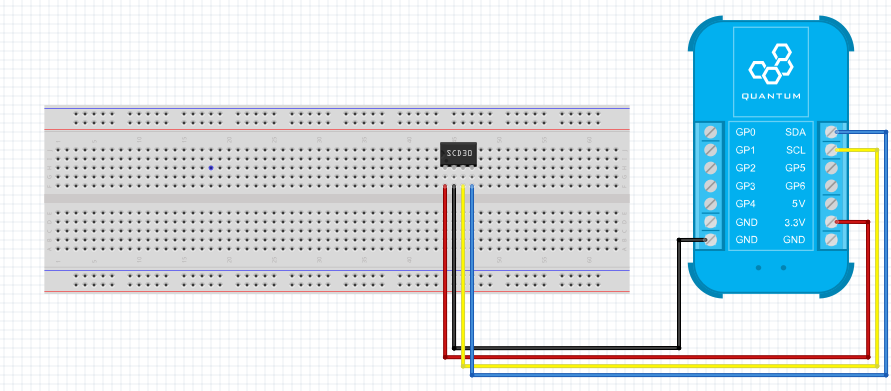
Breadboard
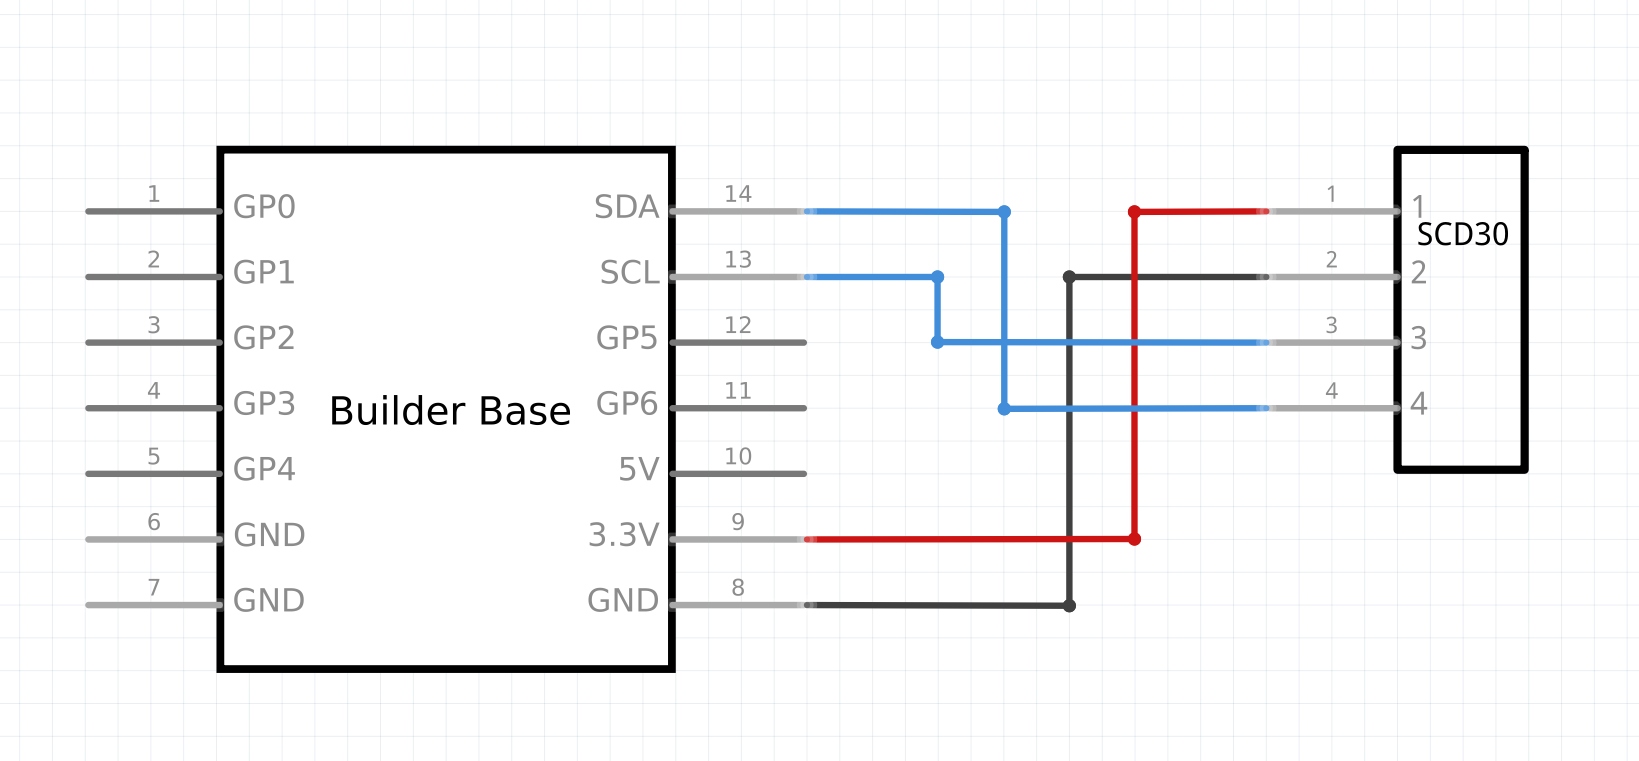
Schematic
Used Pins
Used Pins | Description |
|---|---|
3V3 | The voltage level for the assembly |
GND | The ground potential for the assembly |
SDA | The I2C Data Line |
SCL | The I2C Clock Line |
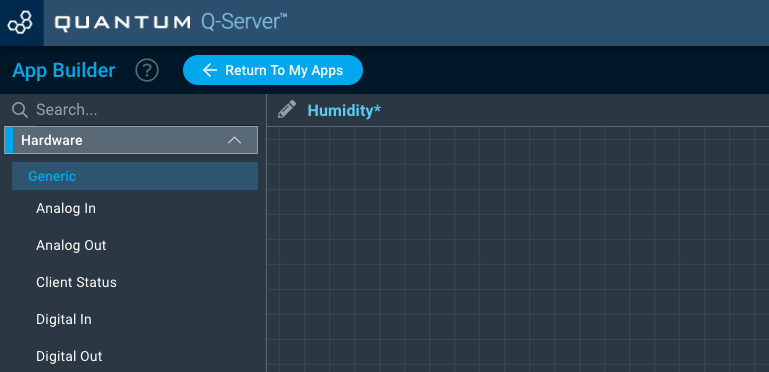
How to write an App
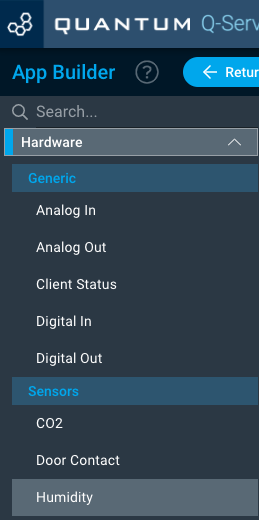
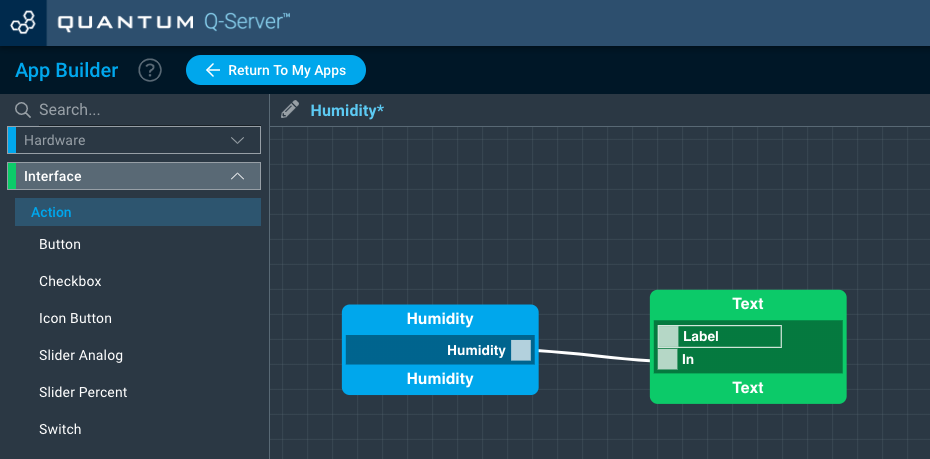
Navigate to the App Builder and create a new application. You can find the “Humidity” code object under the “Hardware” Tab in the object drop down menu on the left, or you can also use the search bar.
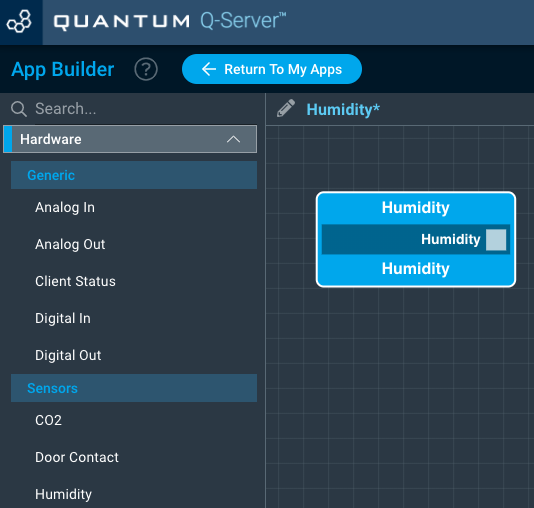
Drag the “Humidity” Object onto the canvas.
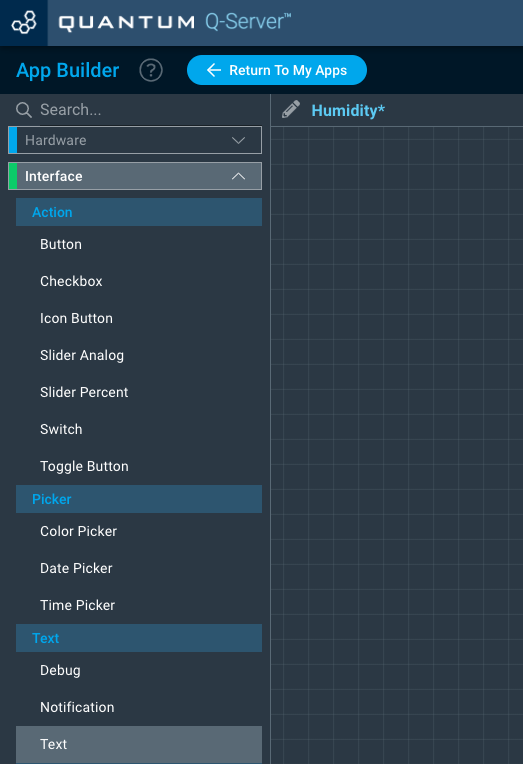
Next, locate the “Text” Object under the Interface tab and drag it onto the canvas.
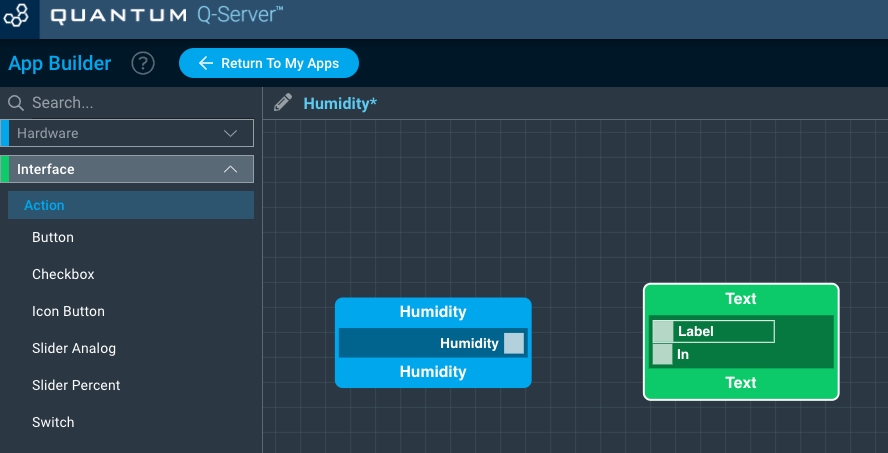
Finally, connect the “Humidity” port from the Humidity object to the “In” port on the Text object and save your application.
How to create a firmware
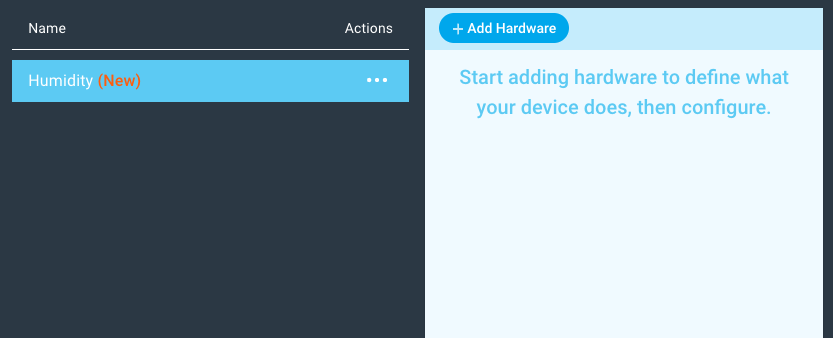
Navigate to the Firmware Builder and create a new firmware file.
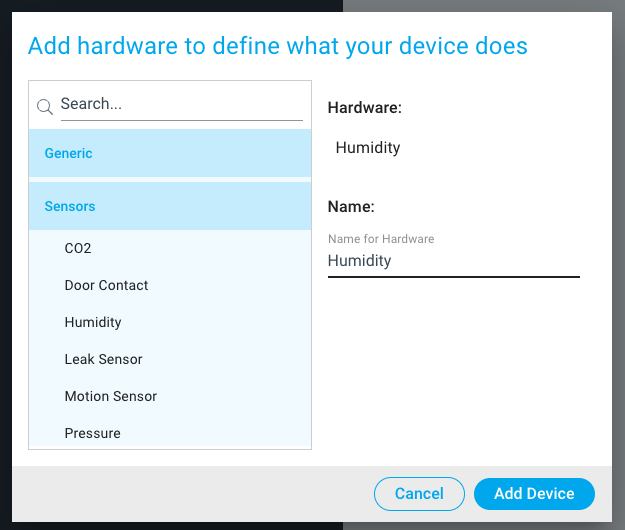
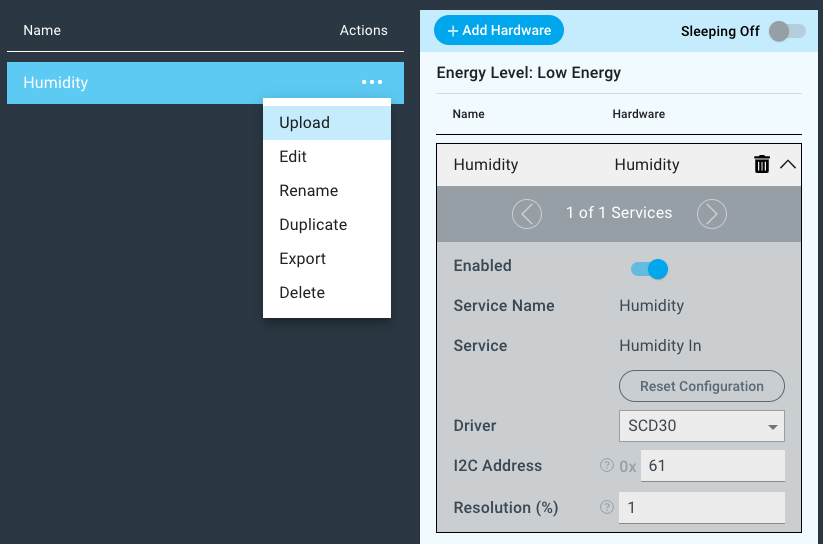
Click the “+ Add Hardware” button and Scroll down in the list to find the “Sensor” section and select “Humidity”.
Give your device a name, and click “Add Device”
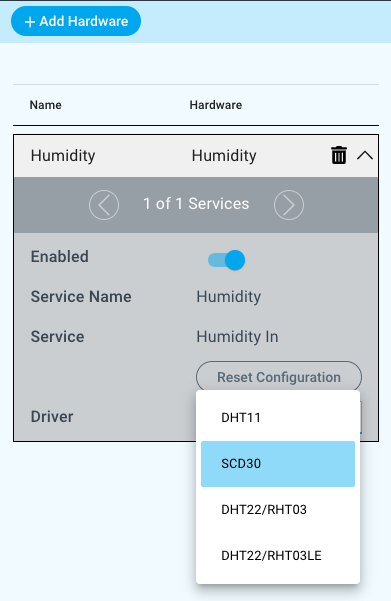
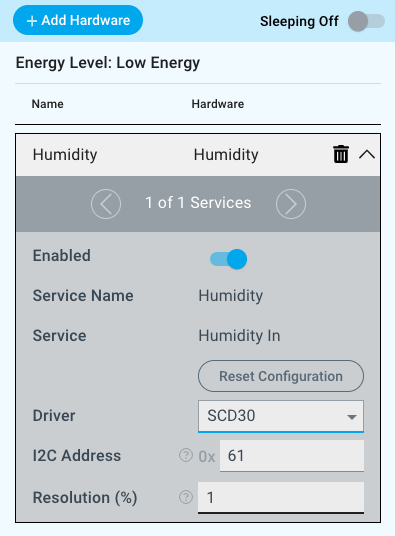
Next, select the “SCD30” found under under the driver dropdown menu.
For this example we select:
I2C Address: 0x61
Resolution: 1%
You may now save your firmware file and upload it to one of your clients.

Supported Hardware
SCD30
Downloads
Apps
| View file | ||
|---|---|---|
|
Firmware
| View file | ||
|---|---|---|
|
Assets
