| Table of Contents |
|---|
Overview
| Widget Connector | ||||||||||
|---|---|---|---|---|---|---|---|---|---|---|
|
| Info |
|---|
For Fullscreen: https://www.youtube.com/watch?v=-e-VBj_lWao |
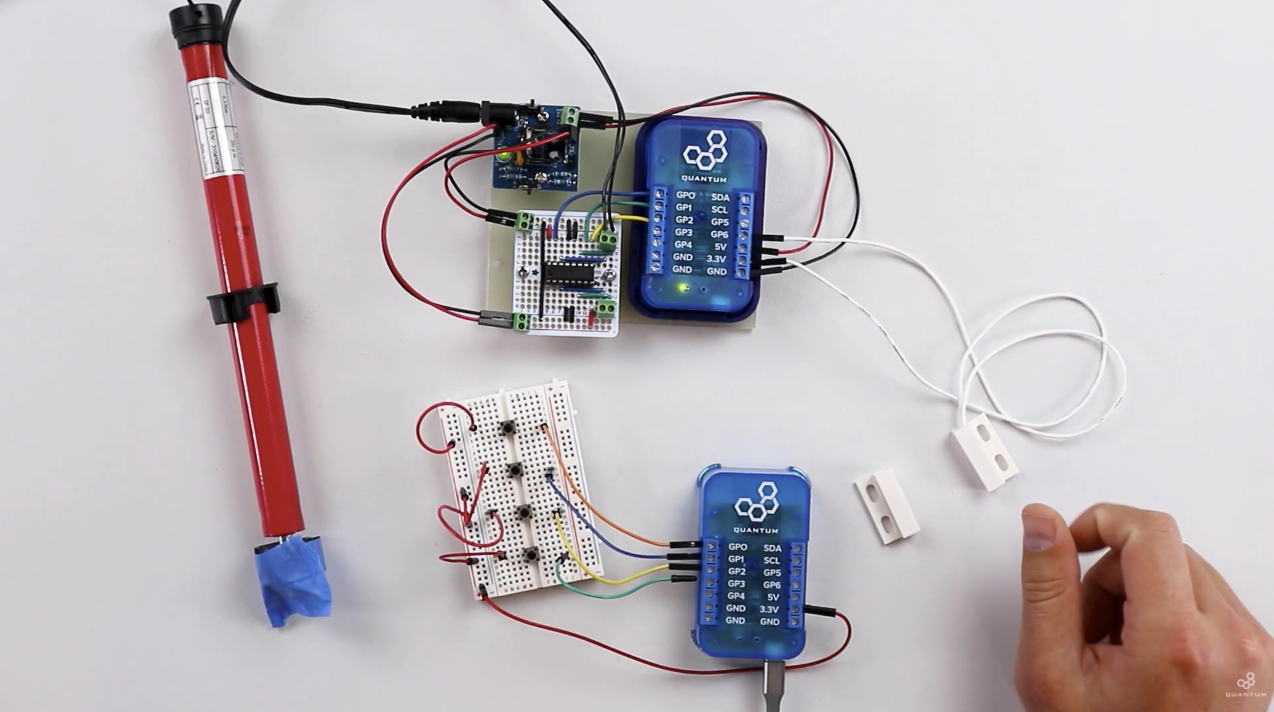
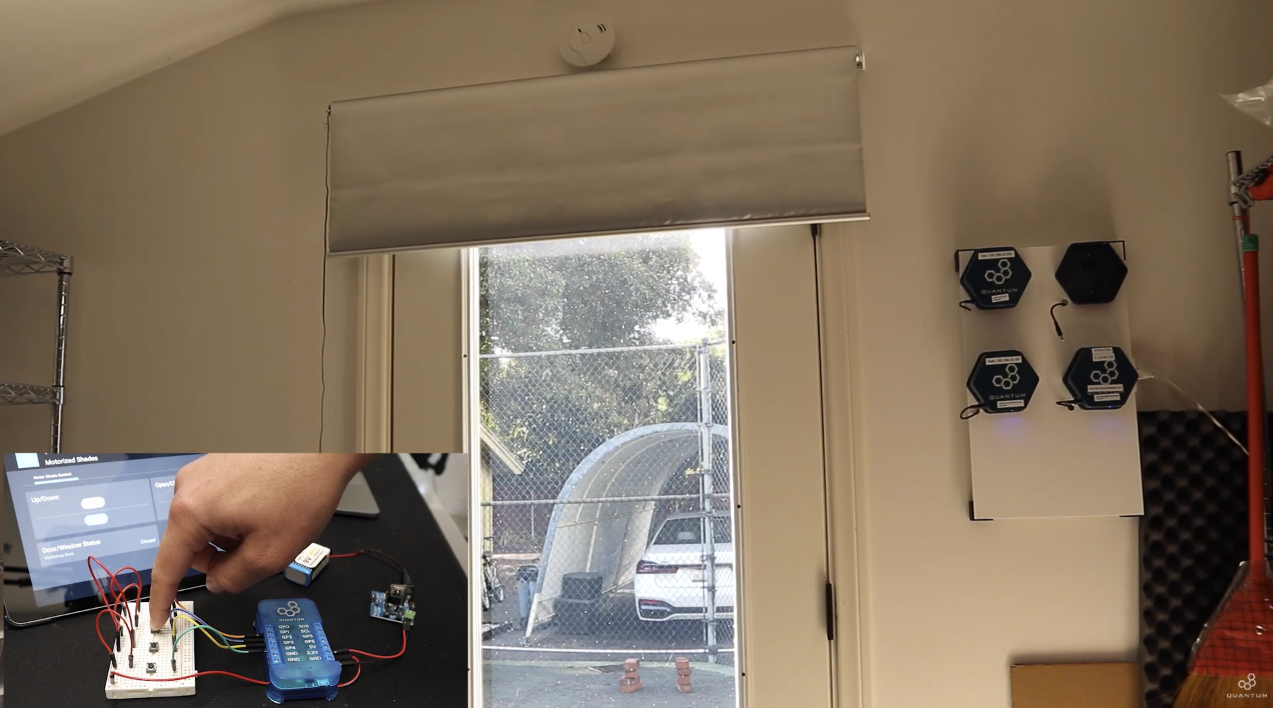
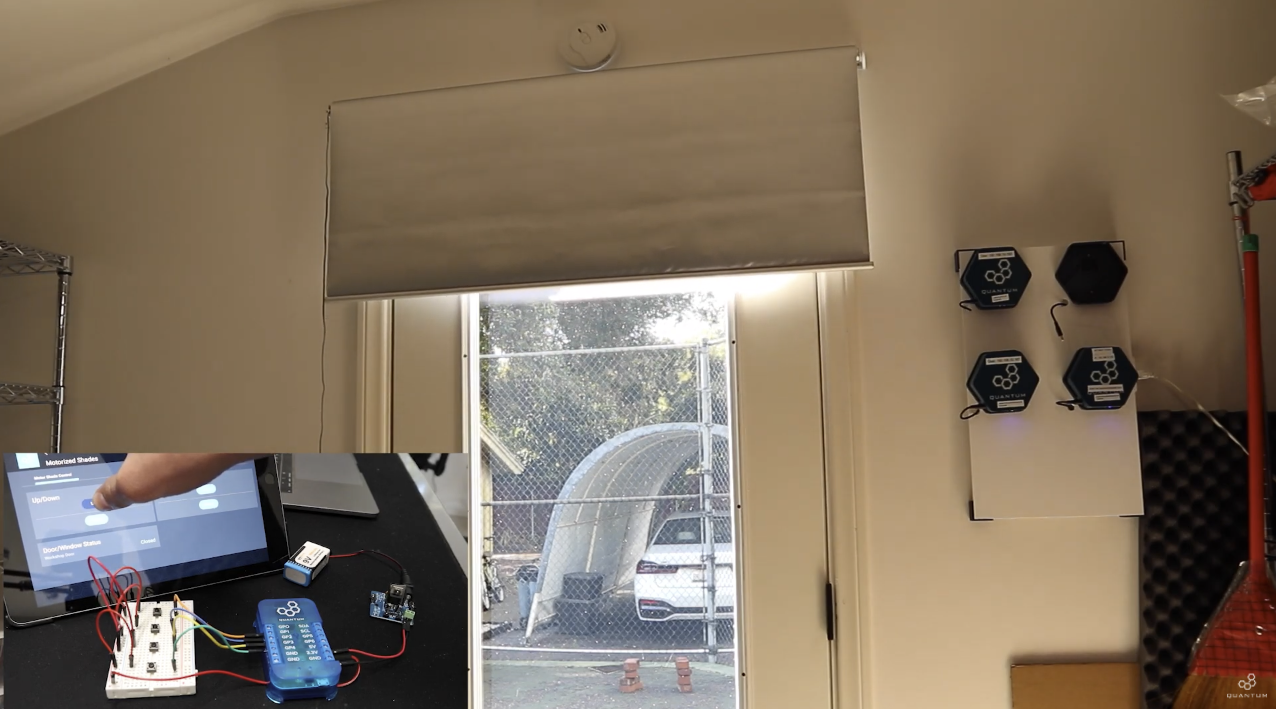
Standard motor shades are expensive and the only way to control them is with the provided IR remote. Smart shades are even more expensive and lack the ability to customize how i automate when the shades should be opened or closed. So as a result we decided to build an inexpensive and highly customizable motorized shade for the entrance of our workshop that can be opened and closed in a variety of ways using the Quantum System.
|
|
|
Hardware Components
Picture | Name | Quantity | Link |
|---|---|---|---|
Tactile Push Button | 4 | Included in Component Kit Or you can purchase it here | |
Breadboard(any size) | 1 | Included in Component Kit Or you can purchase it here | |
Jumper Cables (2x MM+ 4x MF) | 6 | Included in Component Kit Or you can purchase it here | |
5V Power Supply DIY Kit | 1 | Can be purchased here | |
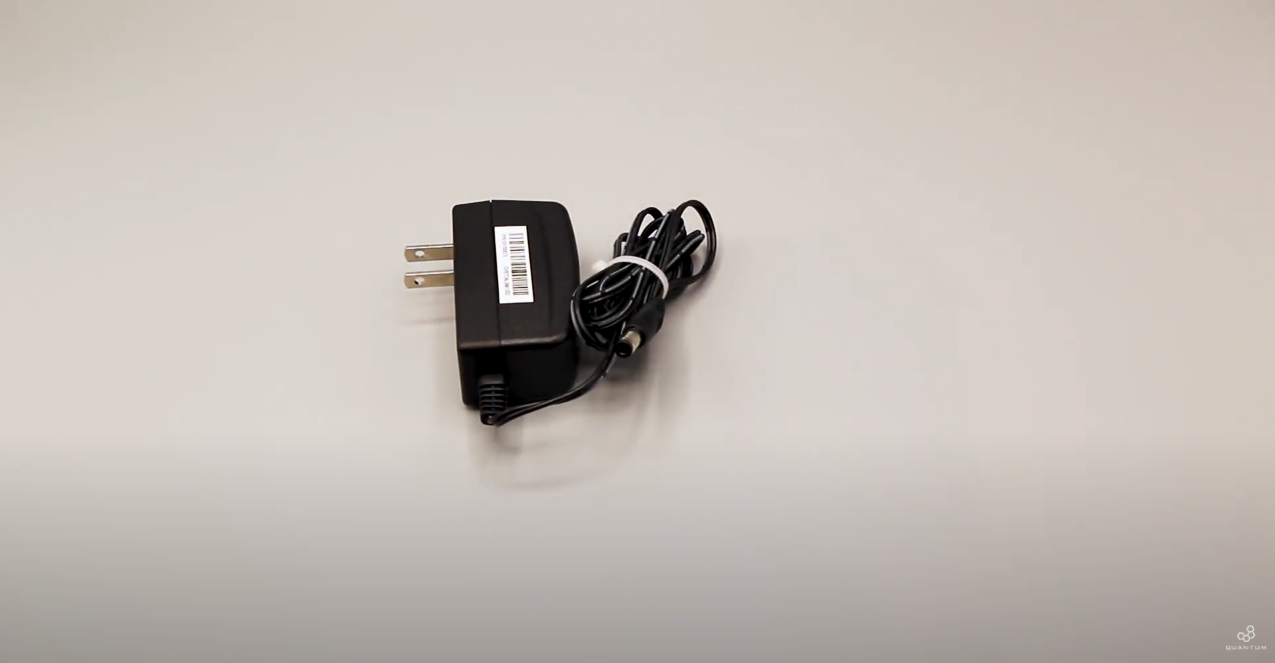
12V 1A Power Supply | 1 | Can be purchased here | |
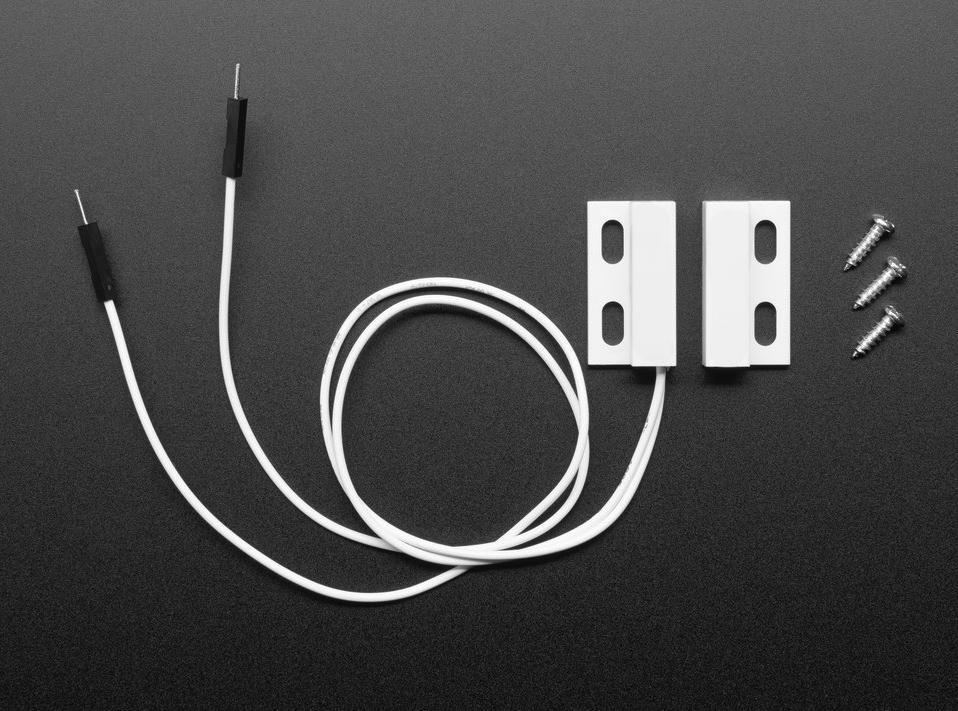
GPIO Magnetic Door Contact | 1 | Can be purchased here | |
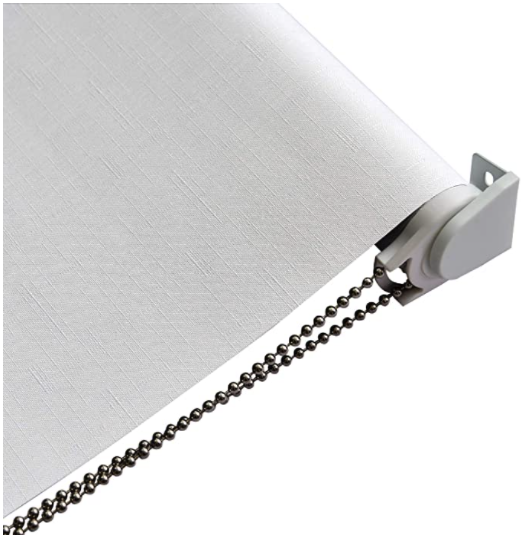
Roller Shade | 1 | Can be purchased here | |
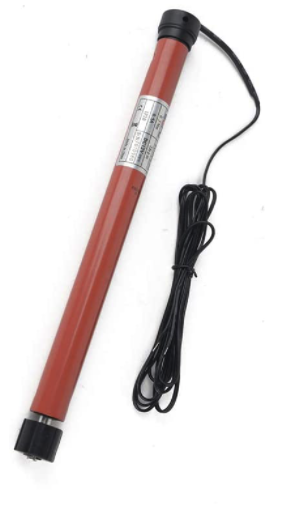
Tubular Motor | 1 | Can be purchased here | |
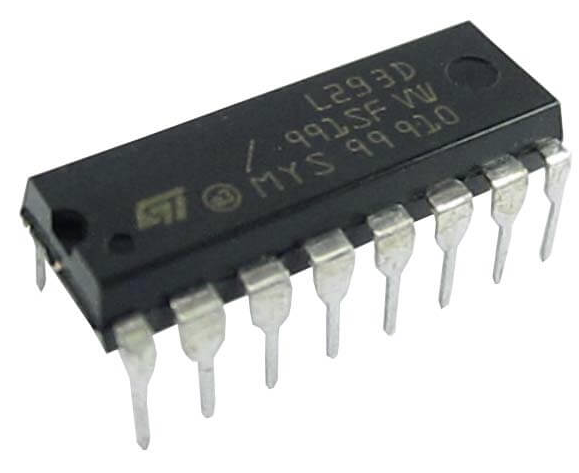
L293D | 2 | One is included in the Component Kit, but you can purchase the second here | |
Q-Client Builder Base | 2 |
Tools Used
Picture | Name | Quantity | Link |
|---|---|---|---|
| Small flat-head screwdriver | 1 | Included in Component Kit Or you can pick one from our Recommended Tools List |
Assemble the Circuits
Start by gathering all the parts listed above to build the circuits.
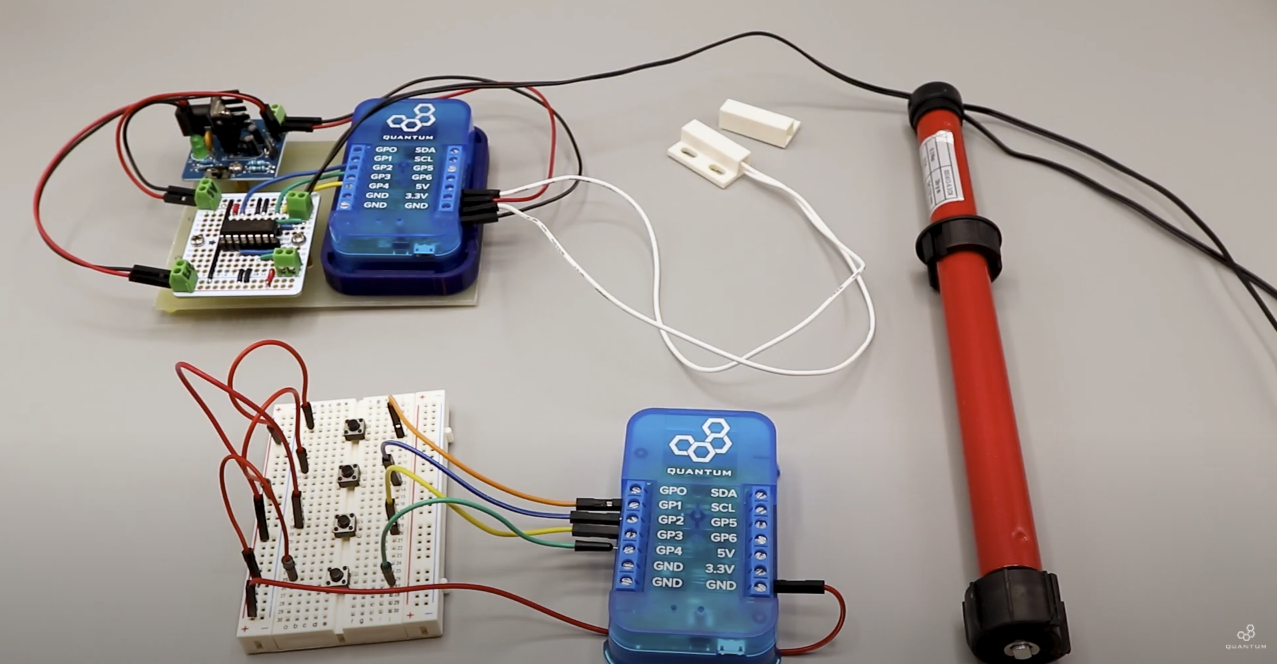
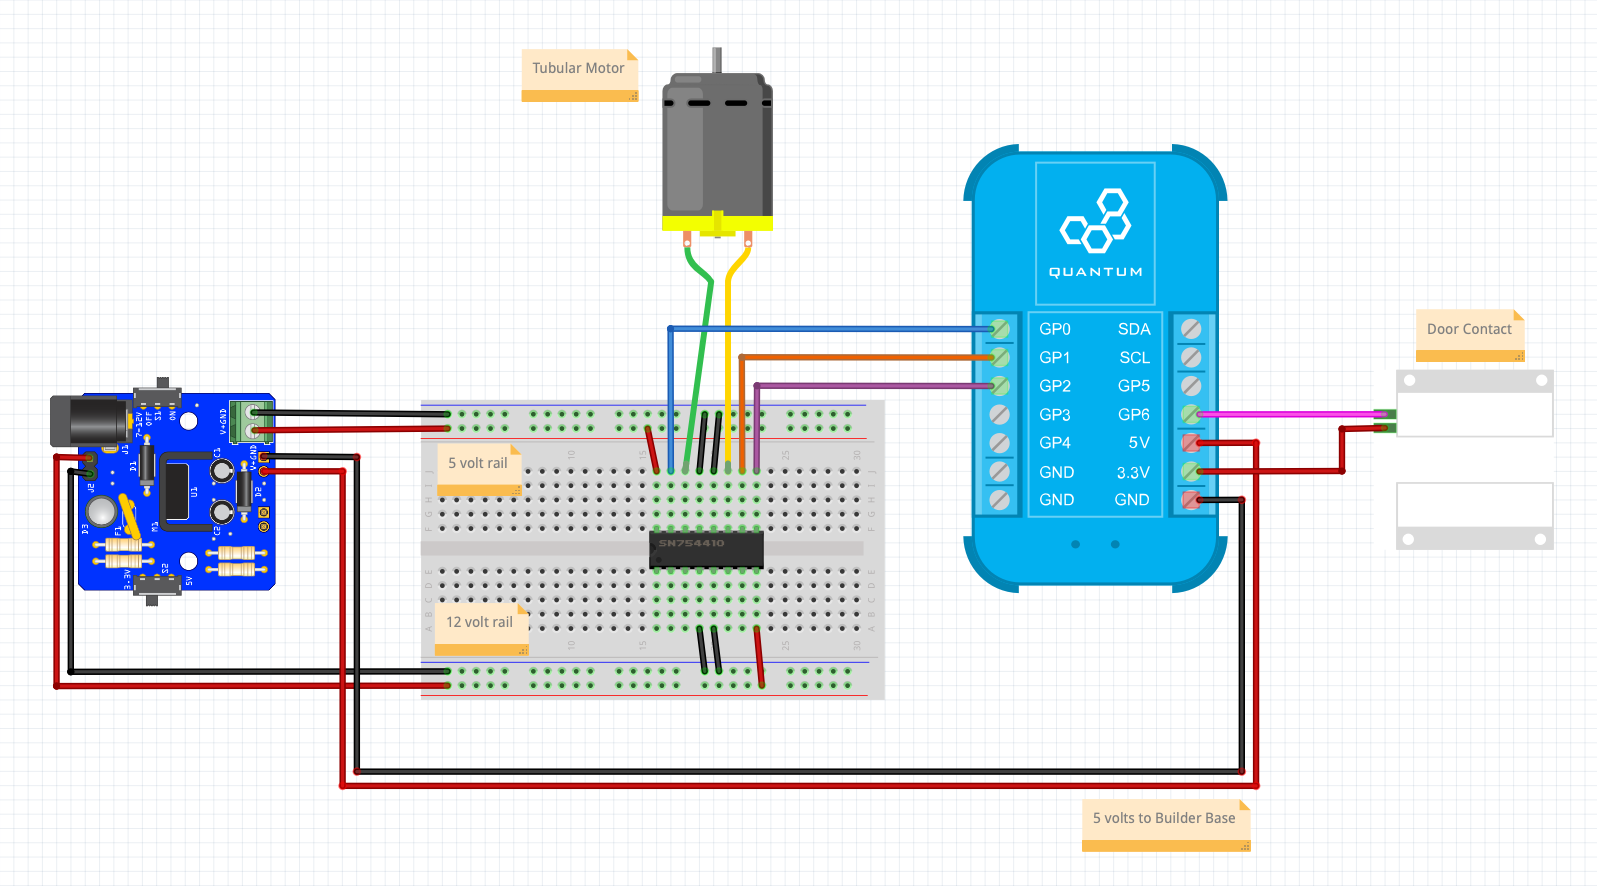
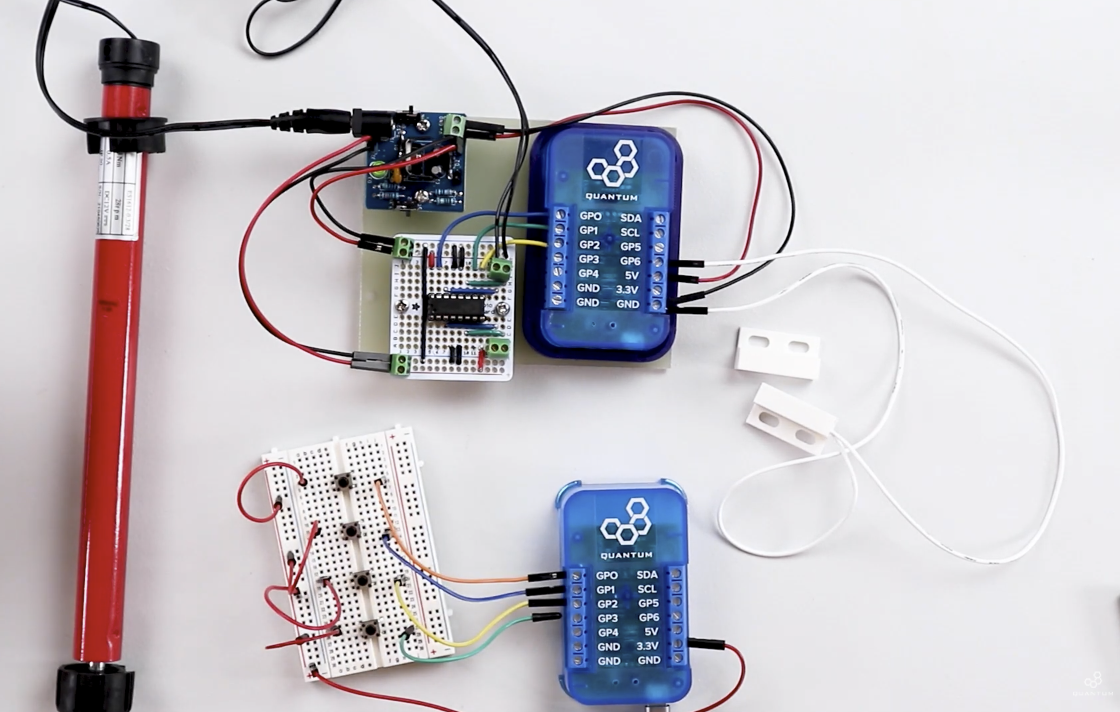
First we will create the circuit for the motor shade. Follow the schematic down below to create it otherwise you can use https://www.youtube.com/watch?v=bxZ2_UWCEik to get more information on how to set up the L293D H-Bridge.
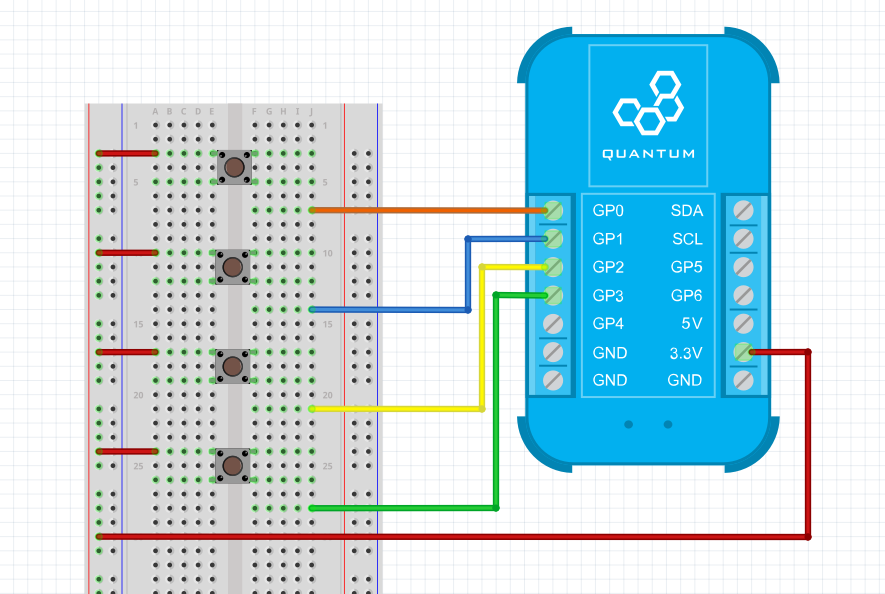
Next we will assemble the second circuit which will be the buttons to control the shade. Follow the schematic or use this Tutorial https://www.youtube.com/watch?v=TH9P9ffANyM&t=0s to create the circuit.
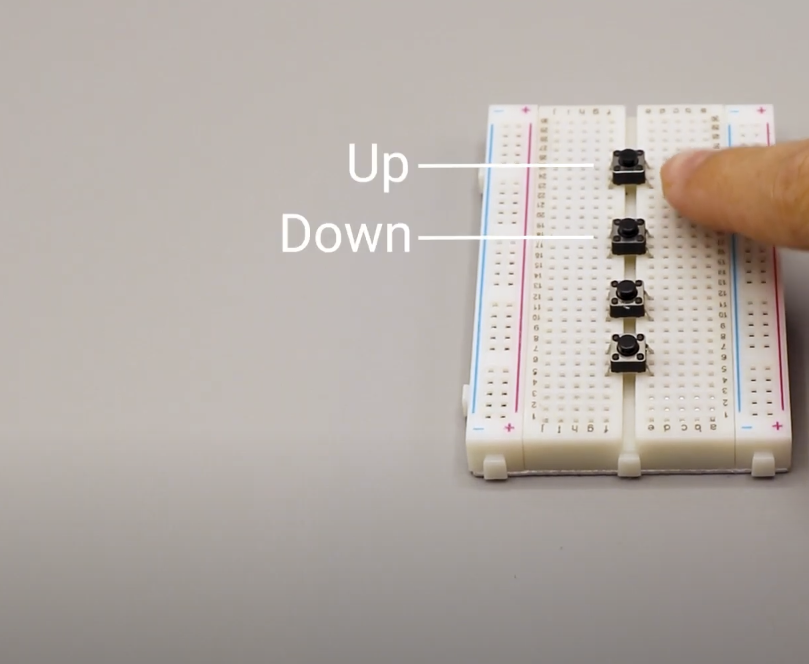
The first and second button will be used to led the shade go up and down.
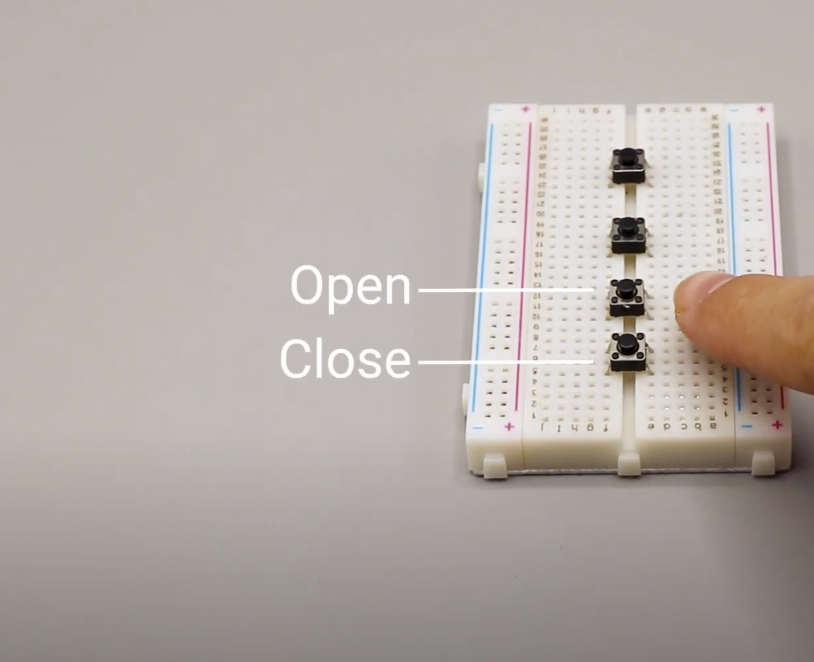
The third and fourth button will be used to fully open or close the shade.
The two clients will be powered by different methods. The Builder Base that connects to the button circuit will be powered by a normal micro usb cable. The Builder Base that is connected to the motor will be powered by the 12V 1A Power Supply which connects to the 5V Power Supply DIY Kit.
Pair the Builder Base
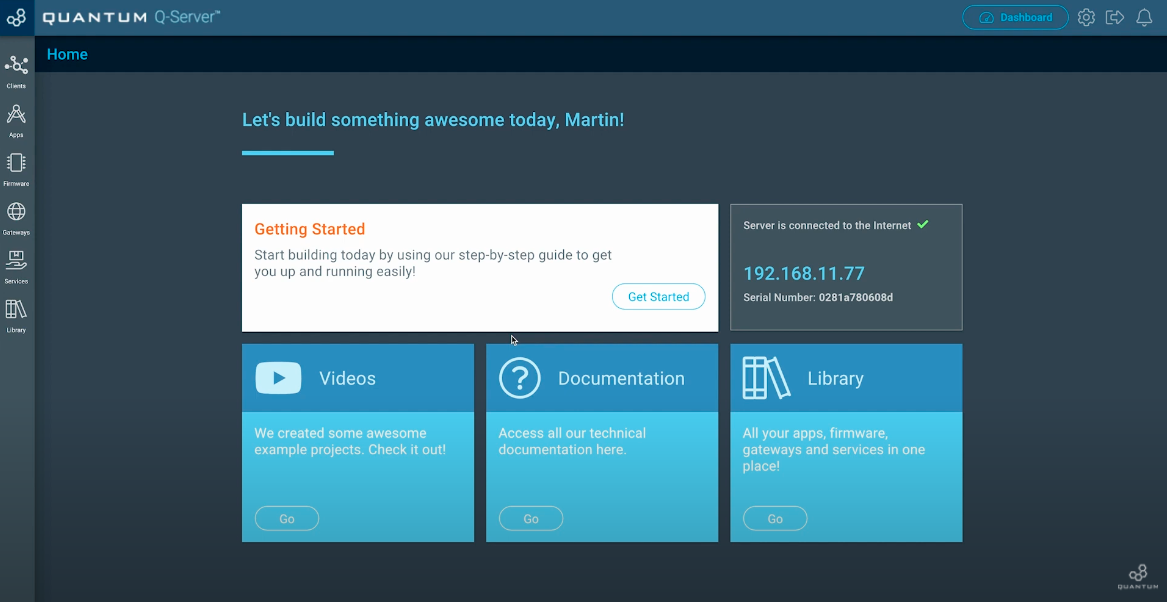
Now we want to pair the Builder Base with our Q-Server. In order to do so, go to the Homescreen of your Q-Server.
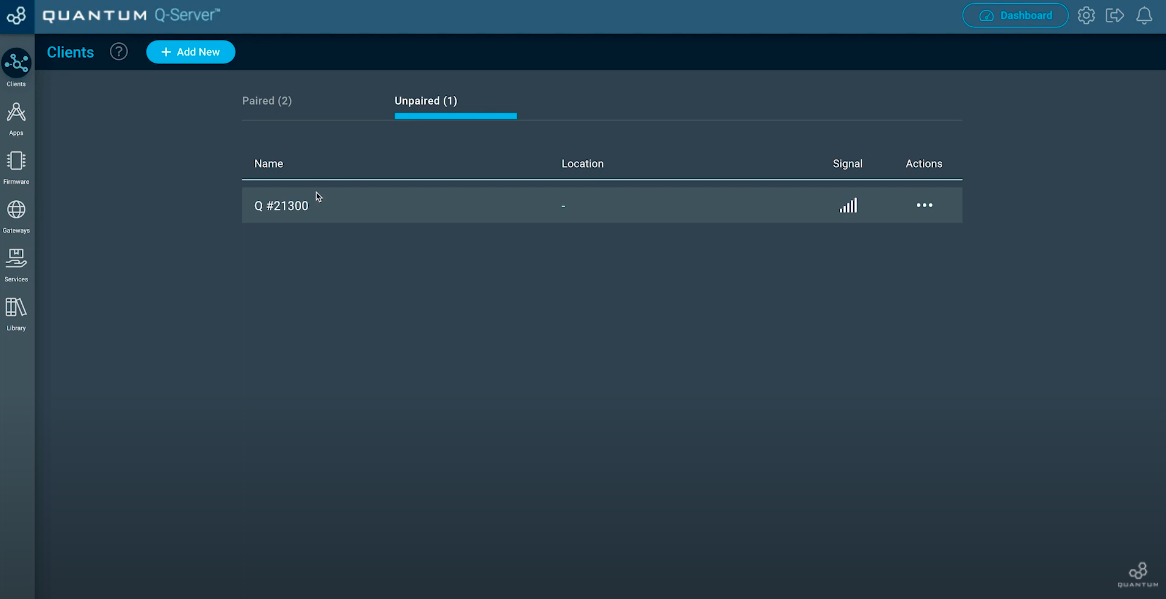
Next click on the lift side symbol labeled “Clients”. Switch to the “Unpaired” tab at the top middle of the screen.
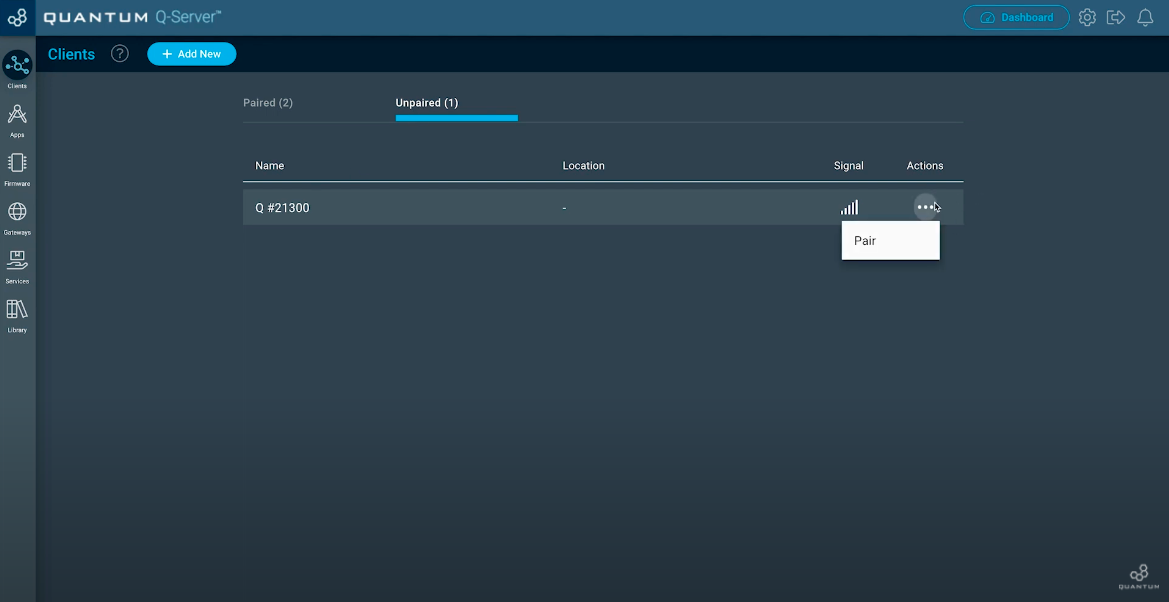
You should see your unpaired Builder Base. If not, check if you have plugged in the power supply for the Builder Base. Now move to the three dots below “Actions” and click “Pair”.
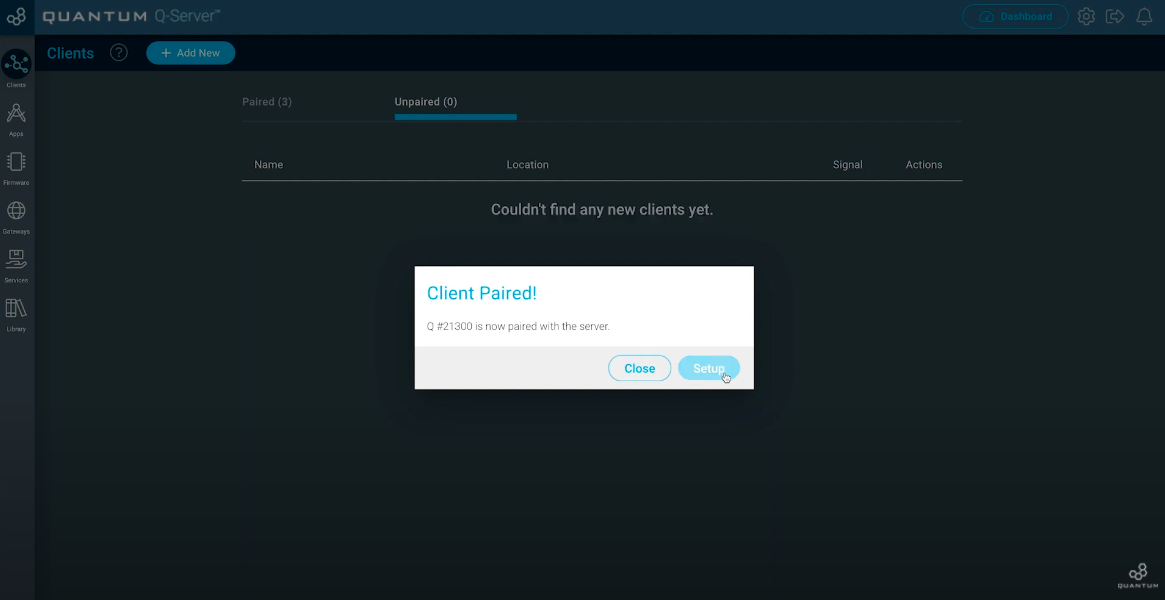
Once your Client is paired, click the “Setup” button.
Now you can edit your Client. Give him a Name you want and also a location where you are going to use it. Hit “Save” when you finished.
Build the Firmware
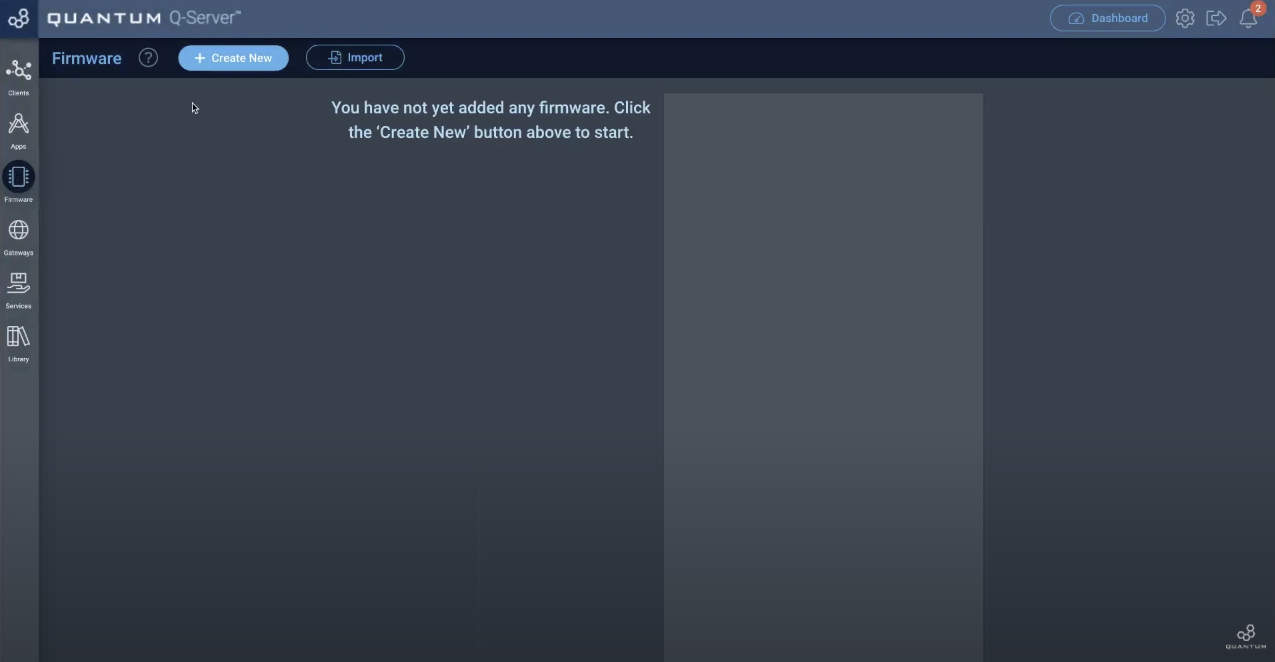
Next navigate to the Firmware tab.
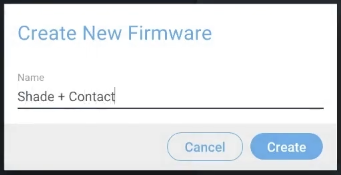
Hit “+ Create New” to create a new firmware and name it. We named ours “Shade + Contact“.
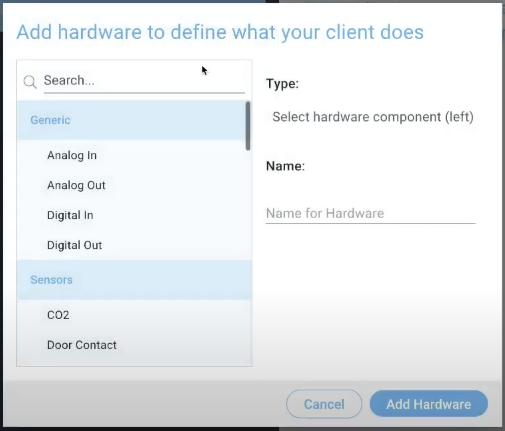
Click on “Add hardware”.
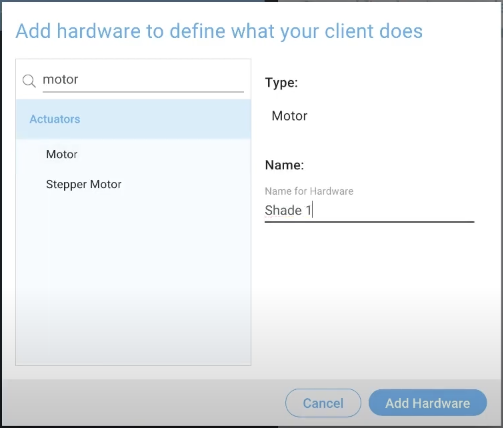
For this project we will need a Motor. So go ahead and Search for Motor or scroll down till you find it.
We named ours “Shade 1” because you can add multiple shades to control simultaneously. Click “Add Hardware” to finally add it.
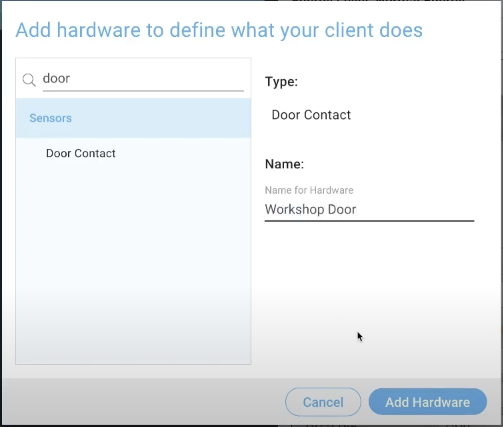
Next we will add a door contact. We named it “Workshop Door”.
Click “Add Hardware” to finally add it.
Now we will edit the Motor hardware we added by simply clicking on it.
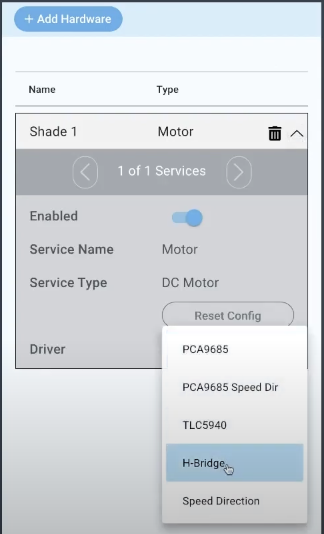
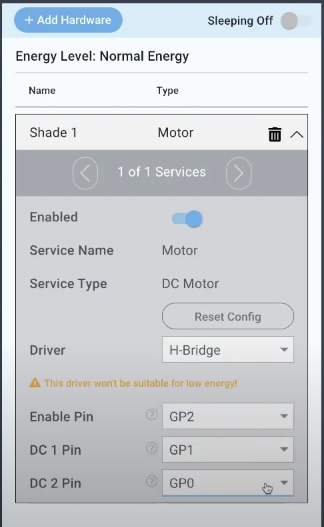
For the Driver we select the “H-Bridge” since we are using a L293D. If you are using a different motor controller make sure it is supported by the Quantum System. Now select the pins of the Builder Base the H-Bridge is connected to.
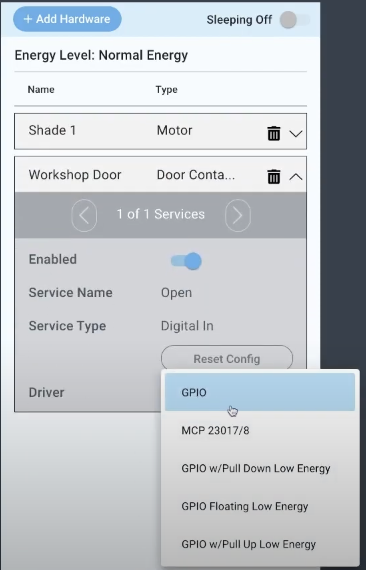
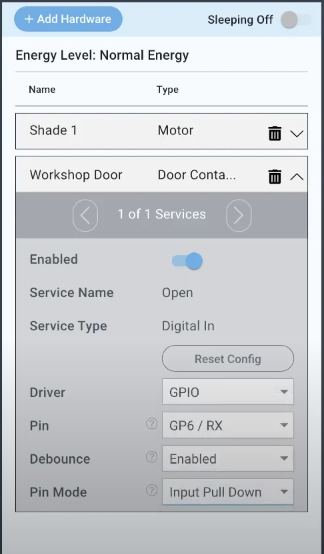
Next we will edit the Door Contact hardware. For the “Driver” we select GPIO.
Select the pins for the magnetic door contact and click save.
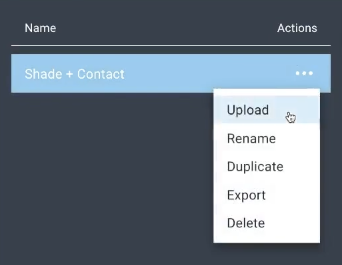
After editing all the hardwares lets upload the firmware. Click on the three dots next to your firmware name and click “Upload”.
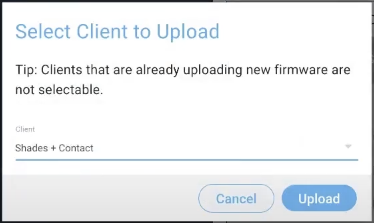
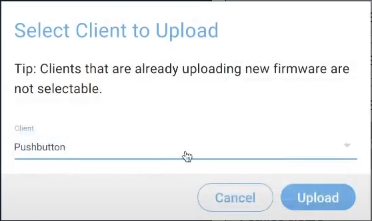
Select the right Client to upload the firmware file.
Click “Upload”.
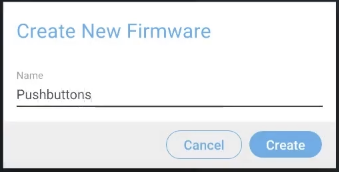
For this project we will need another firmware file. Click again on “+ Create New” to build a new firmware file.
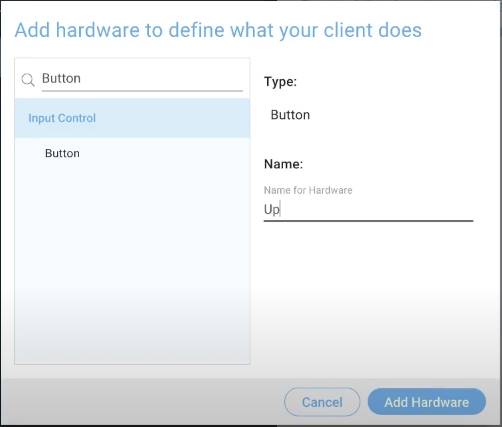
We name ours “Pushbuttons”. Start by searching for Button hardwares.
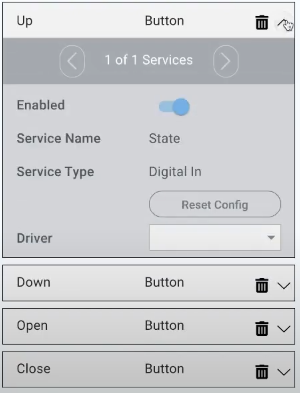
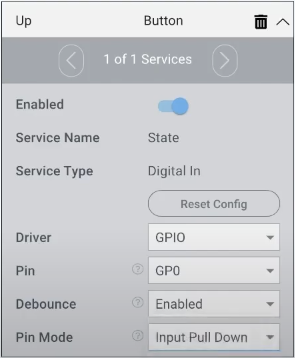
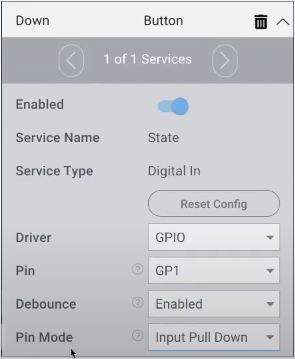
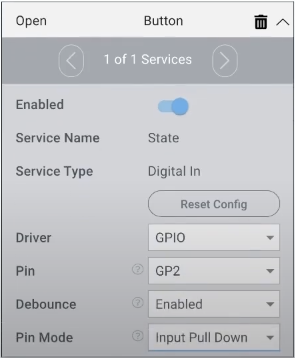
We will need four Button hardwares which will be name “Up”, “Down“, “Open“, “Close“.
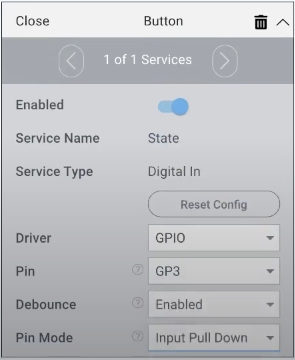
Edit the different button hardwares by clicking on them, selecting a “Driver” and also the connected Pins.
After editing all Button hardwares we need to upload the firmware. Click on the three dots next to the Pushbutton firmware name and click upload. Select the right Client you want to upload your firmware file.
You are now finished with the building of the firmware files.
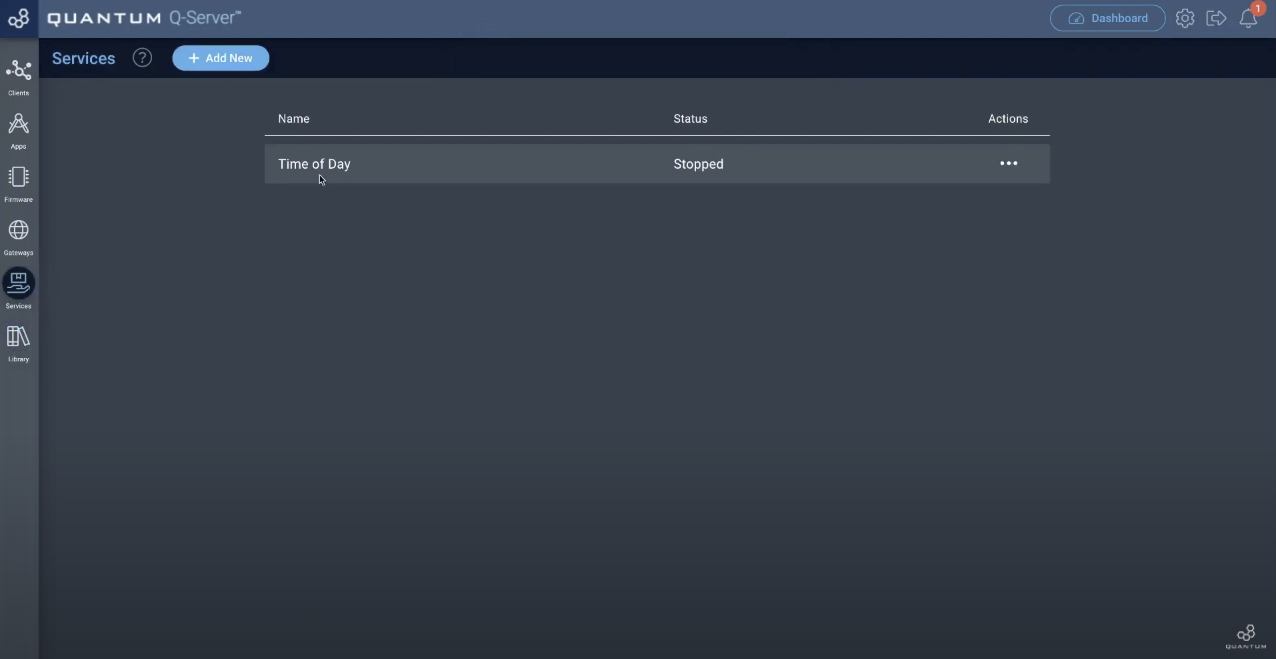
Time of Day Services
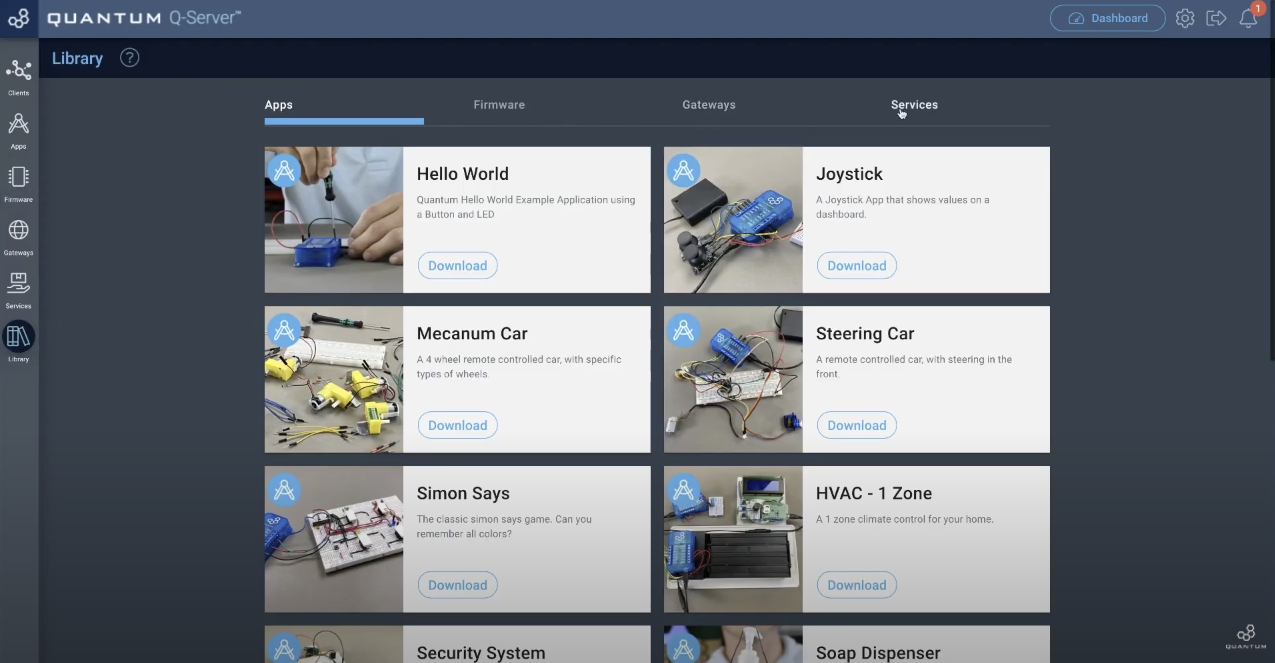
Before we will build the app we need to install the time of day services in order to use this service late while building our app. Move to your library tab.
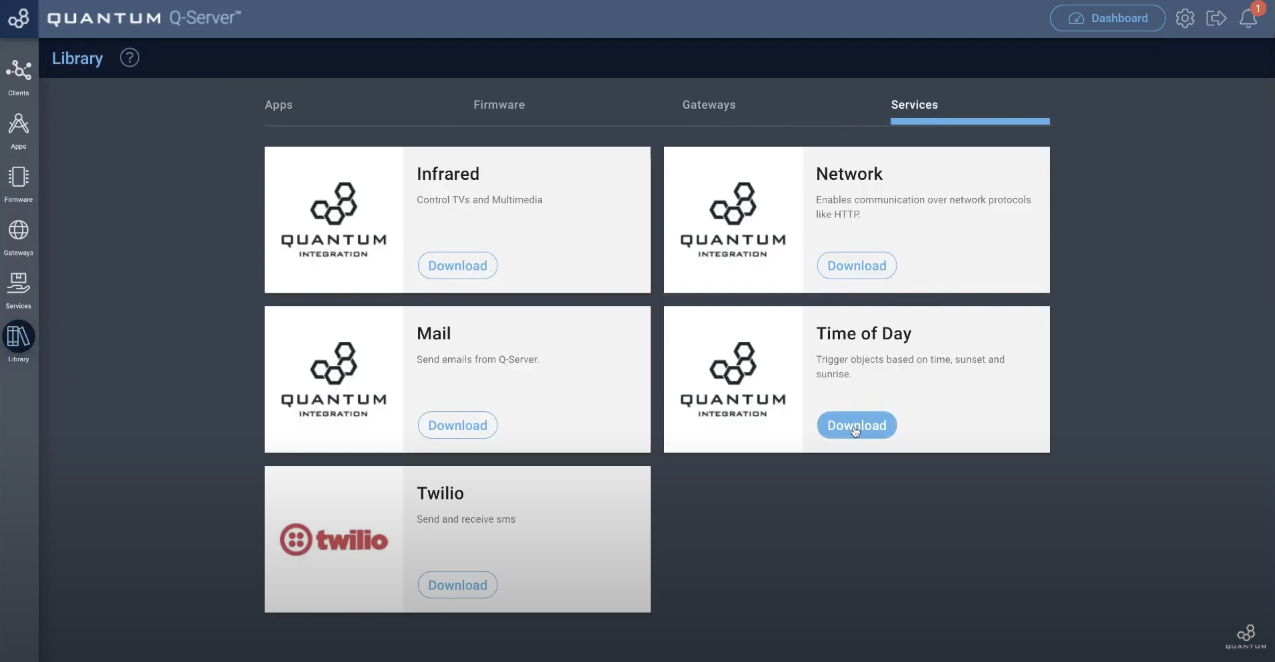
Go to Services and click on the download button beneath the Time of Day Service.
After downloading go to the Service tab on the left side of your screen.
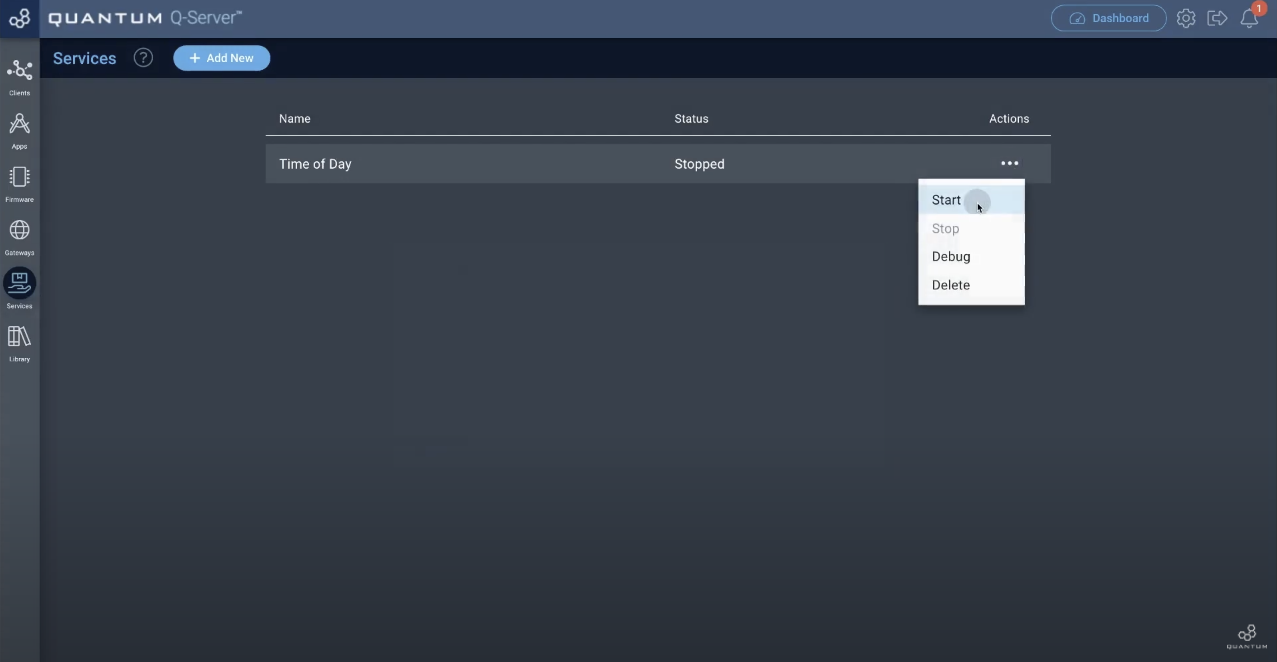
Let’s activate the Time of Day Service by clicking the three dots below Actions and click on “Start”.
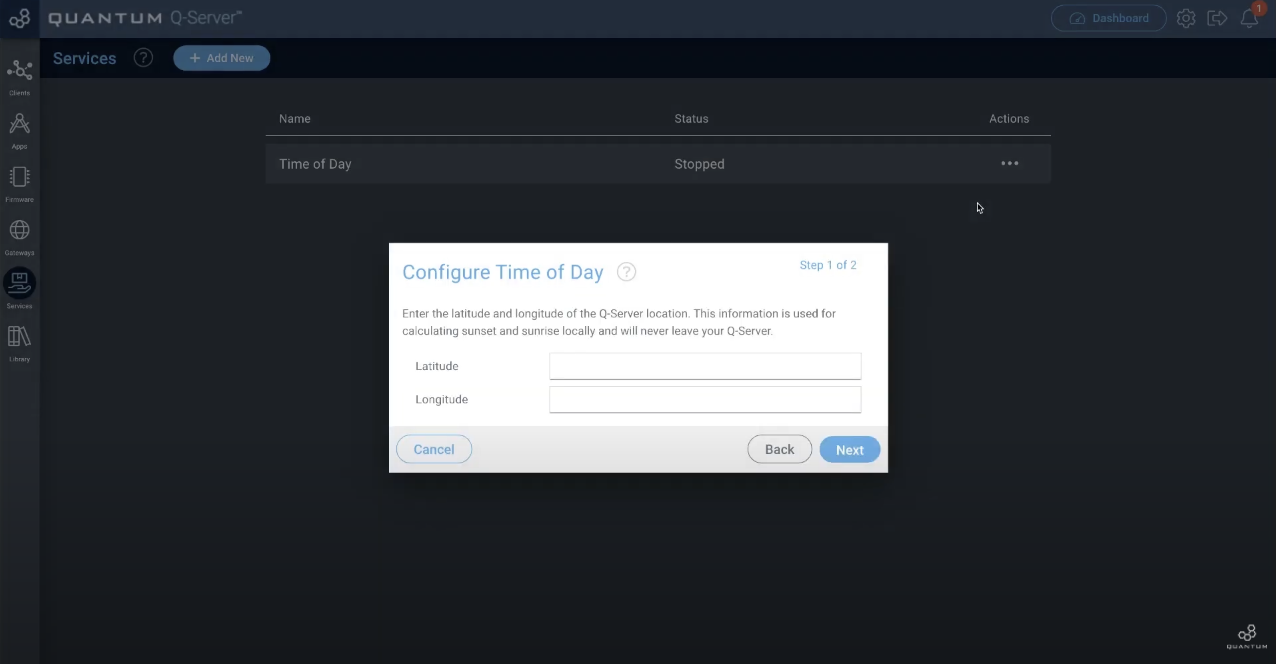
A new window will appear with instructions.
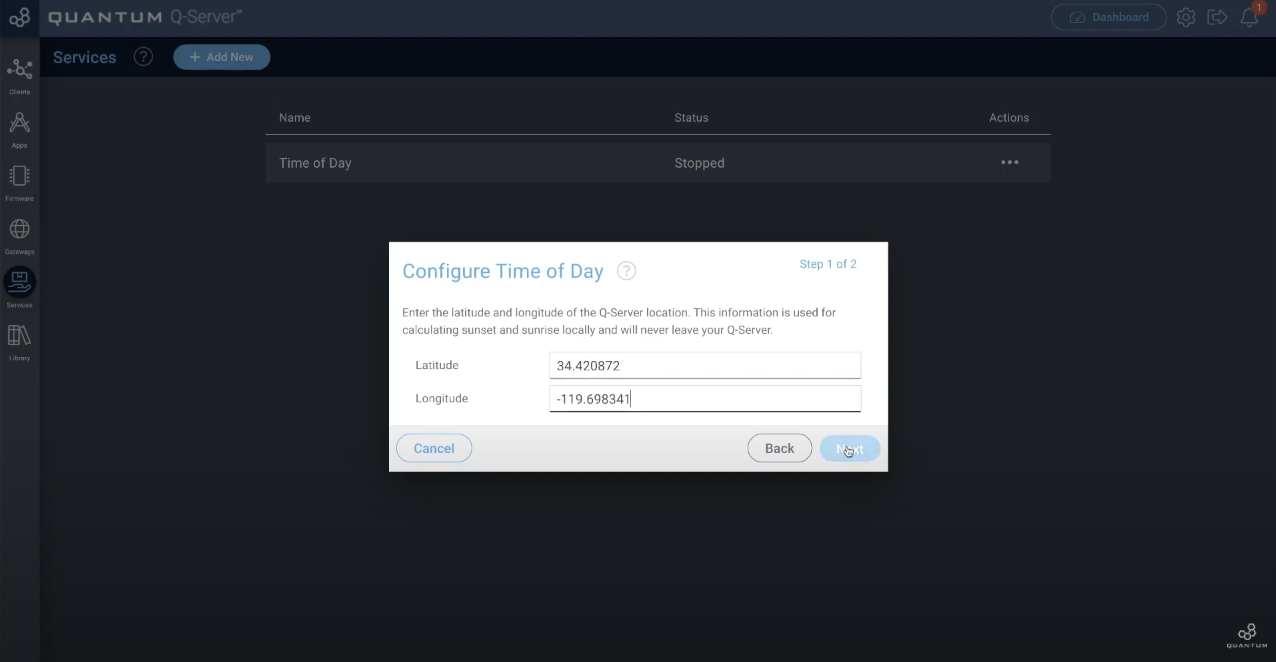
You will now need to enter your Latitude & Longitude coordinates. They will be used to determine the current time at your location. This will later be used to move the shades automatically up or down at a certain time at your place.
After filling in the coordinates click “Next”.
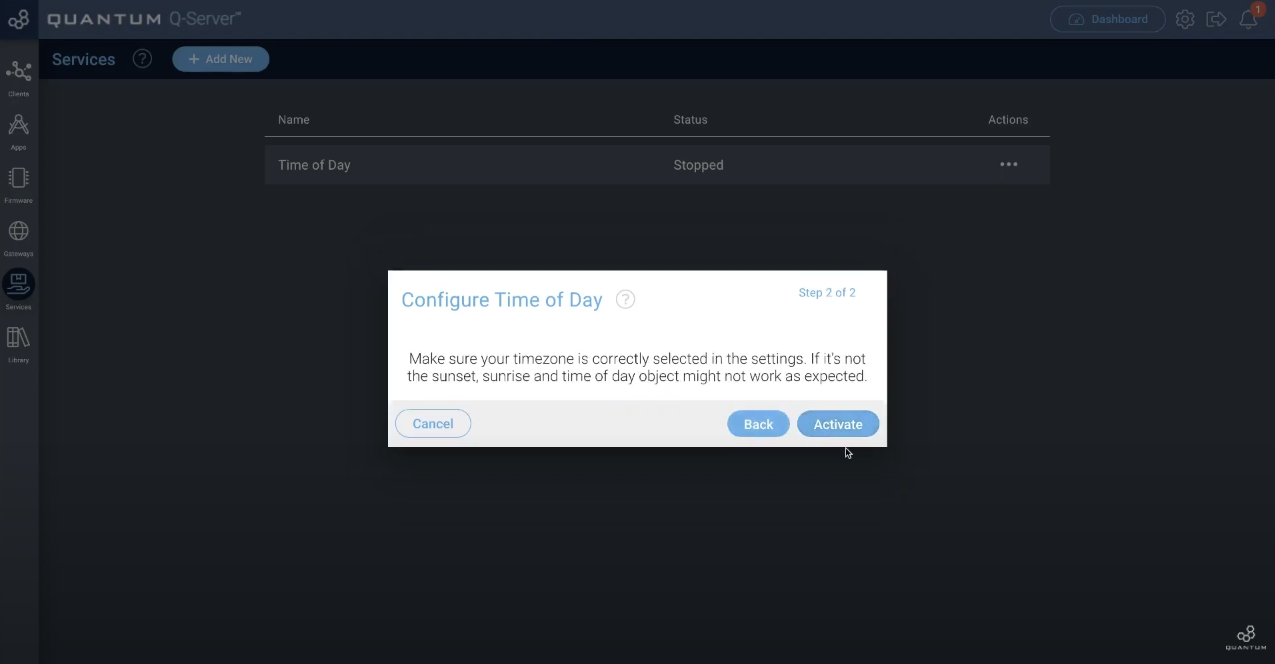
The system is telling you now that you also need to select your timezone in the settings of your Q-Server. Otherwise the sunset, sunrise and time of day objects might not work as expected. Click “Activate”. The Status of the Time of Day object should change to “Running”.
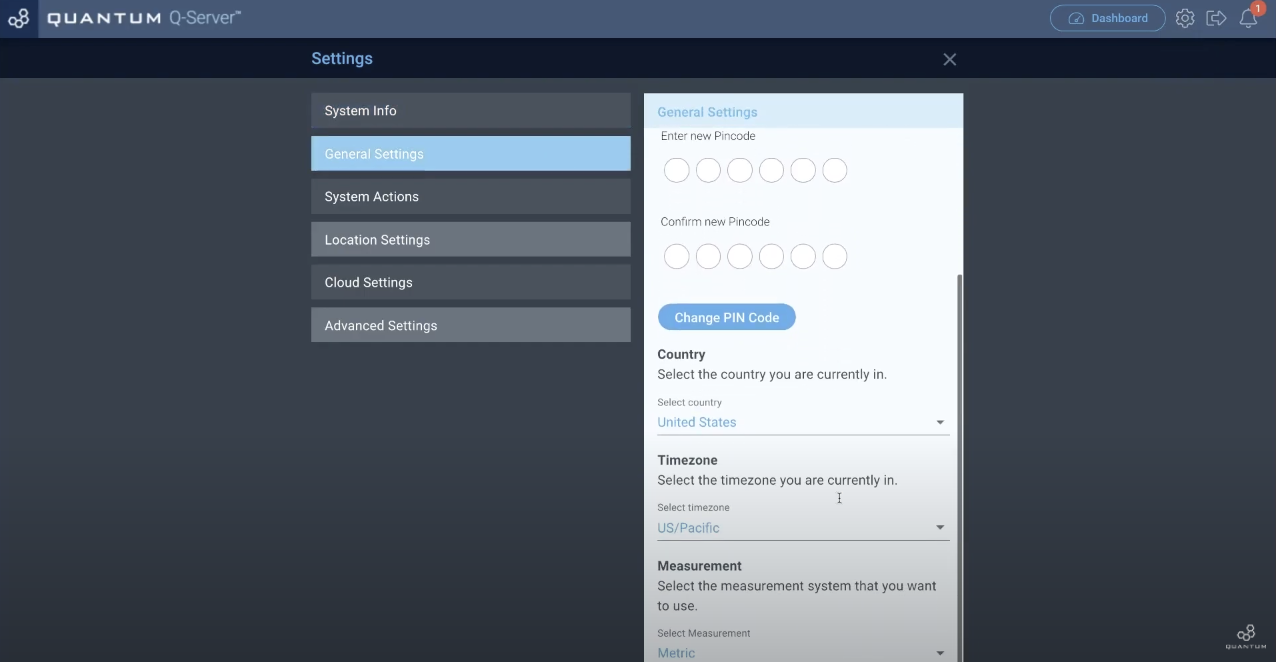
If you want to check or change your timezone of your Q-Server click on the mechanical wheel in the top right corner and select the “General Settings”. Now you can check or change your timezone.
Build the App
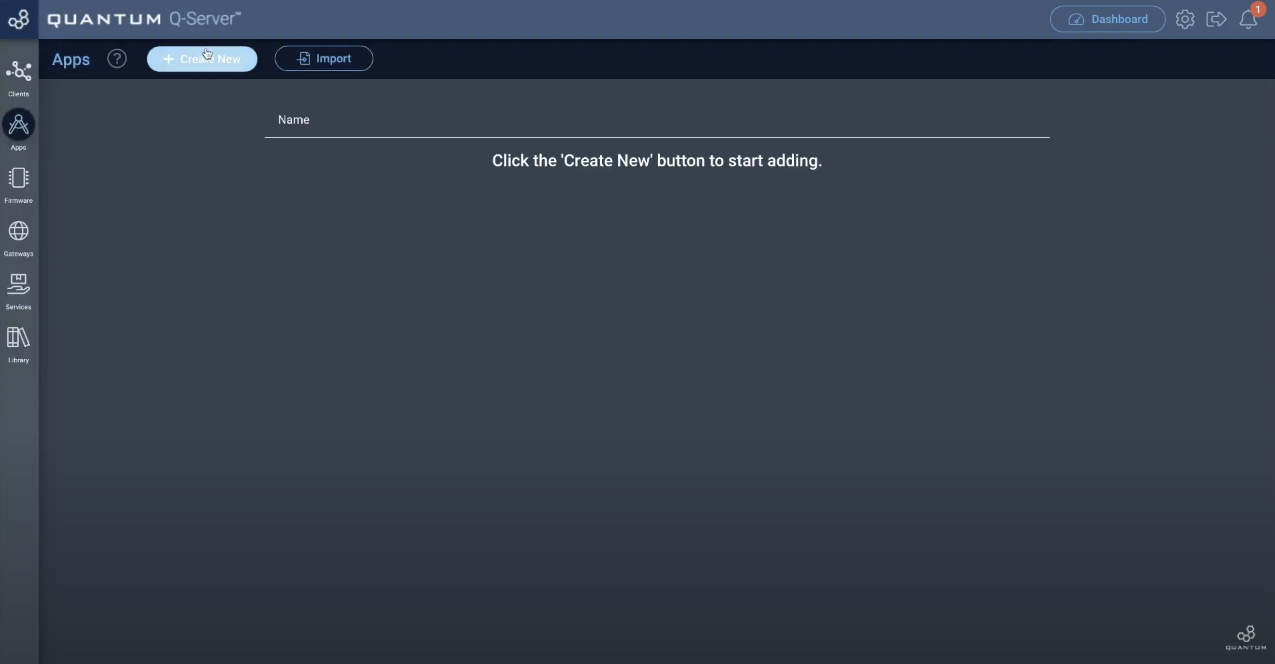
In the next Step we will build our app to connect it later on with the firmware hardwares. Go to your Apps tab.
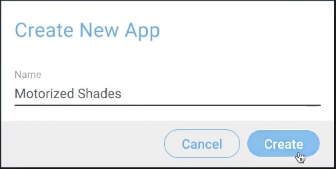
Click “+ Create New” to start a new app. We named ours “Motorized Shades”.
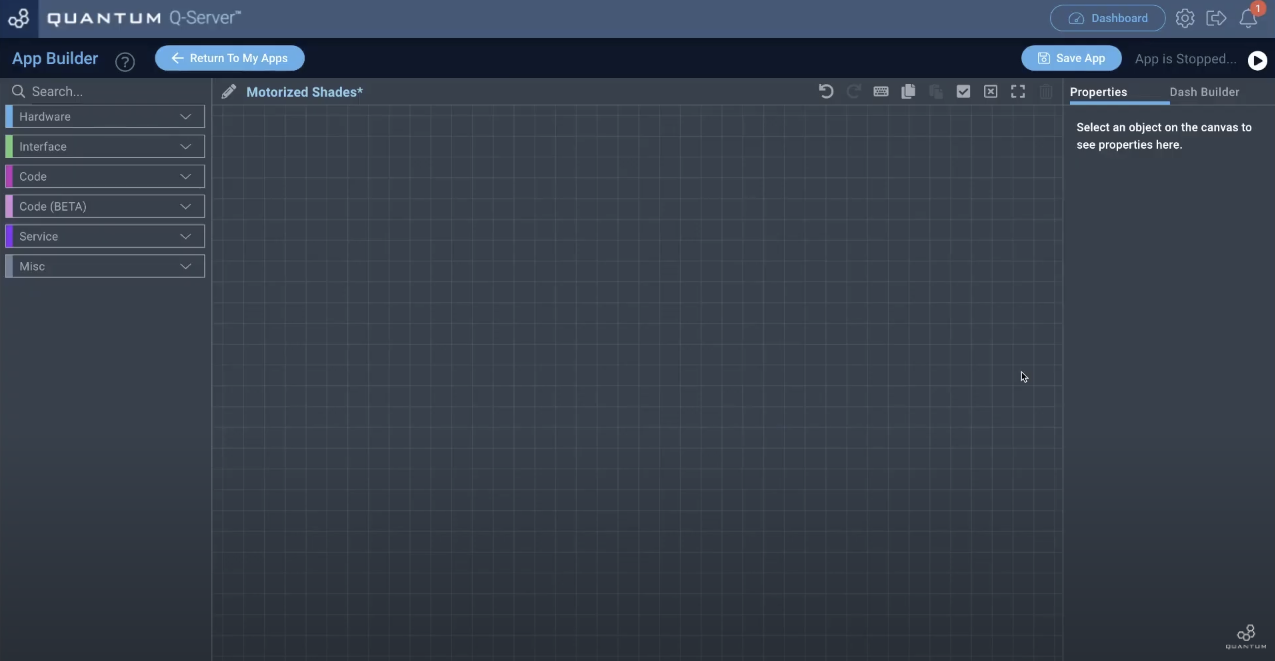
You will find yourself on the canvas.
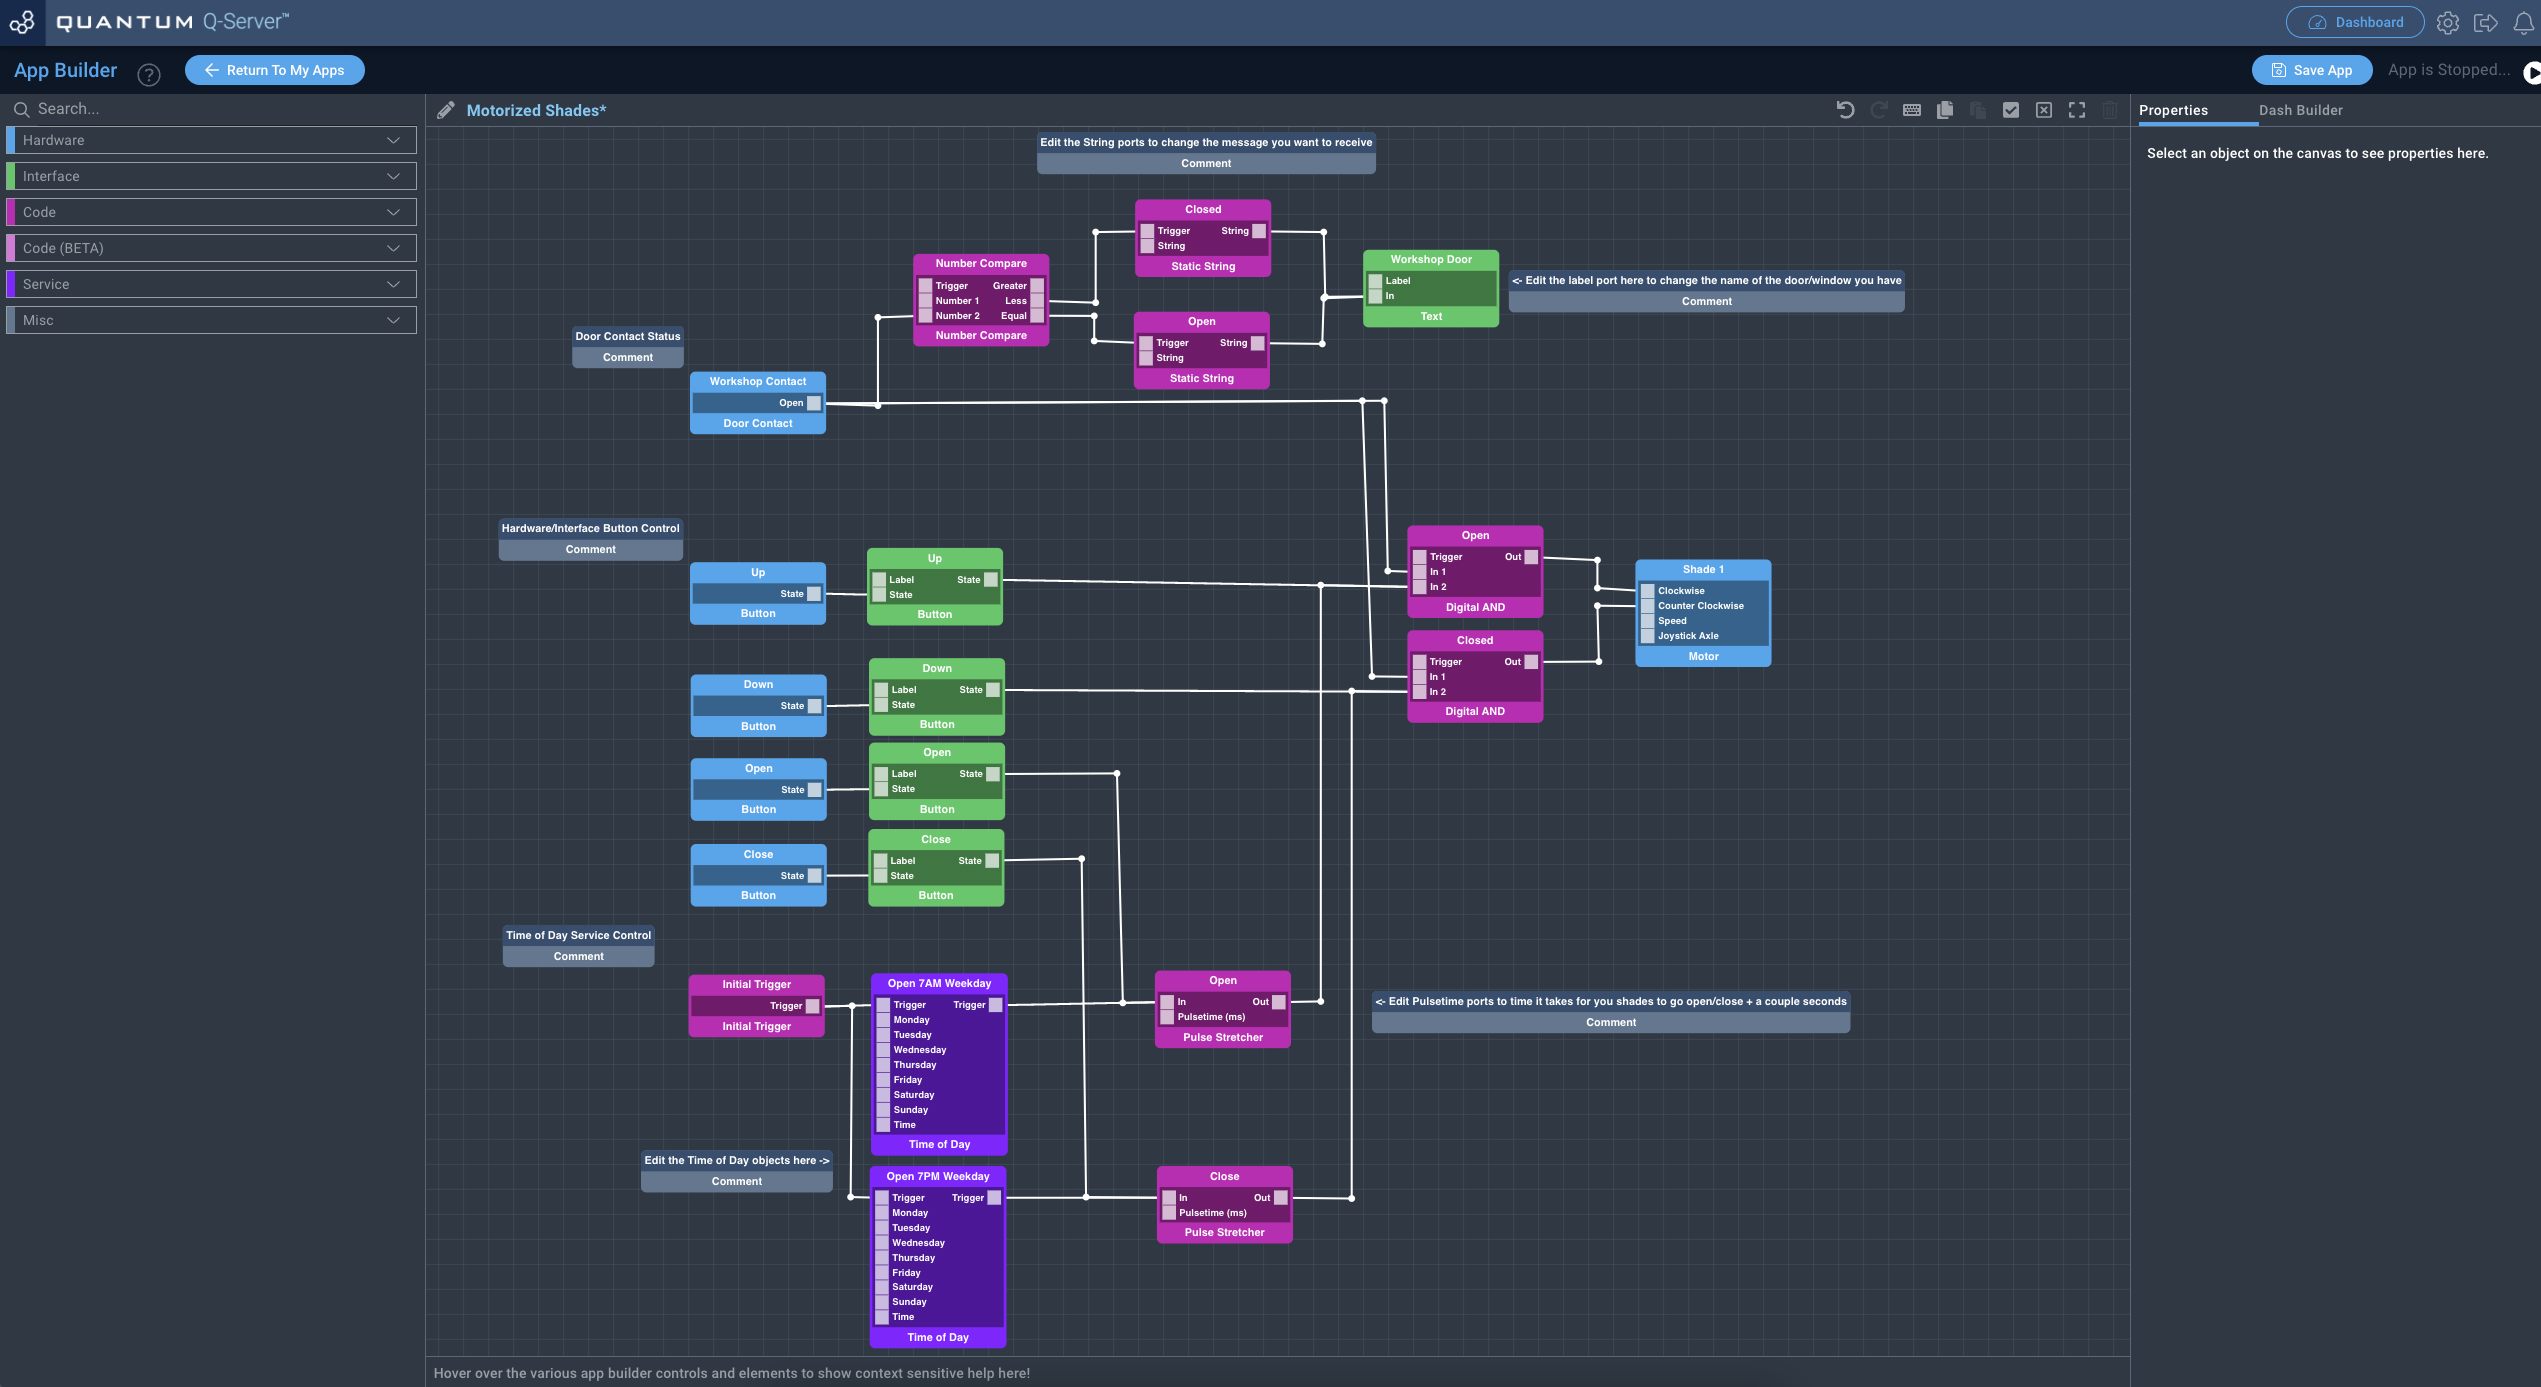
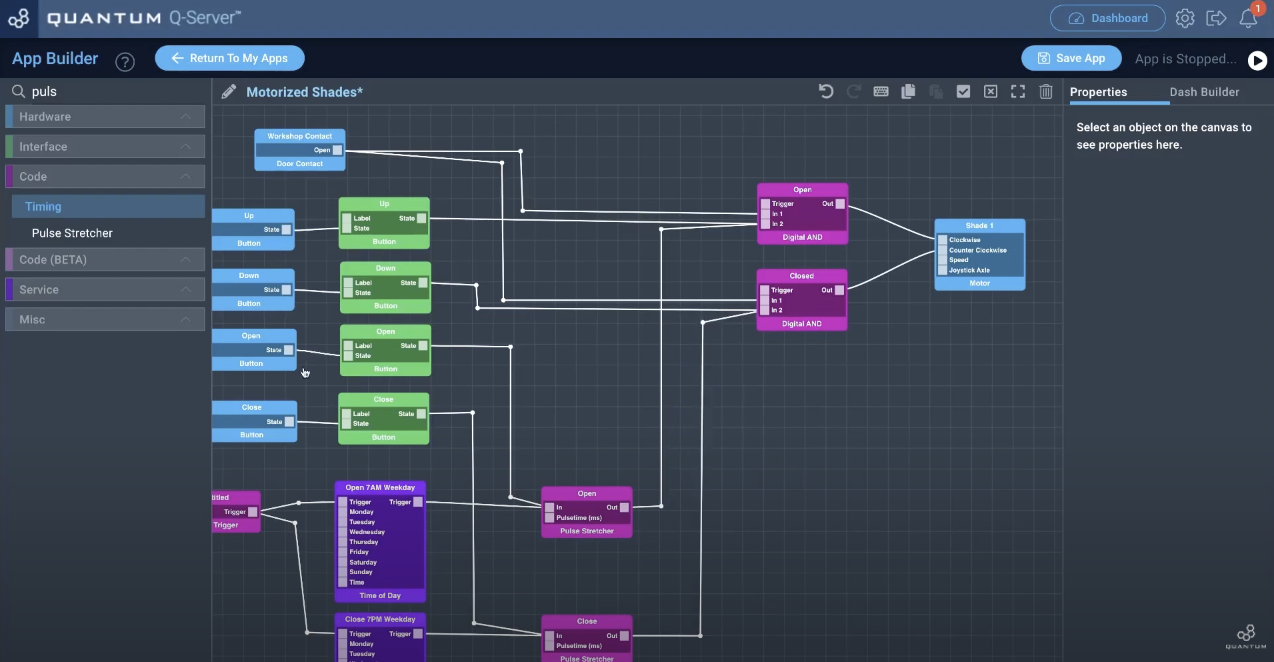
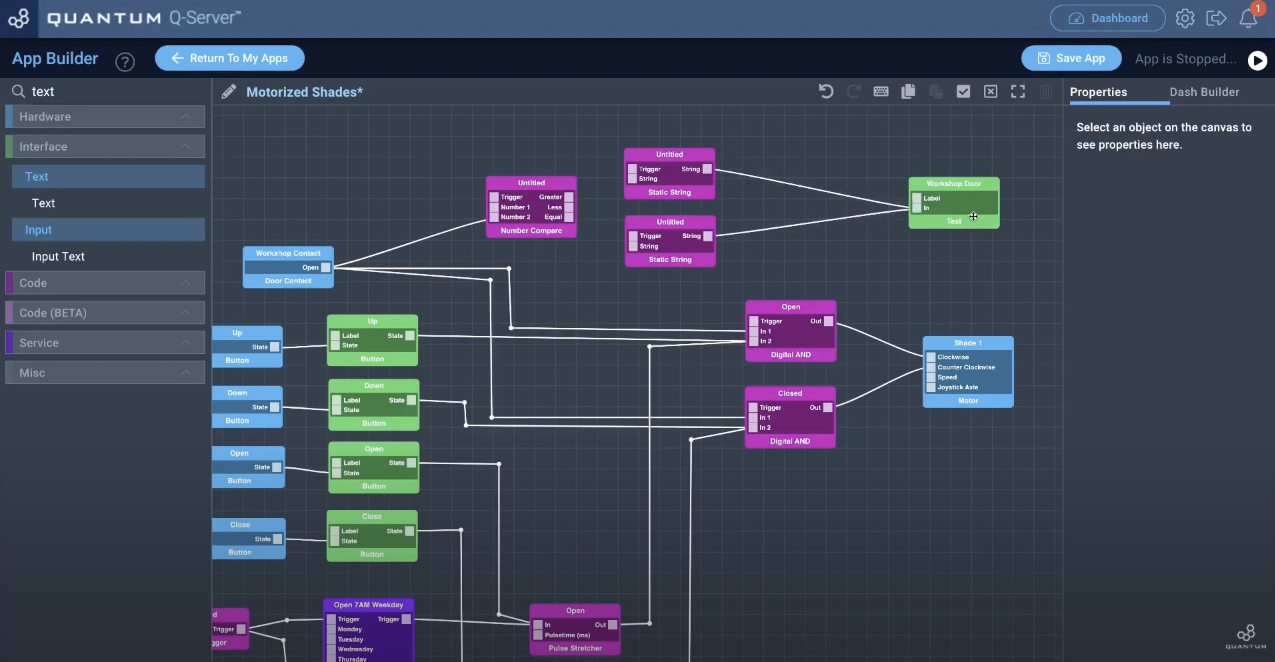
The app we will build will look in the end like this.
You can either download the app in the resource section or you can build it with us by following the next steps.
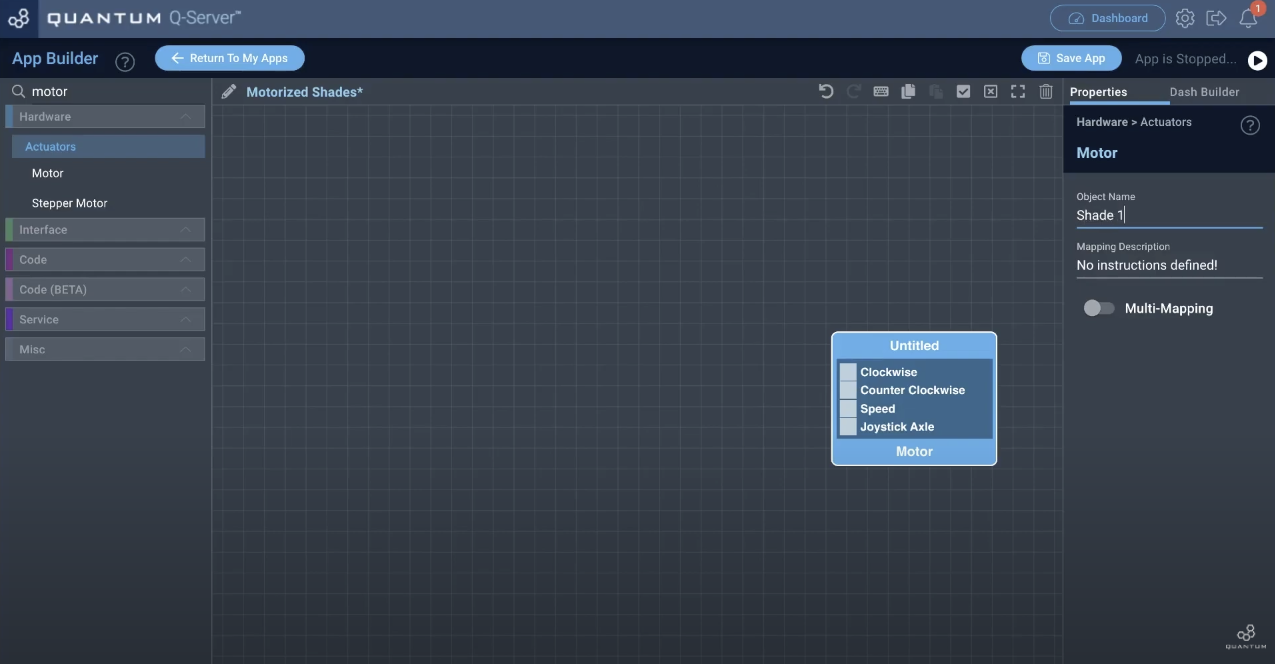
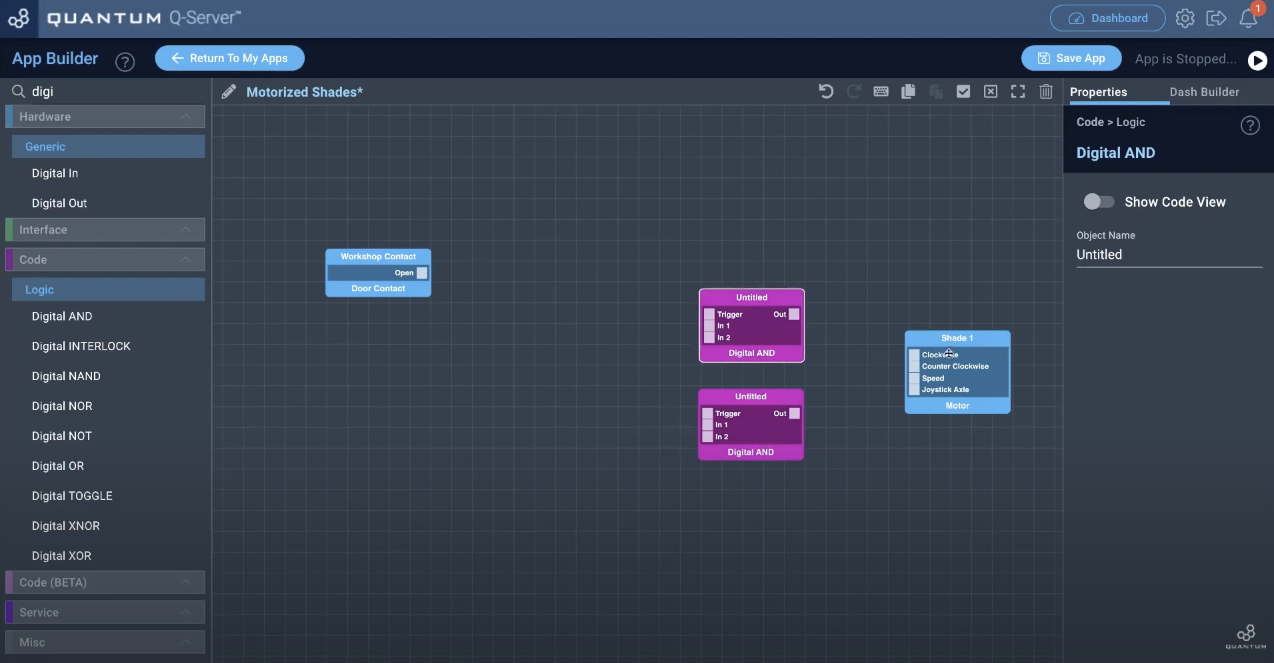
We will start by adding a “Motor” object to the canvas. You can use the search bar in the top left corner below “App Builder” or you can search for it by yourself. When you found it, simply drag and drop it onto the canvas or make a left click on it to add it to the canvas.
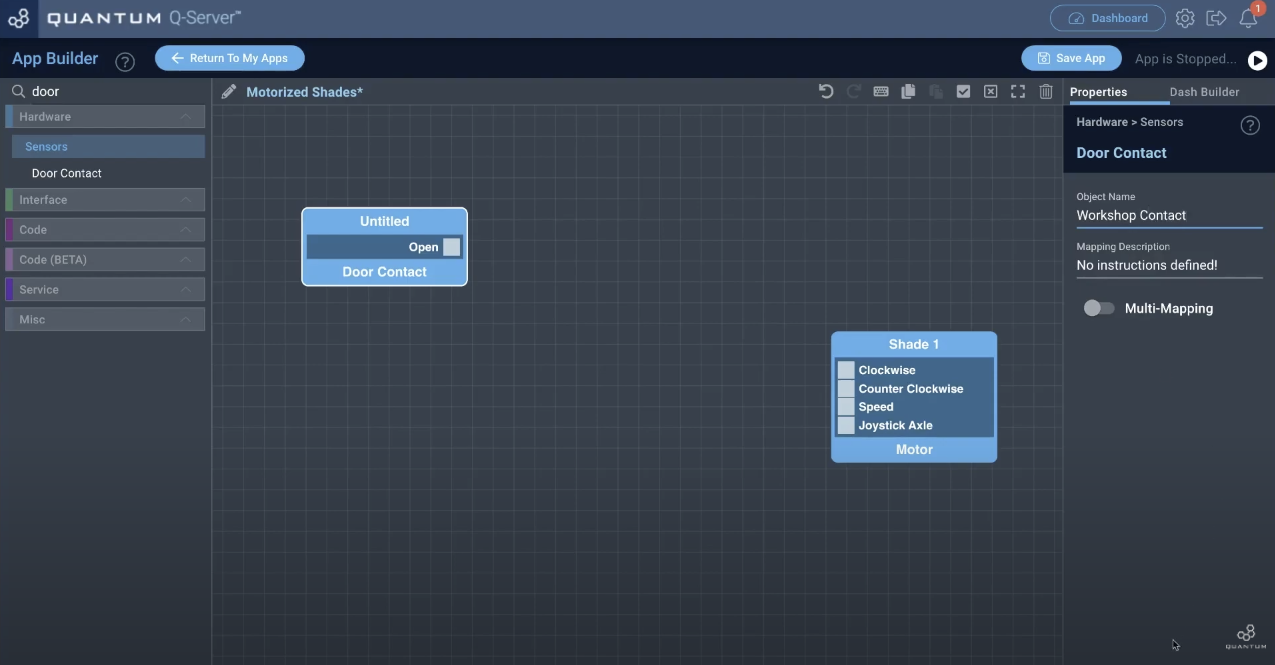
The “Motor” object will be named “Shade 1” since you could connect multiple shades with this project. Next we gonna add a “Door Contact” object.
The “Door Contact” object is our door contact for the our workshop door so we name it “Workshop Contact”. Also we will add two “Digital AND“ objects.
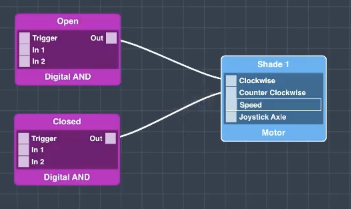
Connect the two “Digital AND” objects with the “Motor” object.
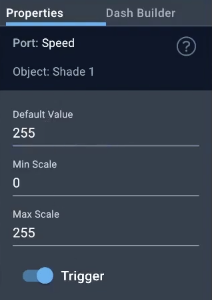
As you can see we connected one of the “Digital AND” objects named “Open” to the “Clockwise” port of the “Motor” object. The other “Digital AND” object named “Closed” connects to the “Counter Clockwise” port. Now we will set the Speed of the “Motor” object. Click on the “Motor” object and click on the “Speed” port. You can use a value between 0 and 255, since we want our shade to go as fast a possible we will set it to 255.
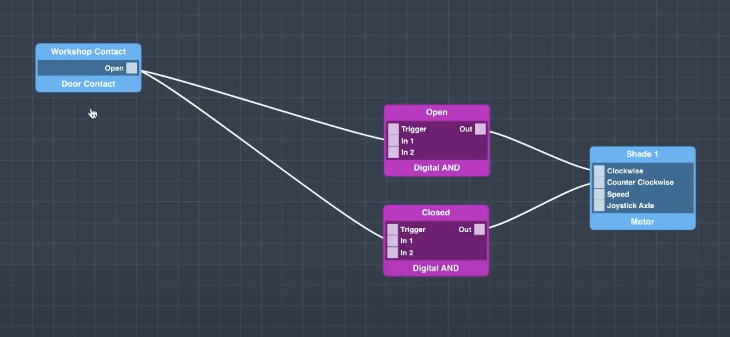
Connect the “Door Contact” object with the “In 1” port of the “Digital AND” objects.
The “Door Contact” object will send out a signal when the door is closed to the “In 1” of the “Digital AND” objects. This will make sure, that the motor will only work if the door of the workshop is closed. For the next step add four “Button” hardware objects and four “Button” interface objects.
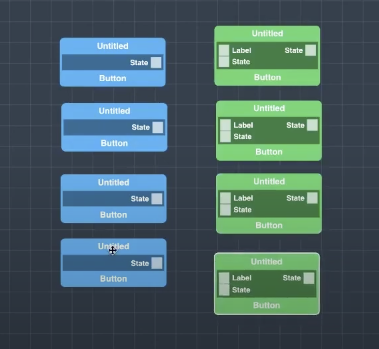
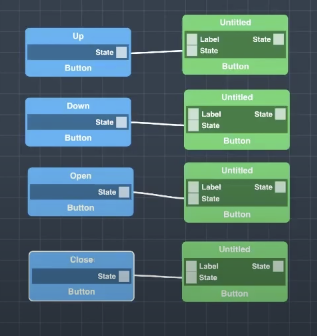
In the next step connect the “State” port of the “Button” hardware objects with the corresponding “State” port of the “Button” interface object. Also we named our “Button” hardware objects “Up”, ”Down”, ”Open” and “Close”.
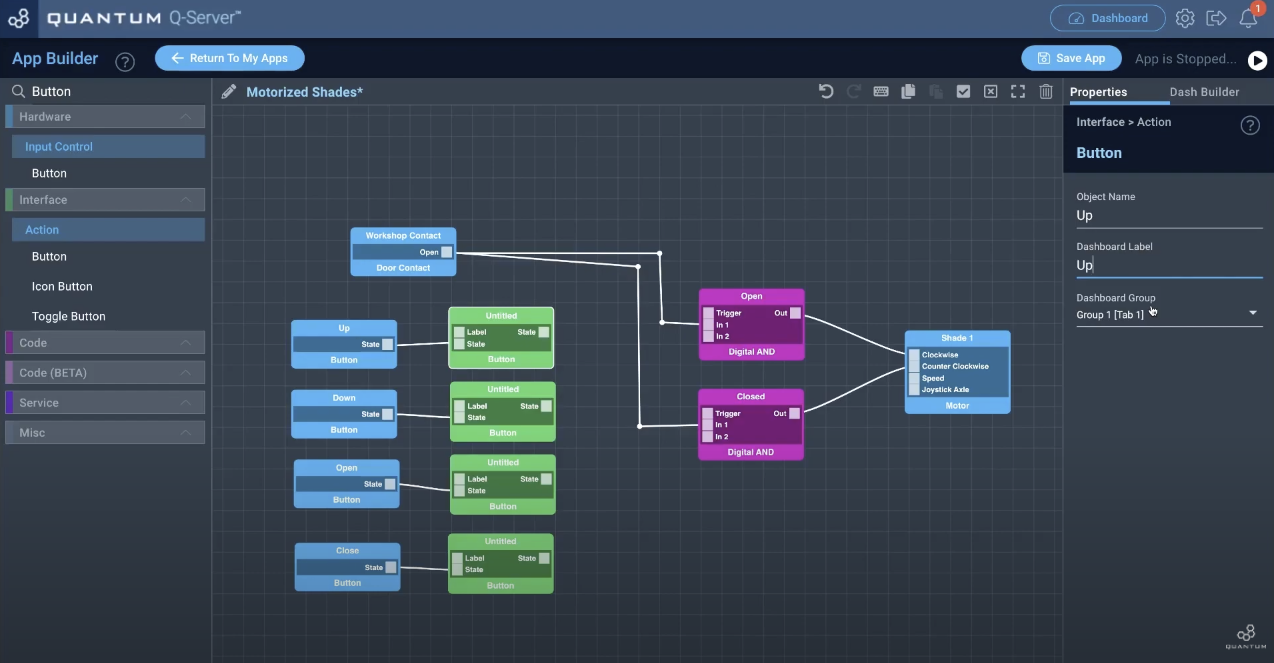
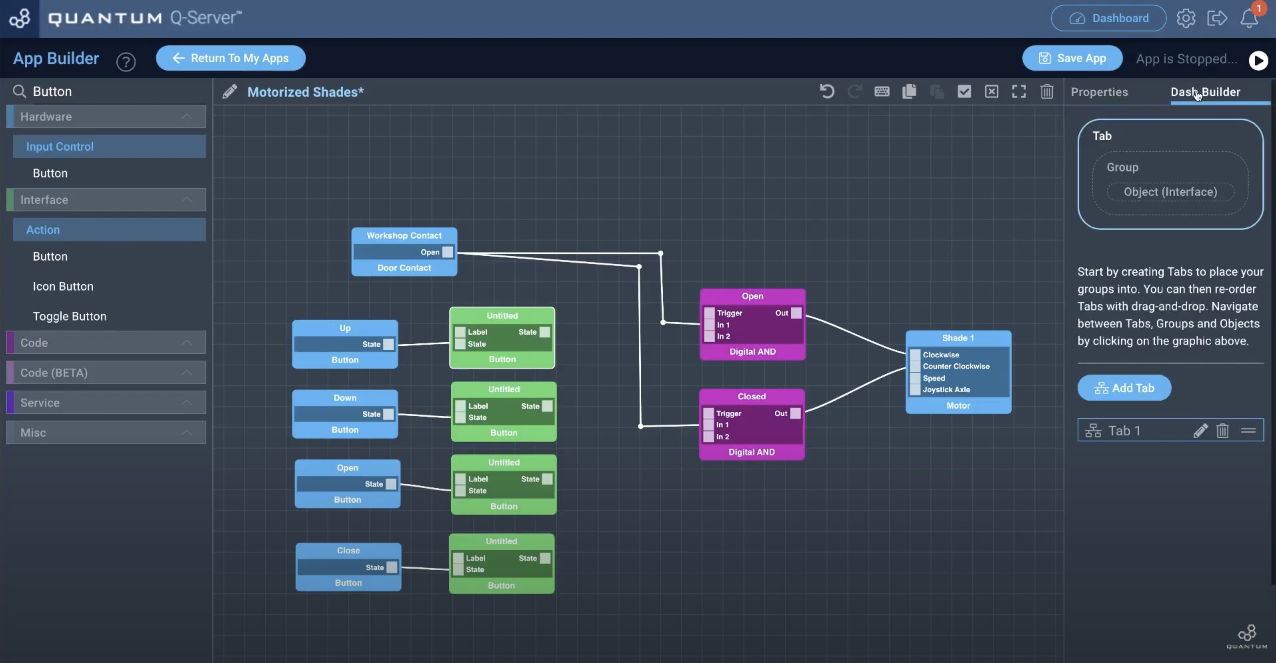
Now we will name and group the button interface objects. Click on one of the button interface objects and select the “Dash Builder” in the top right corner.
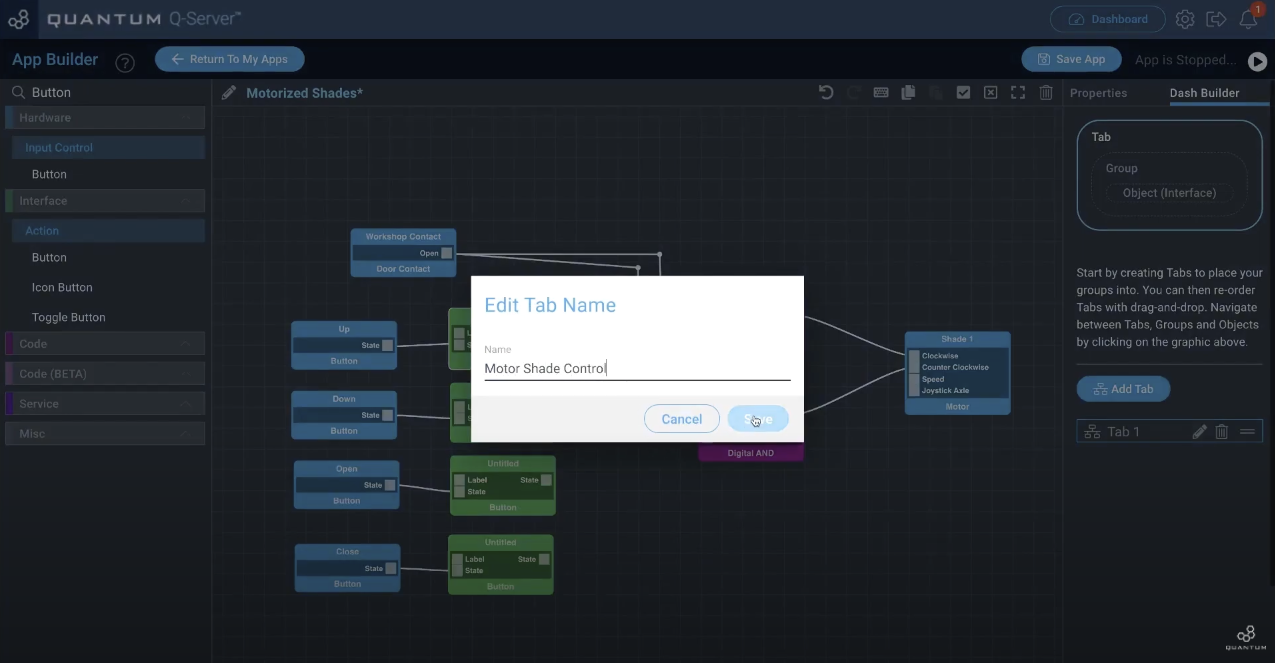
The “Dash Builder” can be used to group Buttons or other objects to let them appear together on the screen when you enter the dashboard later. Click on the pencil next to the “Tab 1”.
We name this tab “Motor Shade Control”. After that click on the “Group” in the top of the “Dash Builder” interface.
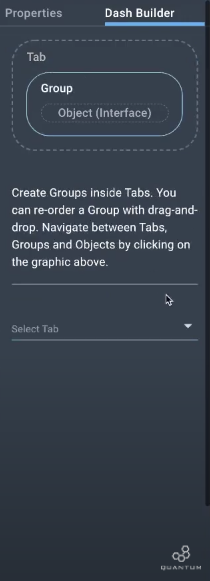
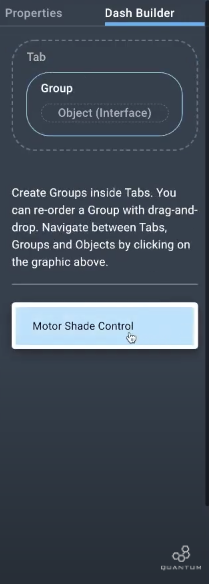
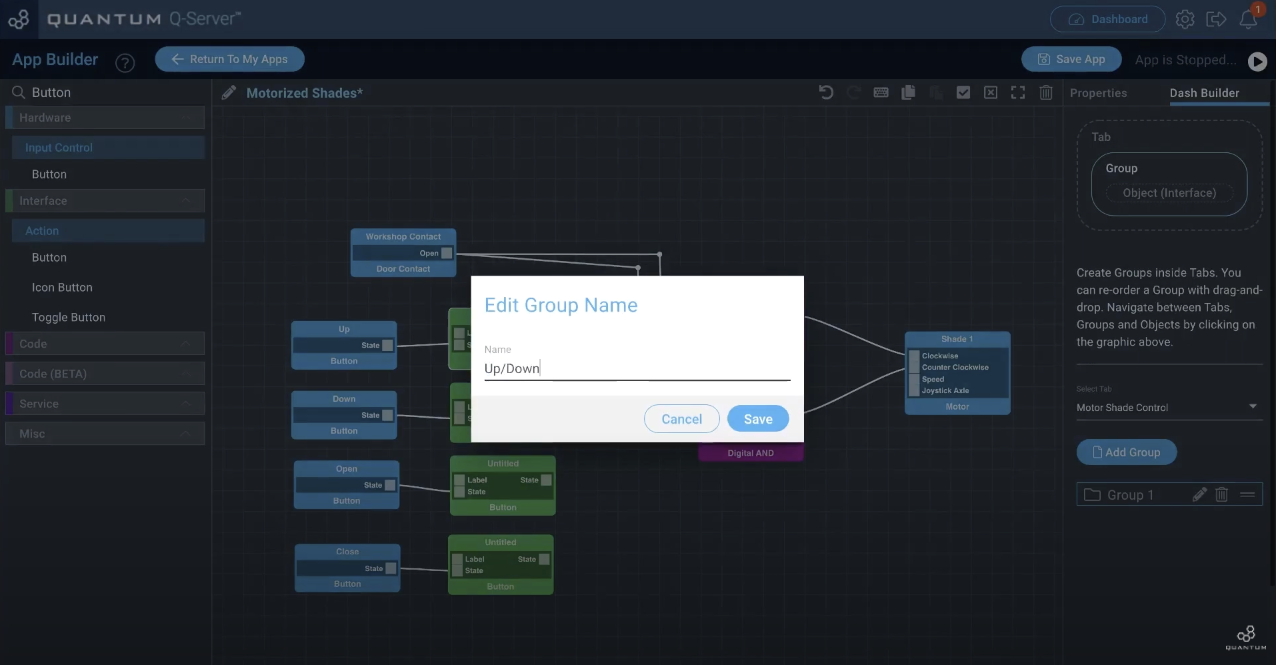
Next click on “Select Tab” and select the “Motor Shade Control”. A group tab will appear below the tab. Click on the pencil next to the “Group 1” to change the name.
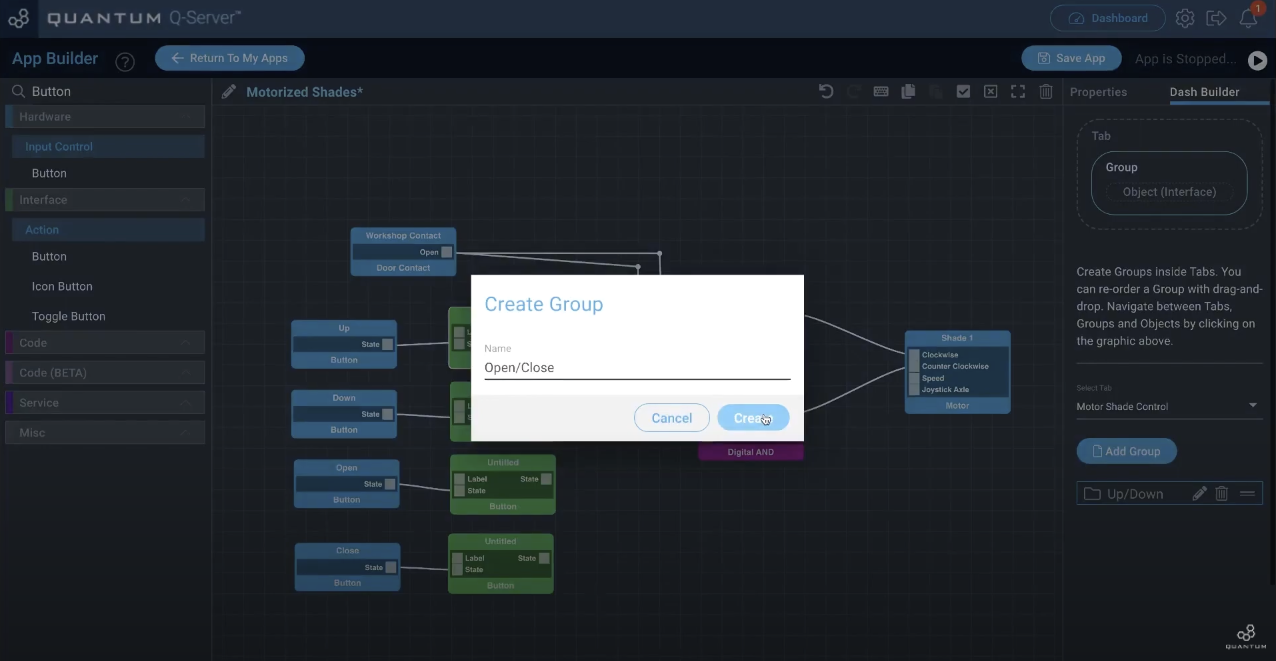
This will be our “Up/Down” group for the Buttons “Up” and “Down”. Make another Group by hitting the “Add Group” button and name it “Open/Close”.
If you are finished with that name the button interface objects accordingly to their connected button hardware object and put them in the related group.
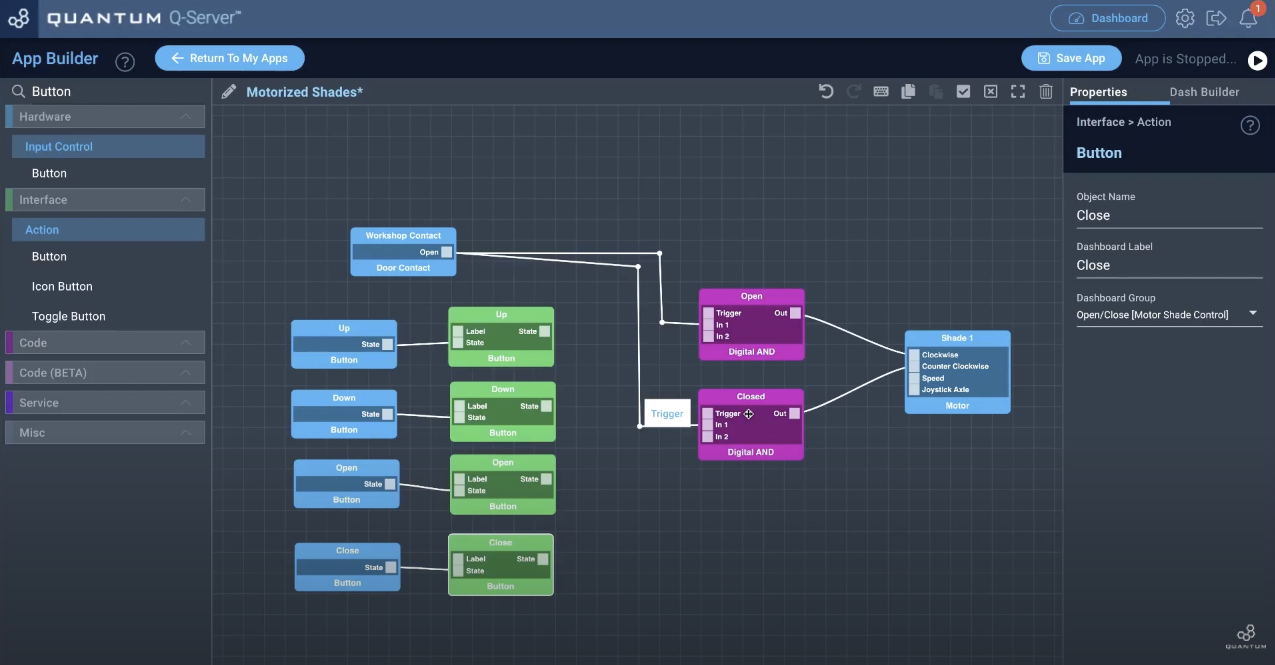
For instance this button is the button used to close. So it named “Close” the Dashboard Label is “Closed” and its assigned to the Dashboard Group “Open/Close”.
The “Up” and “Down” buttons will be used to manually close and open the shade but the other two buttons “Open” and “Close” will automatically fully close and fully open the shade for you.
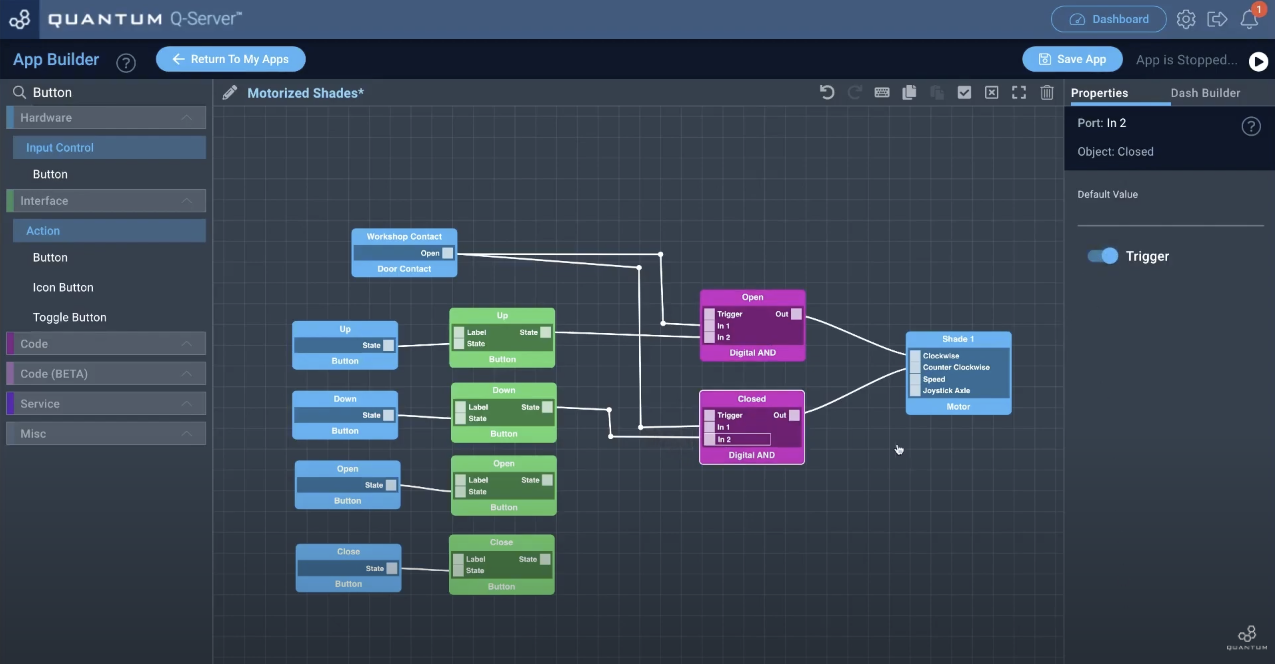
Now connect the “Up” and “Down” interface button objects with the “In 2” port of the “Digital AND” objects and make sure to set on the “Trigger” as you can see on the right side below “Default Value”.
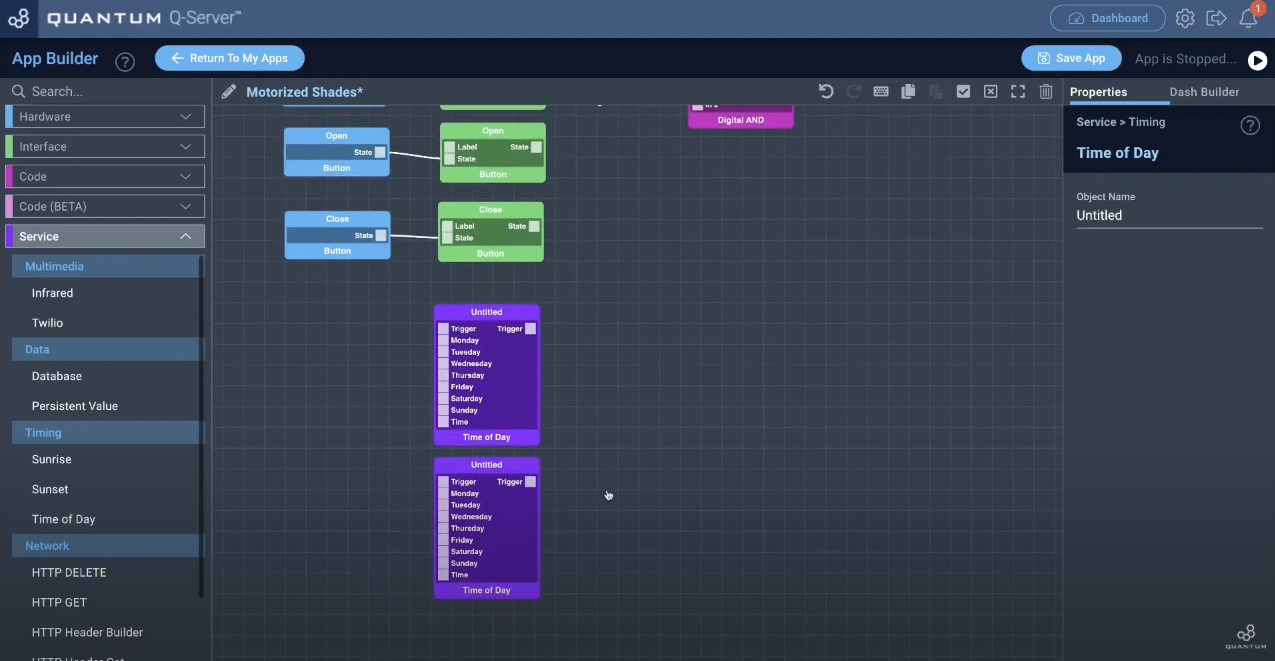
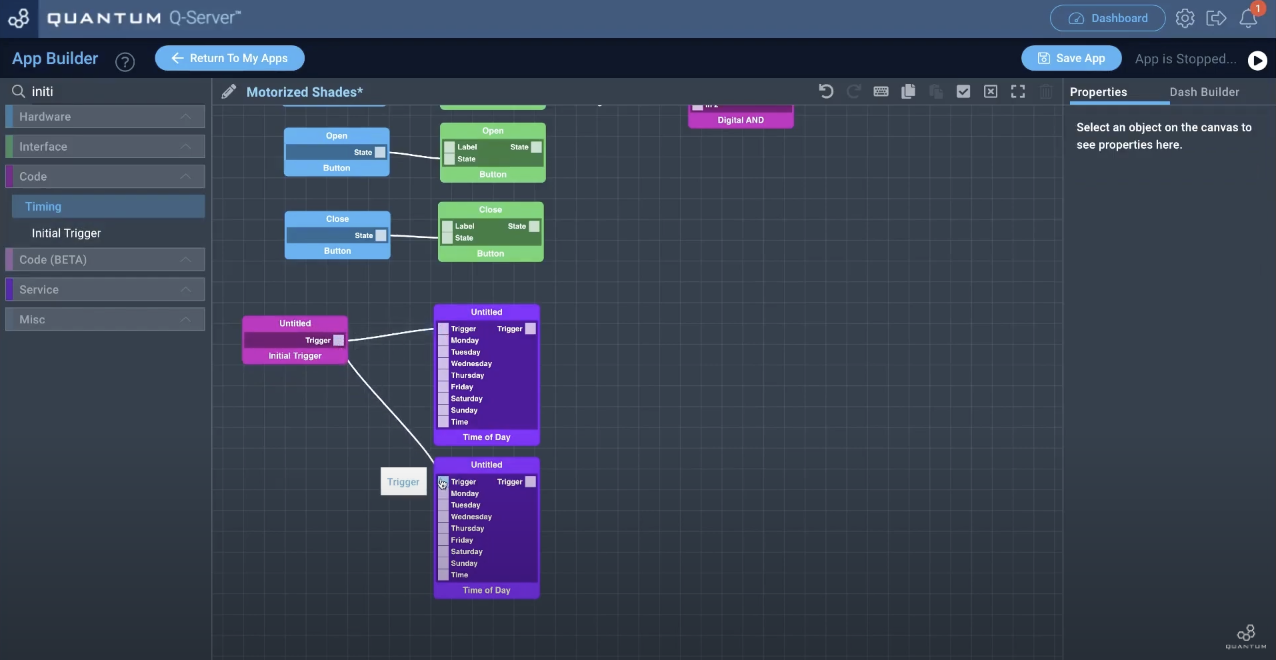
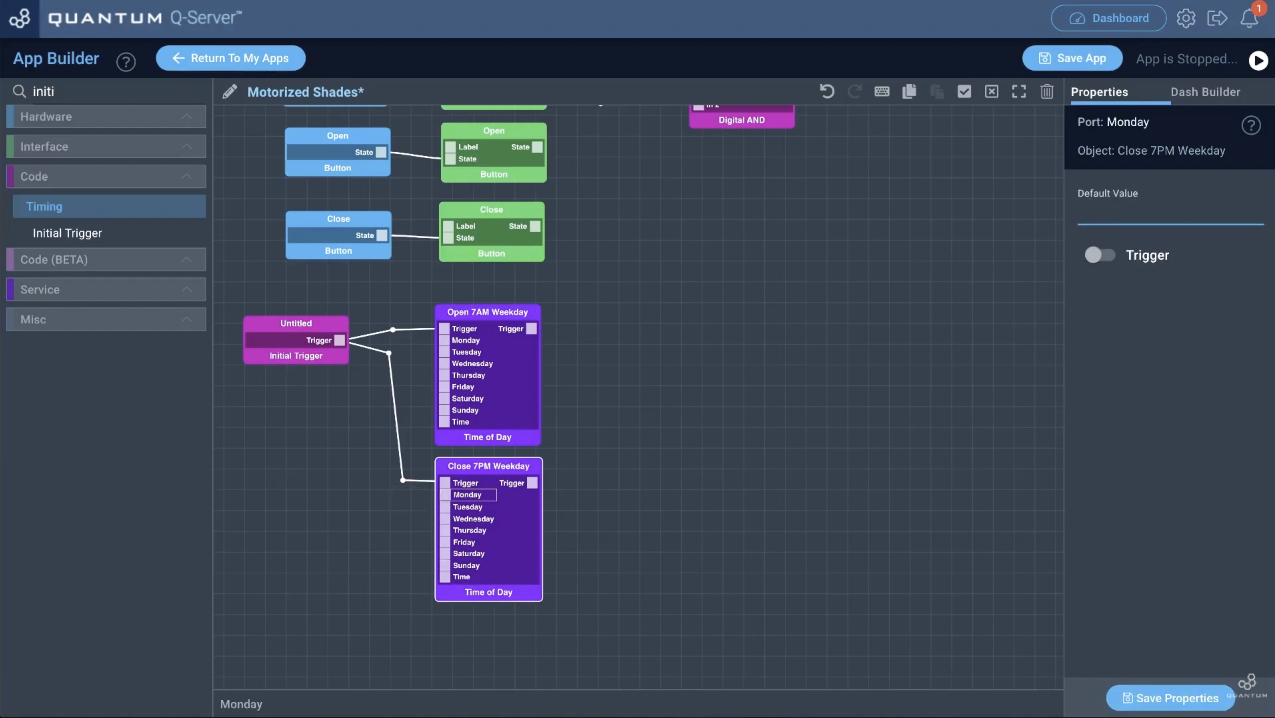
In order to fully automate the shade we will need two “Time of Day” objects. Search for them and drag and drop them onto the canvas. We positioned them below the interface button objects.
To trigger these two objects when starting the app we will need an “Initial Trigger” object which will trigger the “Time of Day” objects right after starting the app.
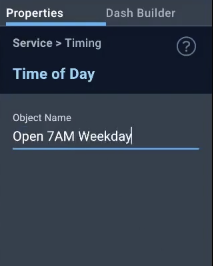
Name your “Time of Day” objects. We need two because one will be used to open the shade in the morning and the other one to close the shade in the evening.
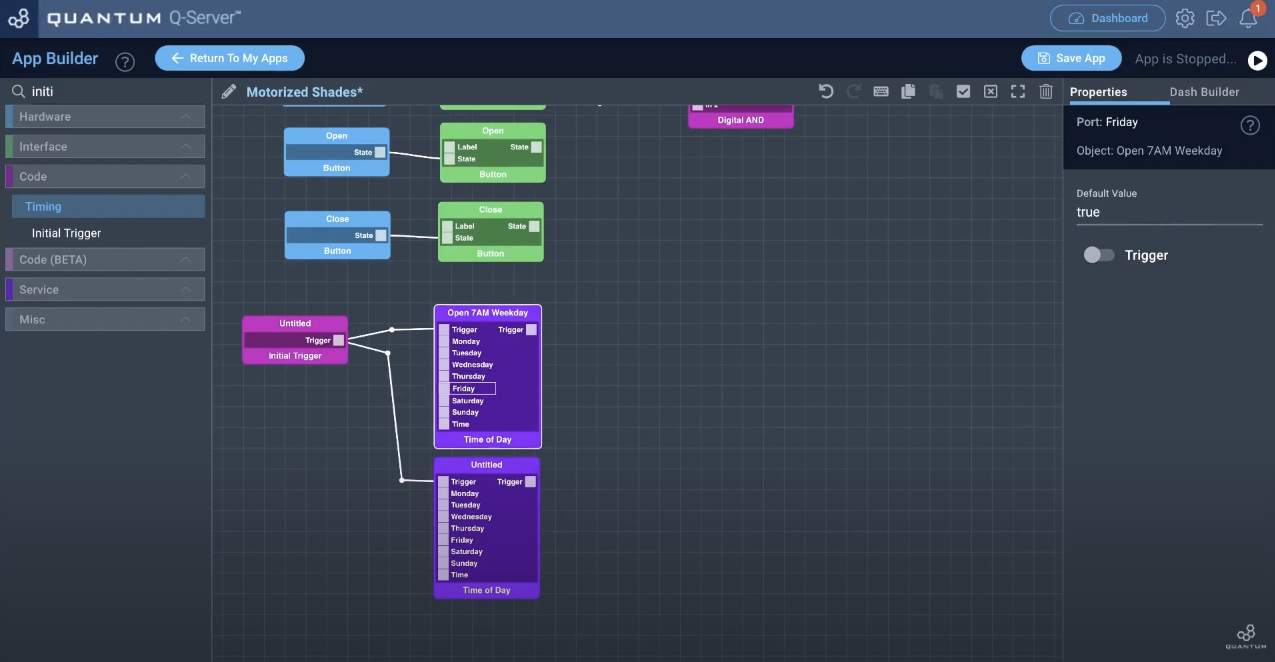
After naming them set the Days you want to trigger by setting the “Default Value” to “1” or “true”.
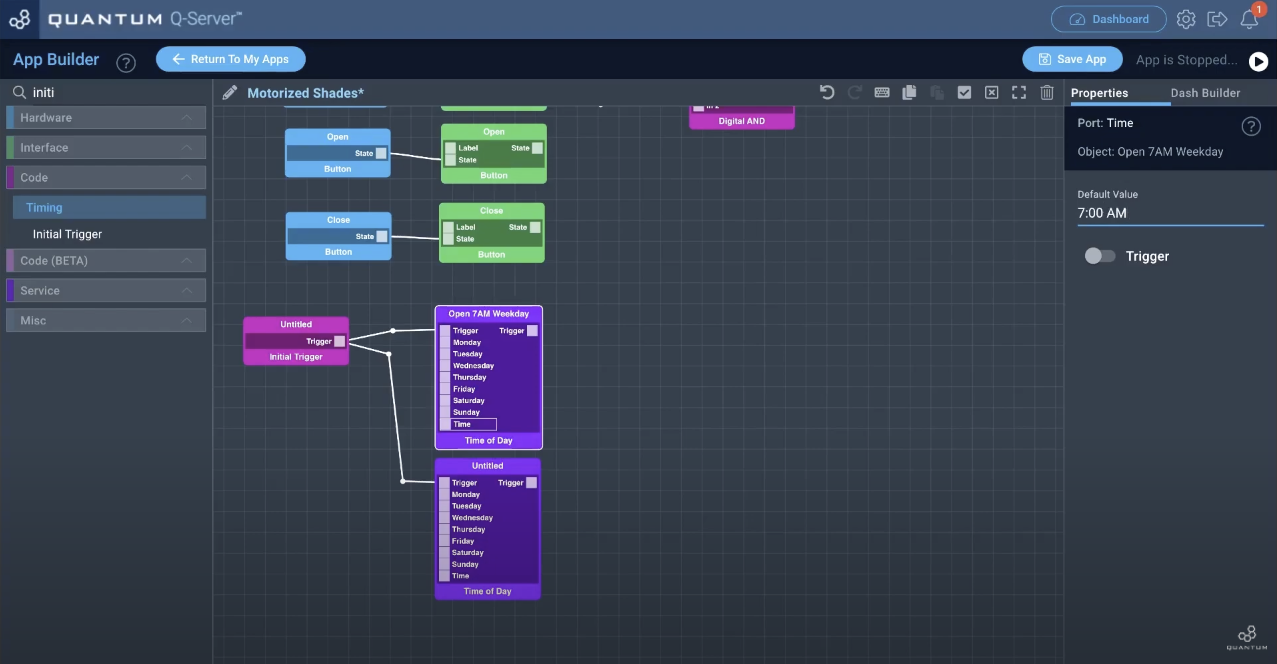
The last thing to set is the time you want to trigger. Set the time by typing in something like “1:00 AM” or “3:24 PM”.
Do the naming and setting of days also with the second object.
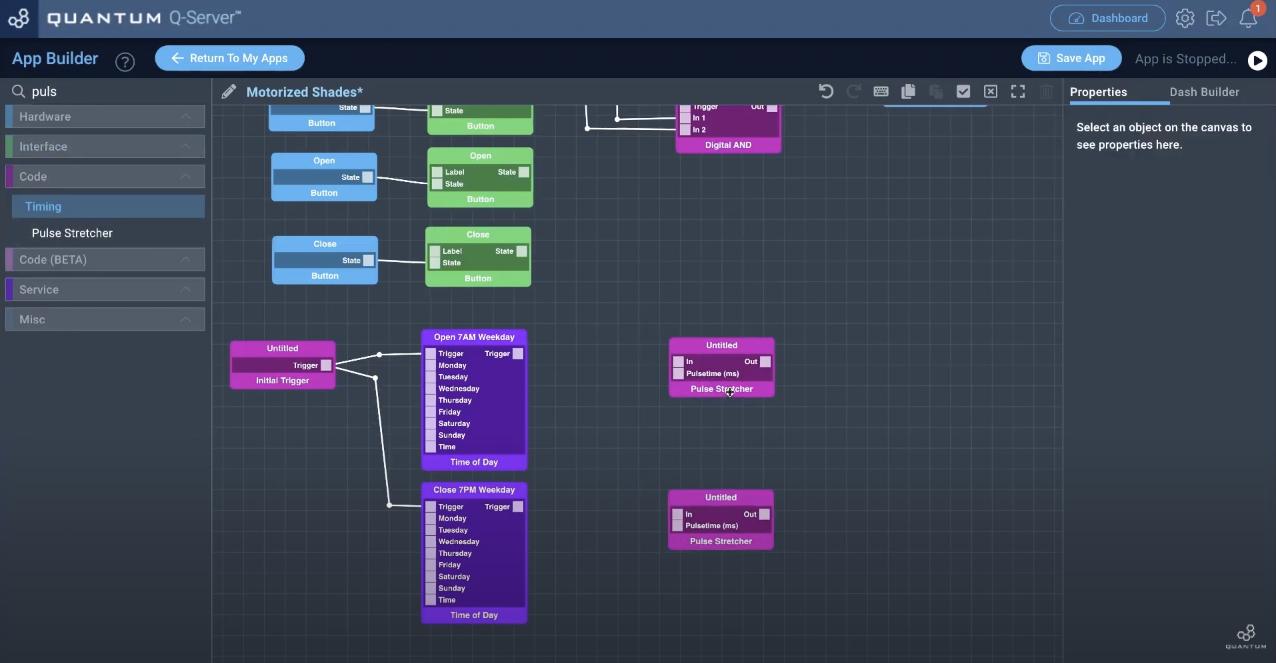
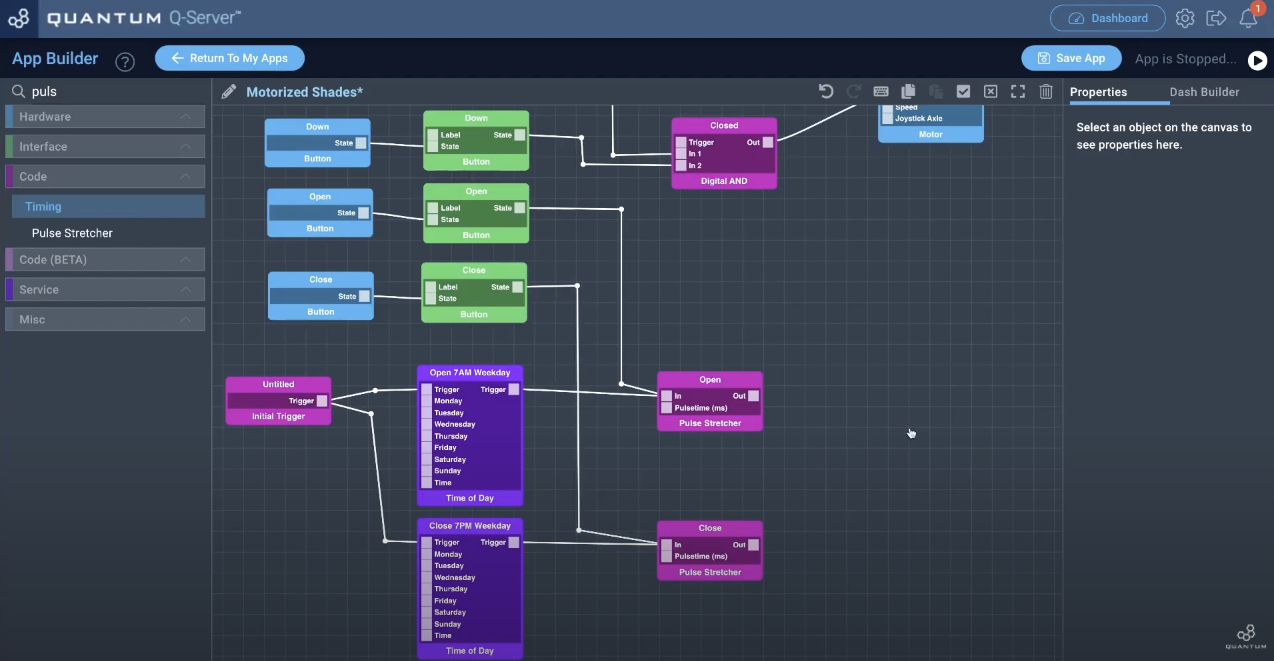
Add two “Pulse Stretchers” to your canvas.
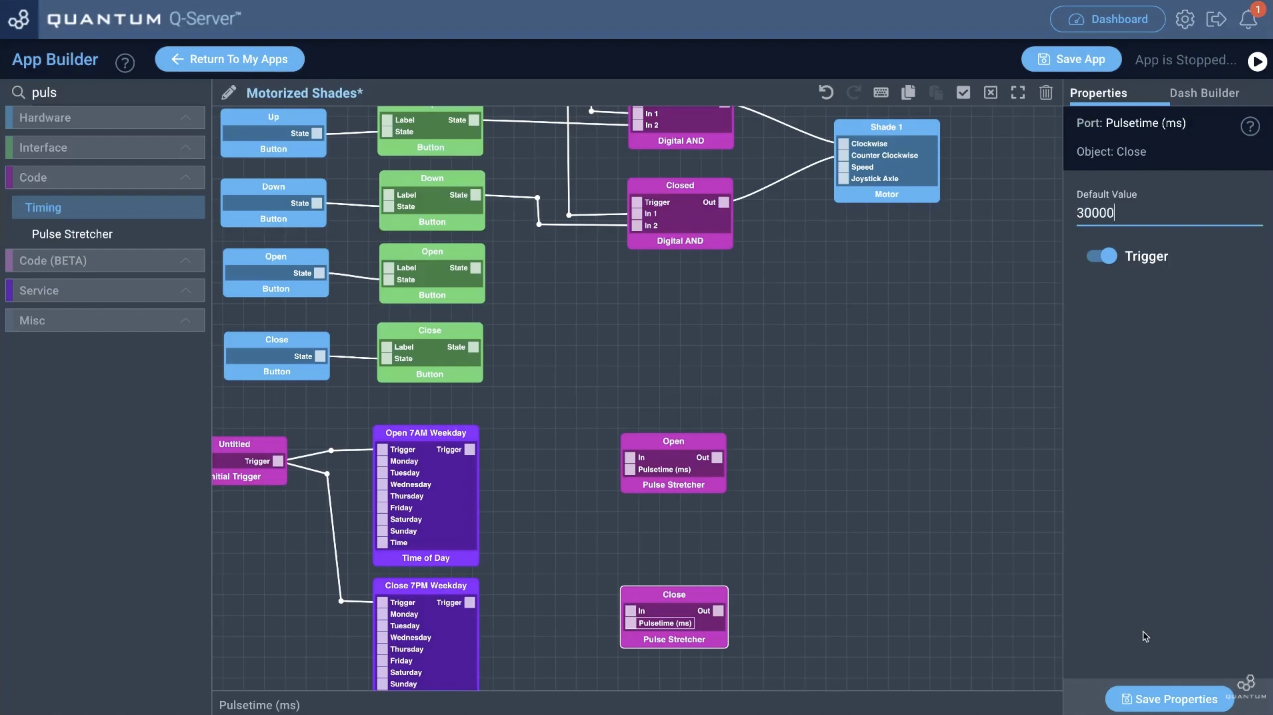
The “Pulse Stretcher” objects will be used to stretch the button signal to a longer signal. What that means is that you only have to press the button once to let the shade fully open or close instead of holding the button down for the hole time. Set the time for the signal duration in ms and make sure to have the trigger on.
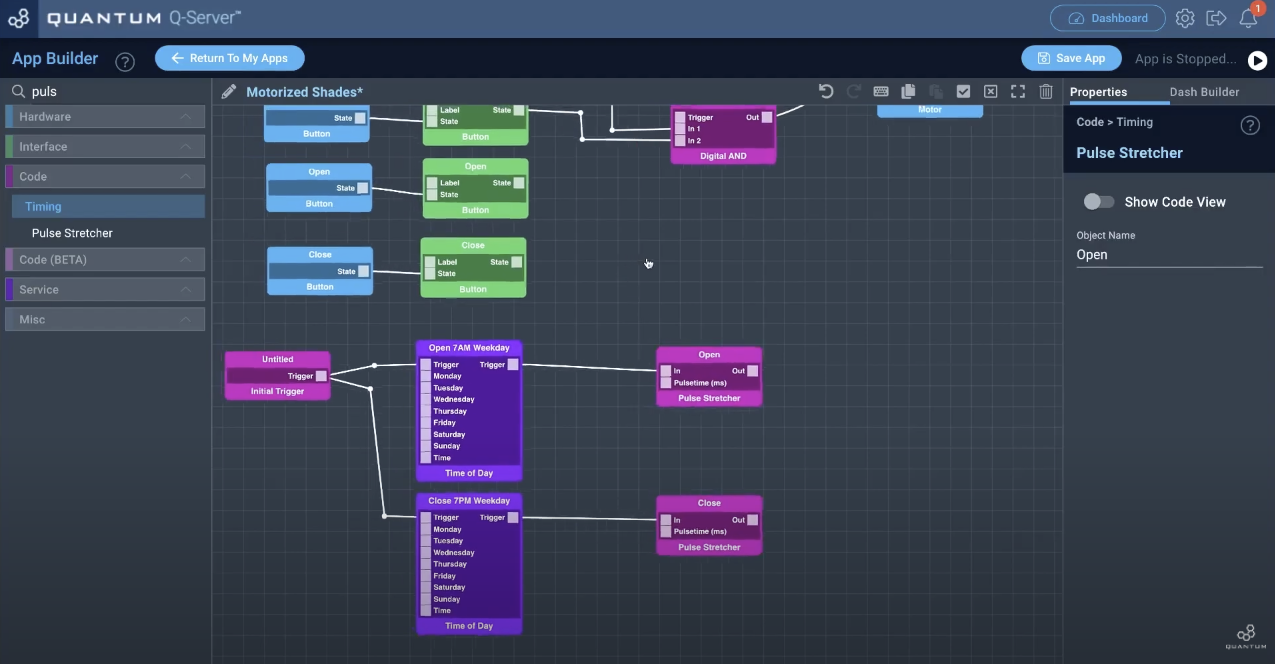
Next connect the “In” port of the “Pulse Stretcher” objects with the “Trigger” port of the “Time of Day” objects.
Also connect the “Open” and “Close” buttons with the “In” port of the “Pulse Stretcher” objects.
So either the “Pulse Stretcher” will be triggered by a certain time or by the push of a button. Lastly connect the “Pulse Stretcher” objects with the “Digital AND”.
In the next part we will show you how to be able to see on the dashboard wether your door contact is open or not and get a message for these two statuses.
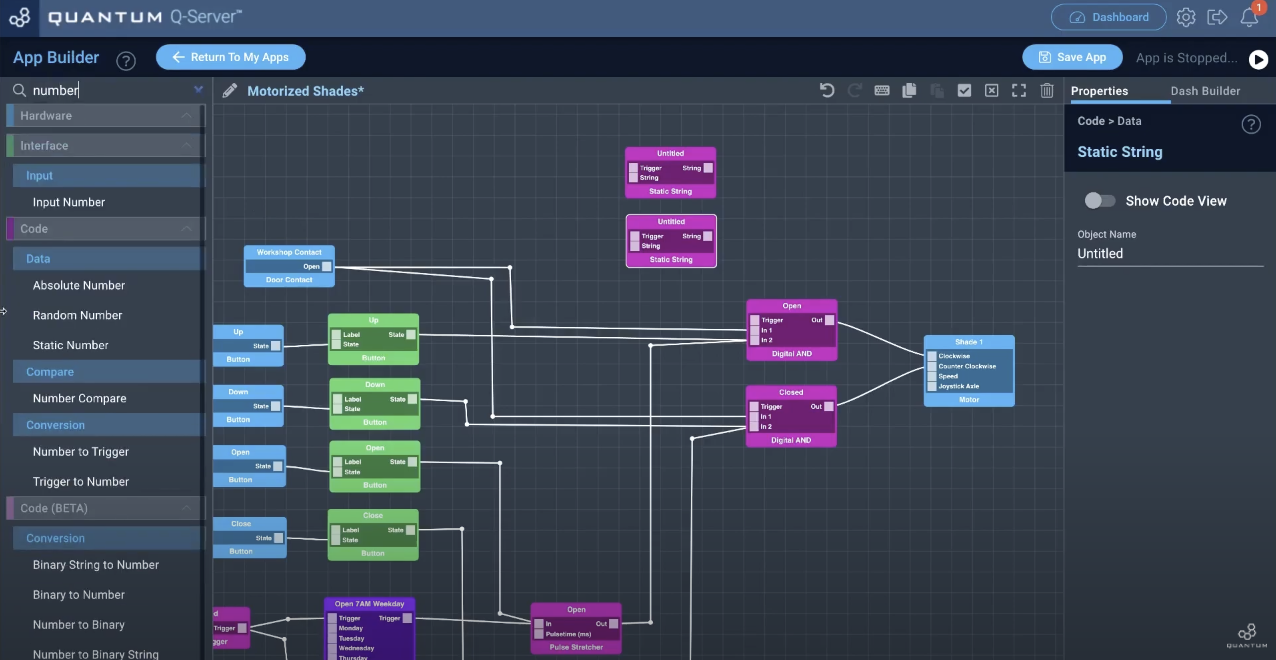
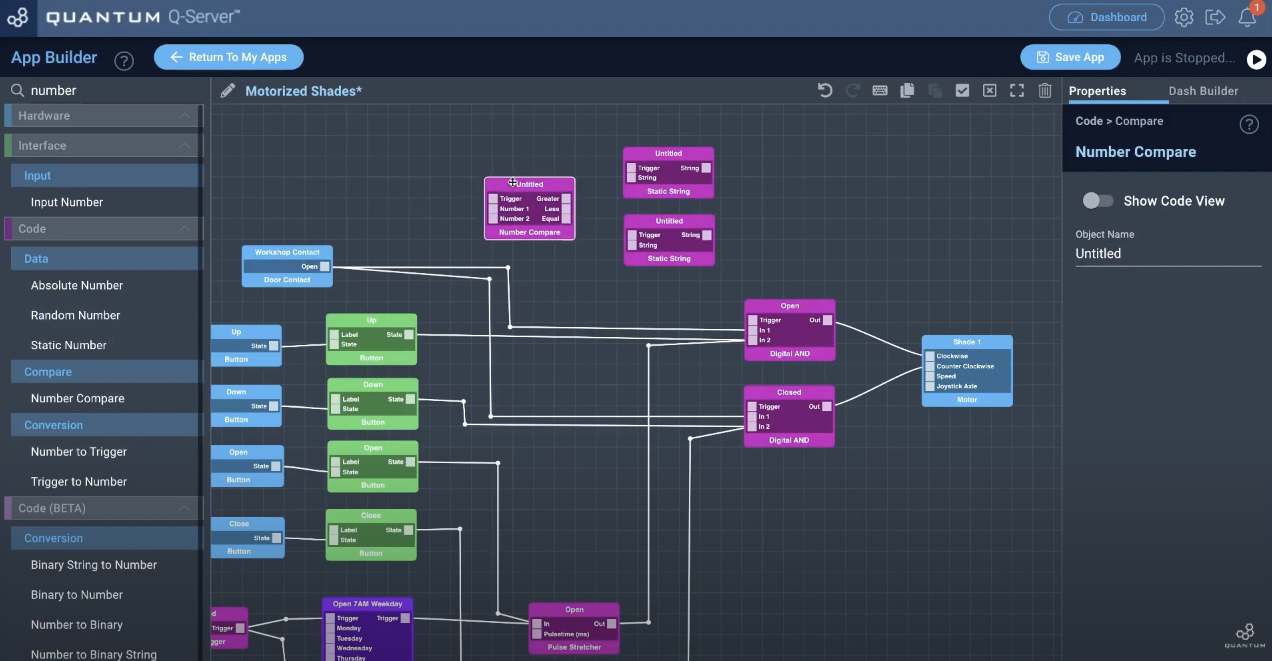
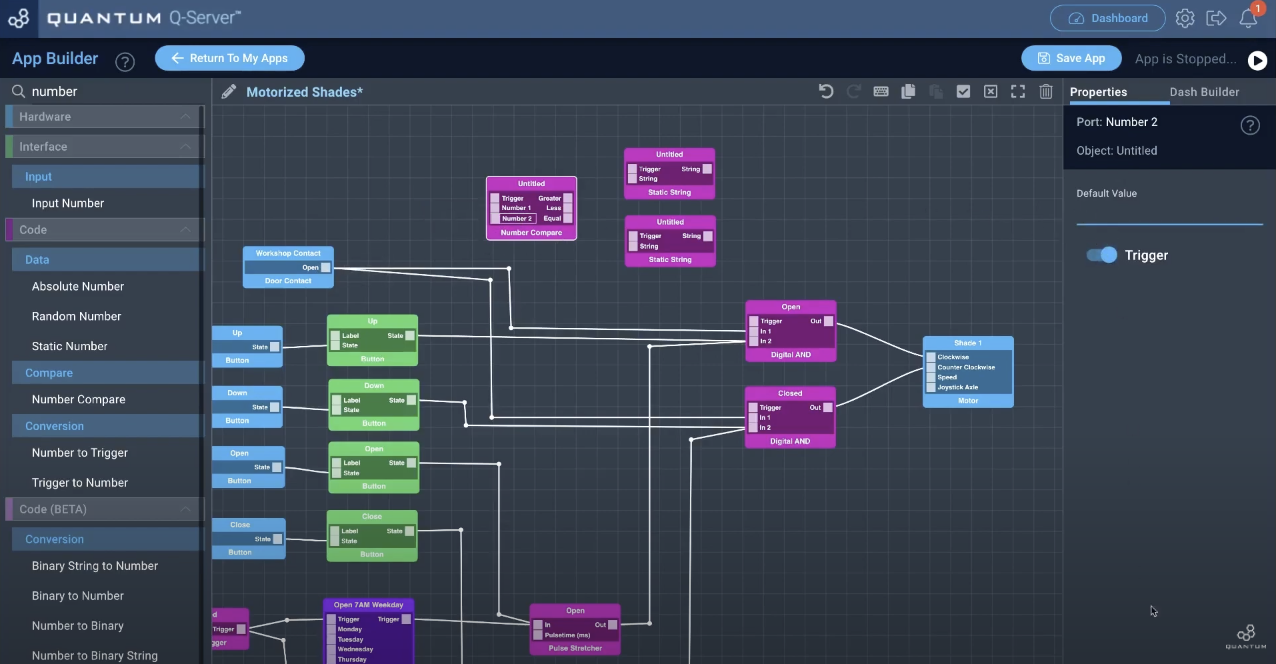
Next we will add a “Number Compare” object.
The “Number Compare” object will compare two numbers and send out a signal from the “Equal”, “Less” or “Greater” port.
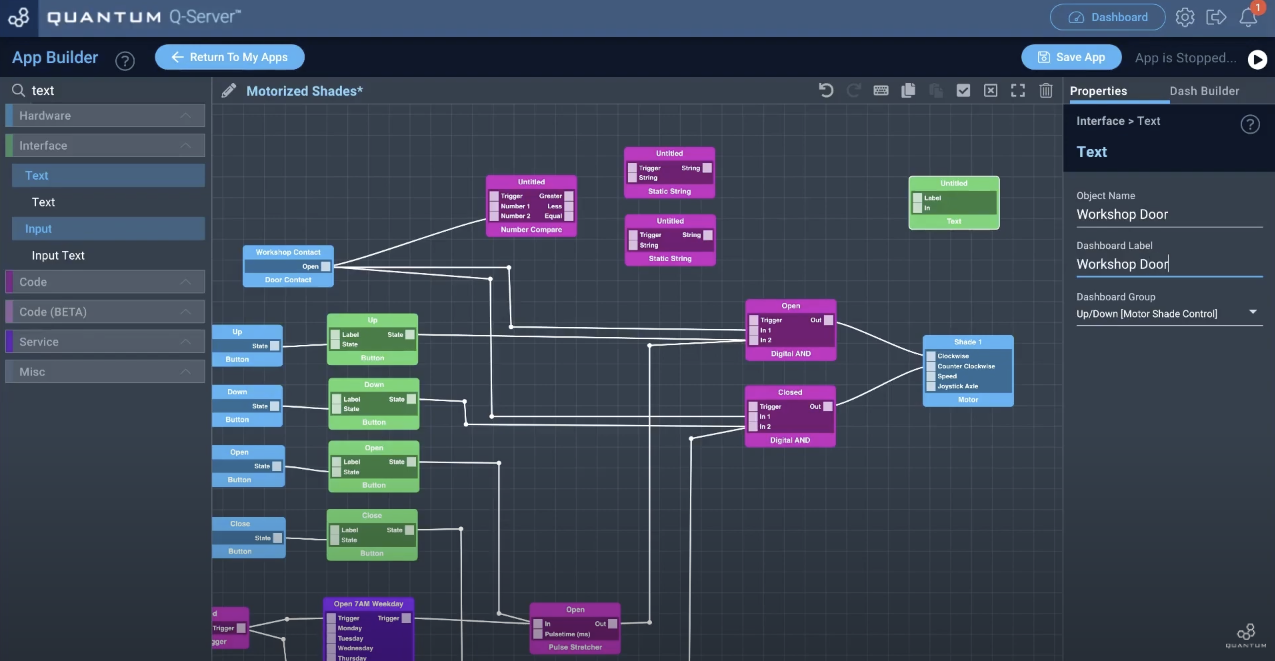
Set the Default Value of the “Number 2” port to nothing and the trigger on. Now connect the “Number Compare” object with the “Door Contact” object. We now add a “Text” interface object and name it “Workshop Door”.
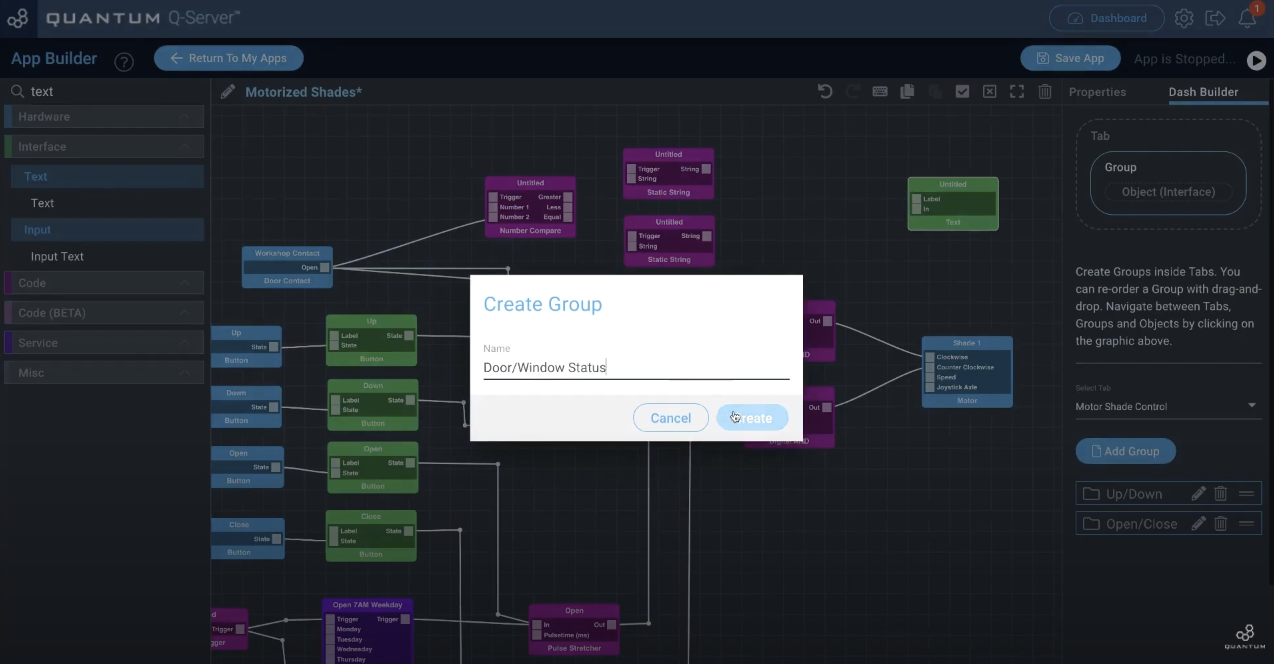
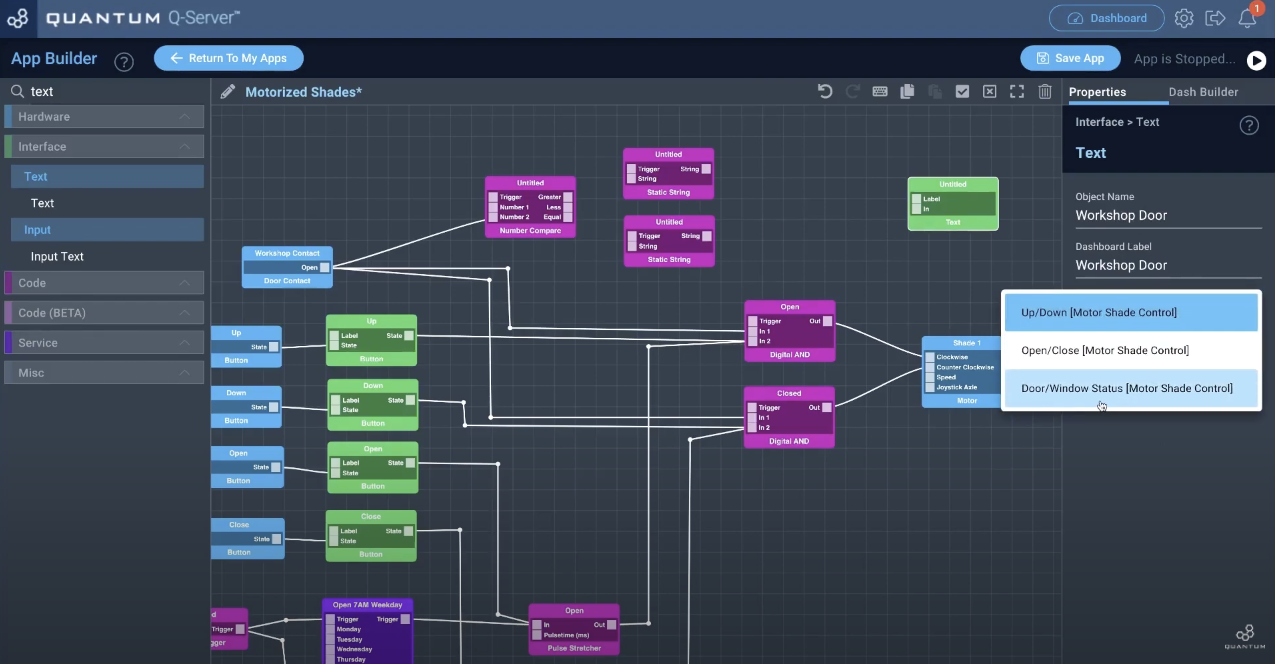
The Dashboard Label will be “Workshop Door” aswell. For the Dashboard Group we will make a new one like we did before with the button objects. Move to the Dash Builder click on the Group circle and create a new group. We named it “Door/Window Status”.
Go back to the Properties panel and select the new group.
Next we gonna connect the “Text” object with the “Static String” objects.
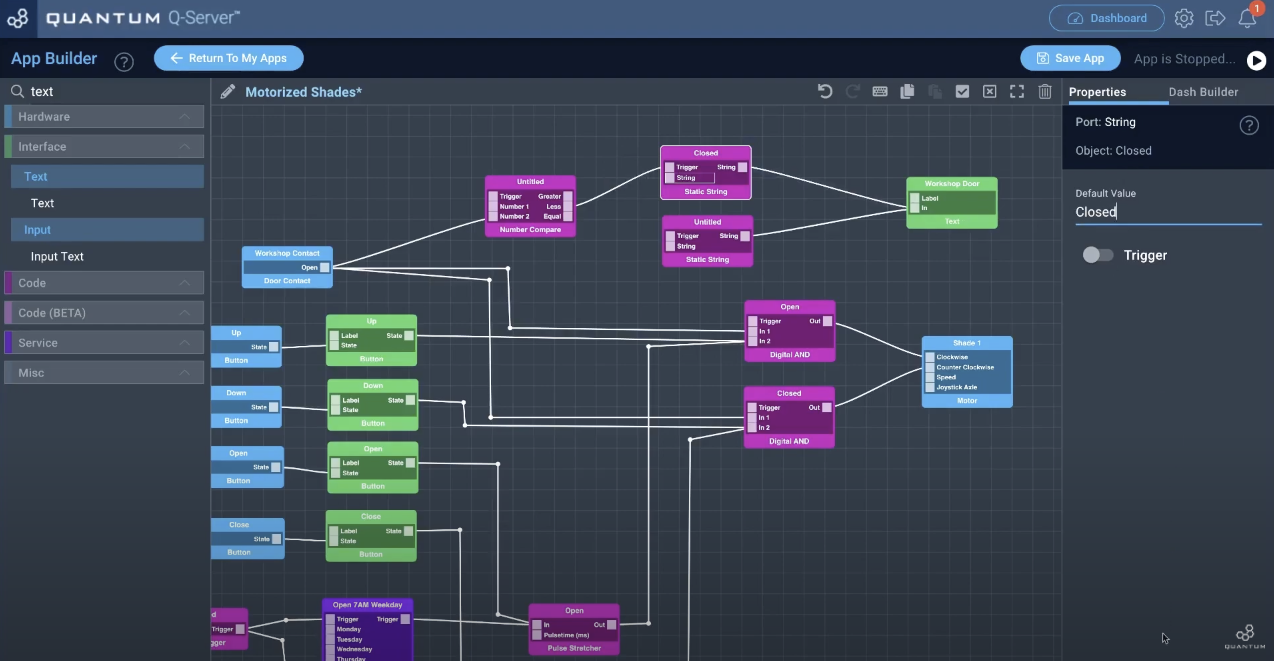
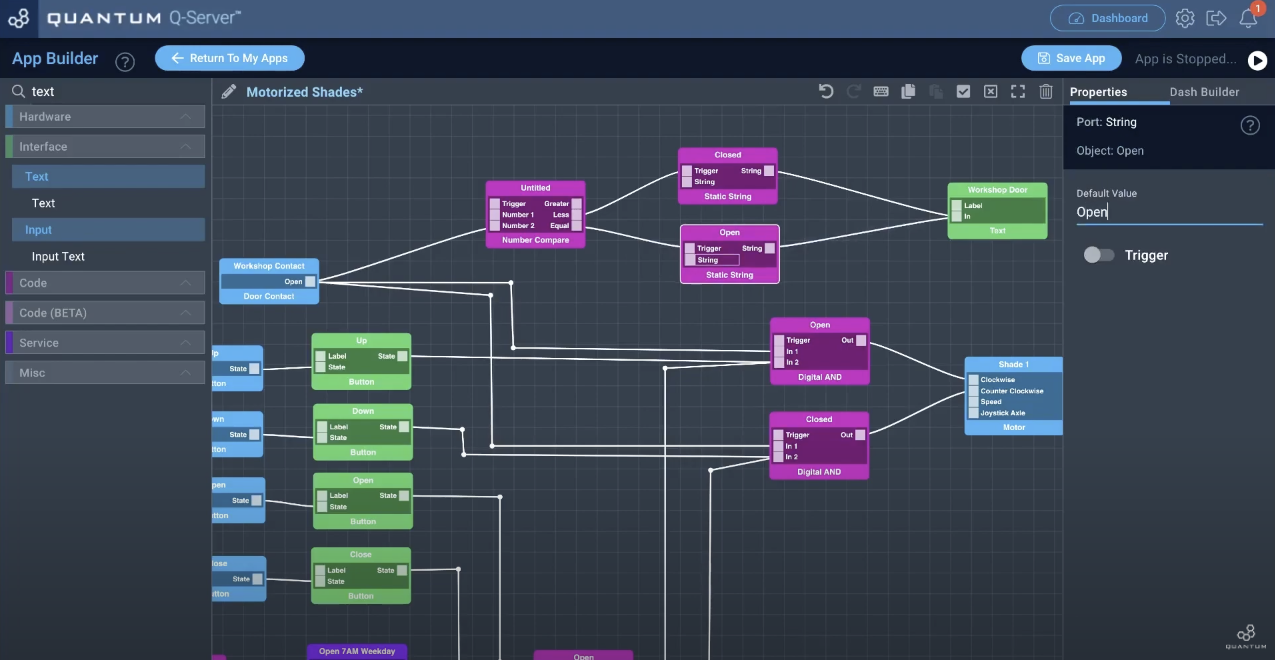
Connect the “Less” port of the “Number Compare” object with the upper “Static String” object and and its “Trigger” port. When the door is closed the “Door Contact” will send out nothing which will be set as the number 2 in the “Number Compare” object. Number 1 is set to 0 so the result will be less and the upper “Static String” object will be triggered. We named this one “Closed” and also the “String” port is named “Closed”.
The lower “Static String” object will be connected to the “Equal” port of the “Number Compared” object.
So when the Door Contact is open it will send out a “0” to the number compare object. Since number 1 is set to “0” aswell the result will be equal and the lower “Static String” object will be triggered. We named this one “Open” and also the String named “Open”.
Your app is now ready to use. Make sure to save your app!
Map the Hardware
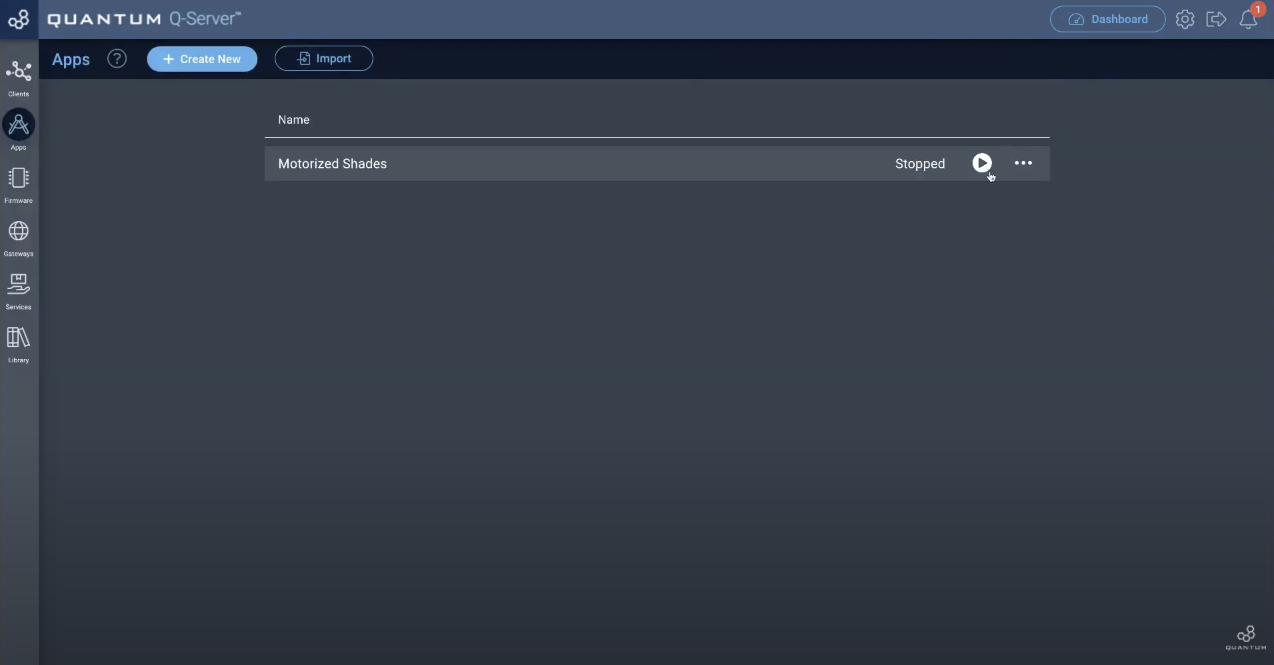
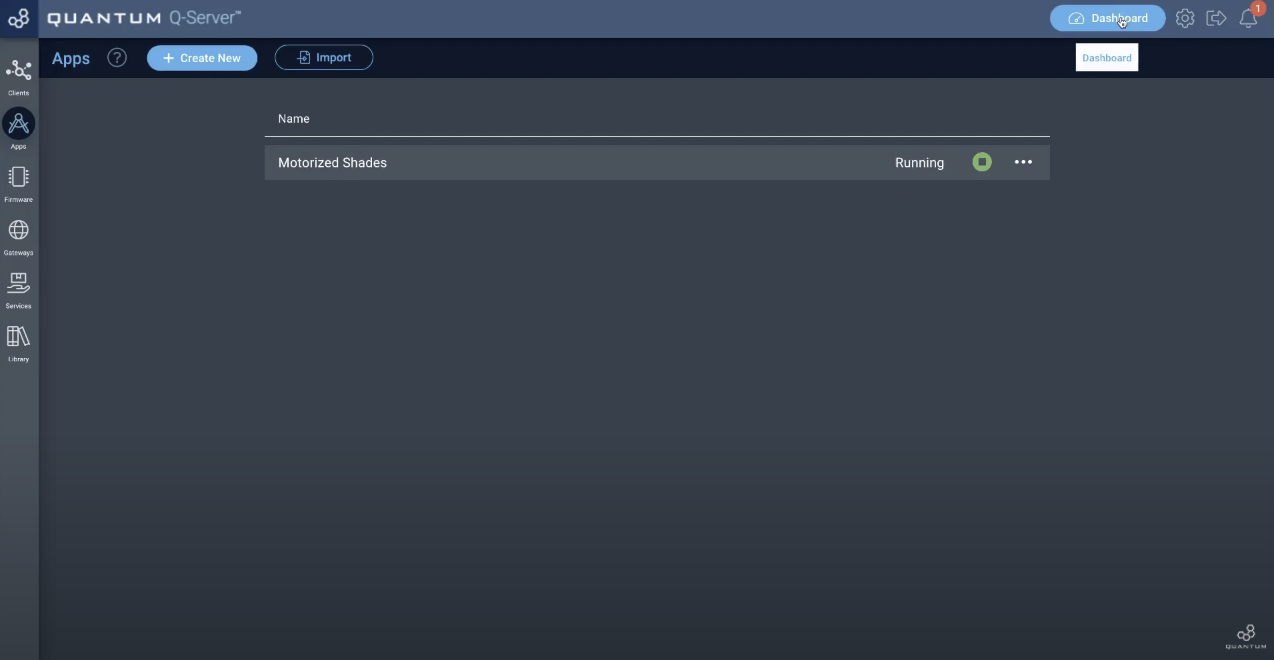
After saving your app you will be redirected to your build apps. As you can see the “Motorized Shades” app ist stopped. Click on the play button to start the app.
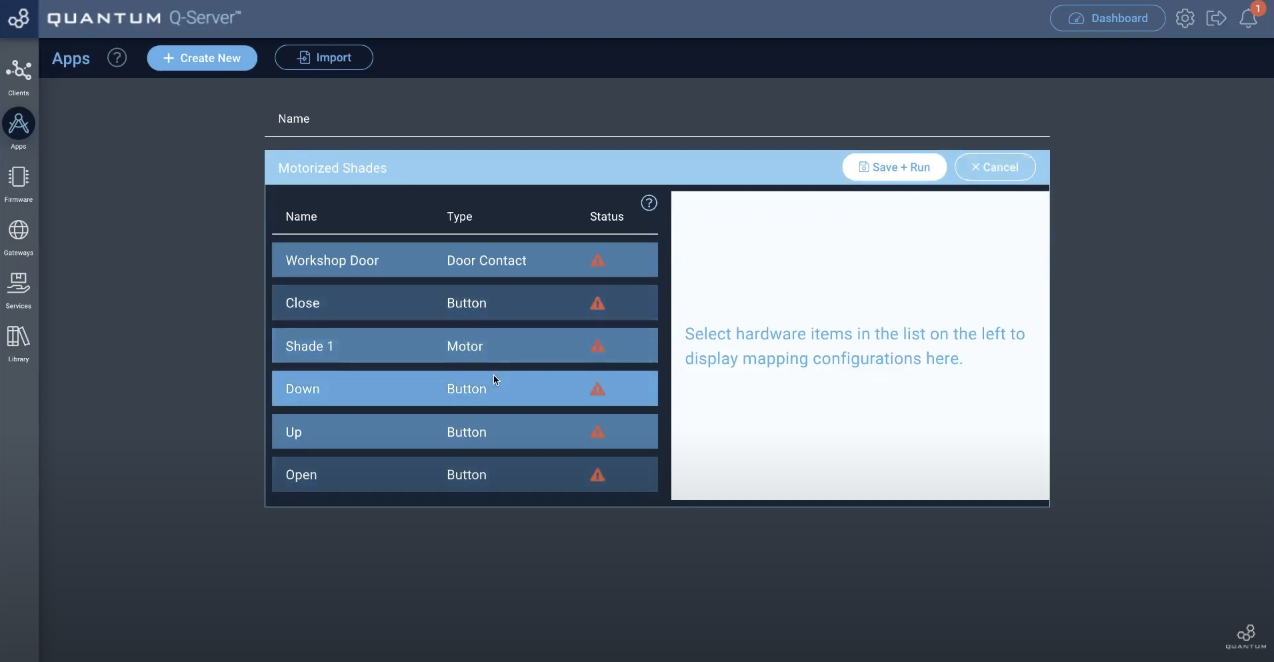
You will get a list of all your hardware related objects of the app. We now need to map the hardware objects to the client the actual hardware is connected to.
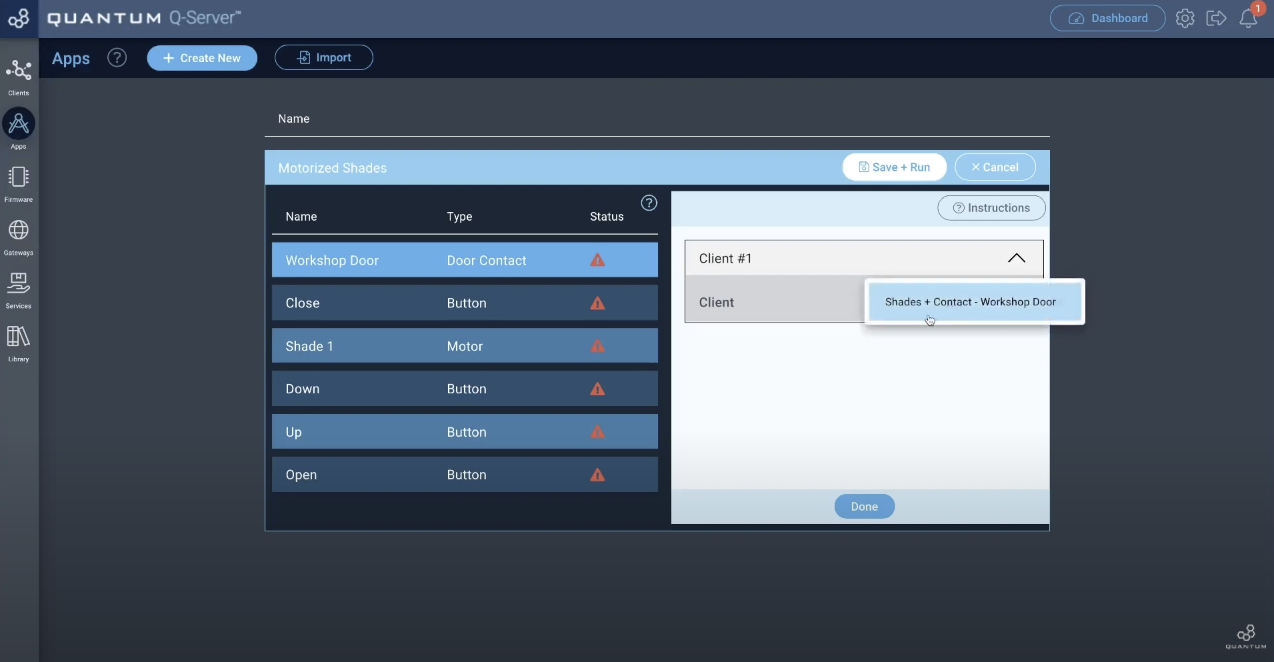
Do so by clicking on one of the hardwares and selecting the right Client you want to map it to.
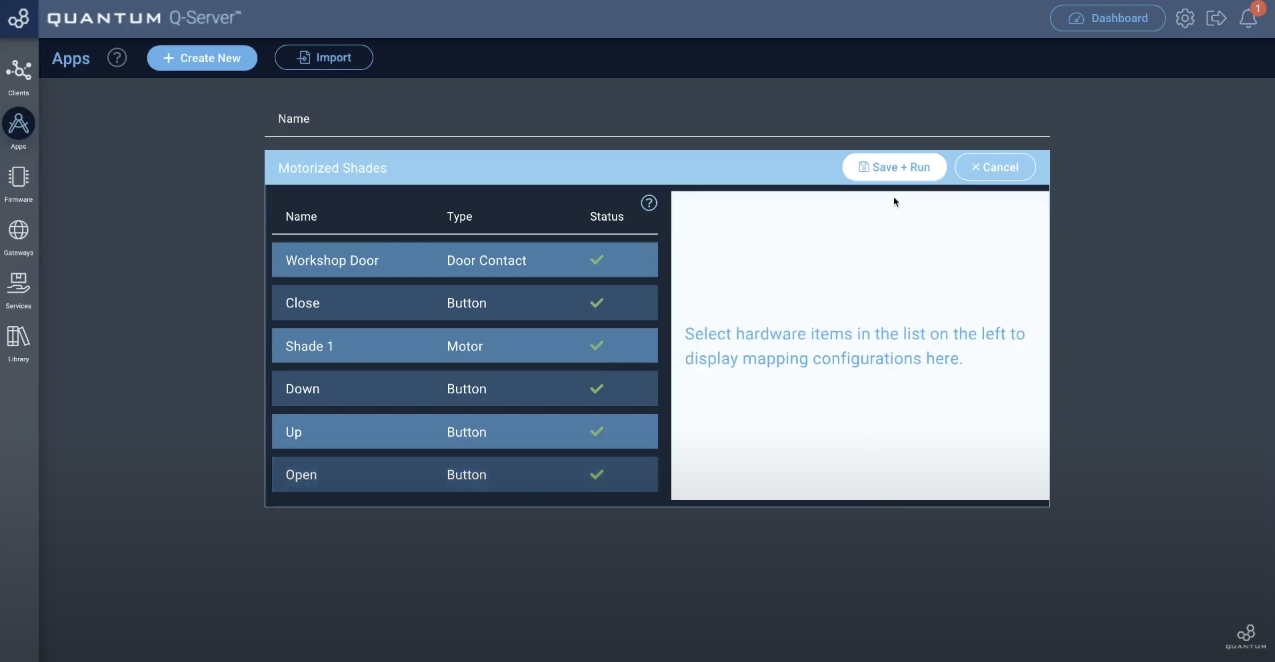
After you mapped every single component you will see green checkmarks for the statuses. Hit “Save + Run”.
As you can see you app is working now.
Run the App!
Click on the dashboard icon in the top right corner to open your dashboard view.
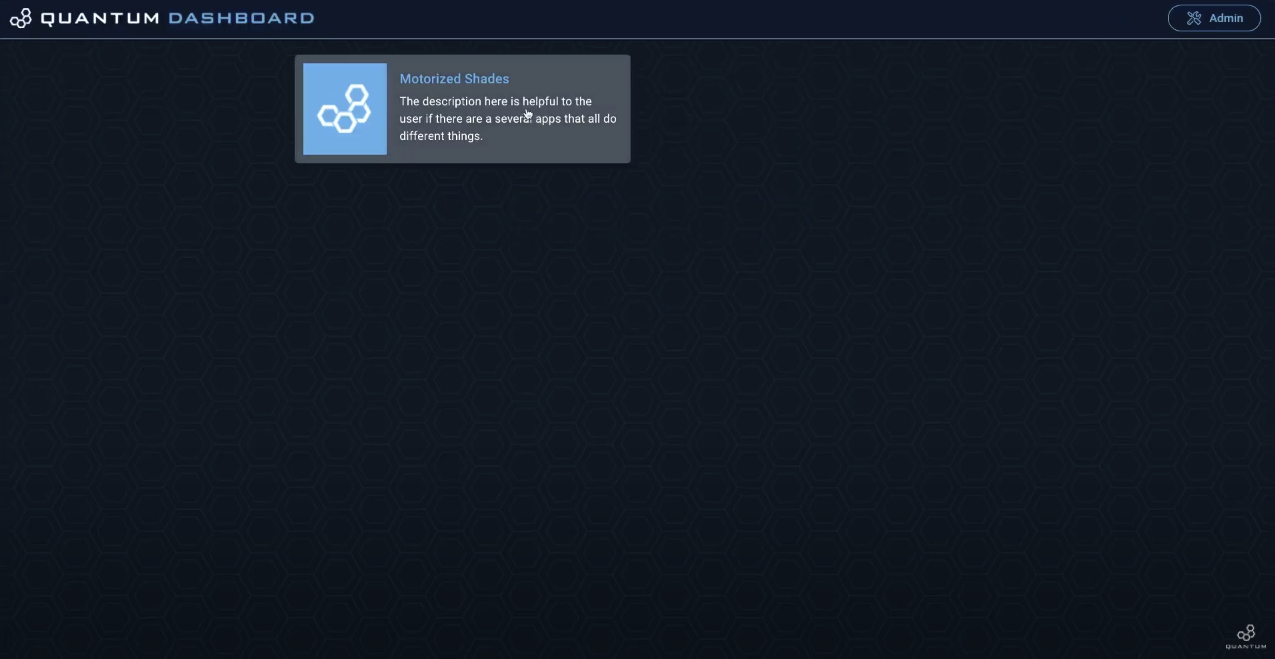
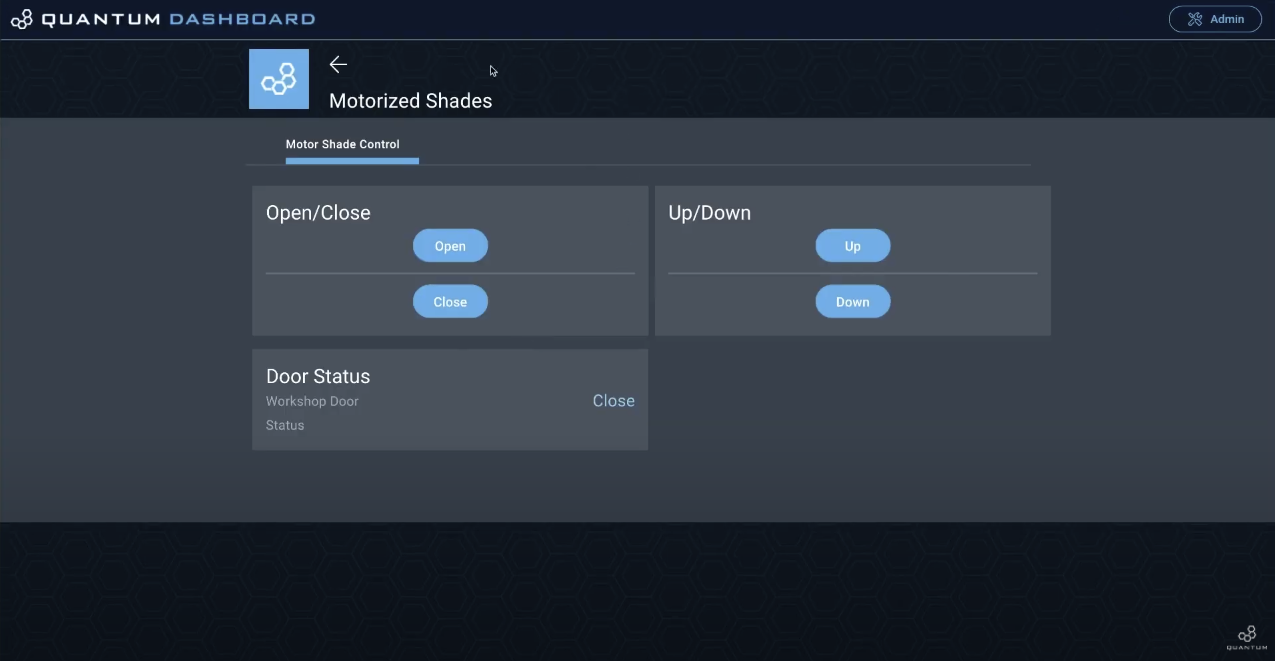
You will see your Motorized Shades app. To open it click on it. All the Buttons are grouped which we did before via the Dashbuilder while building the app.
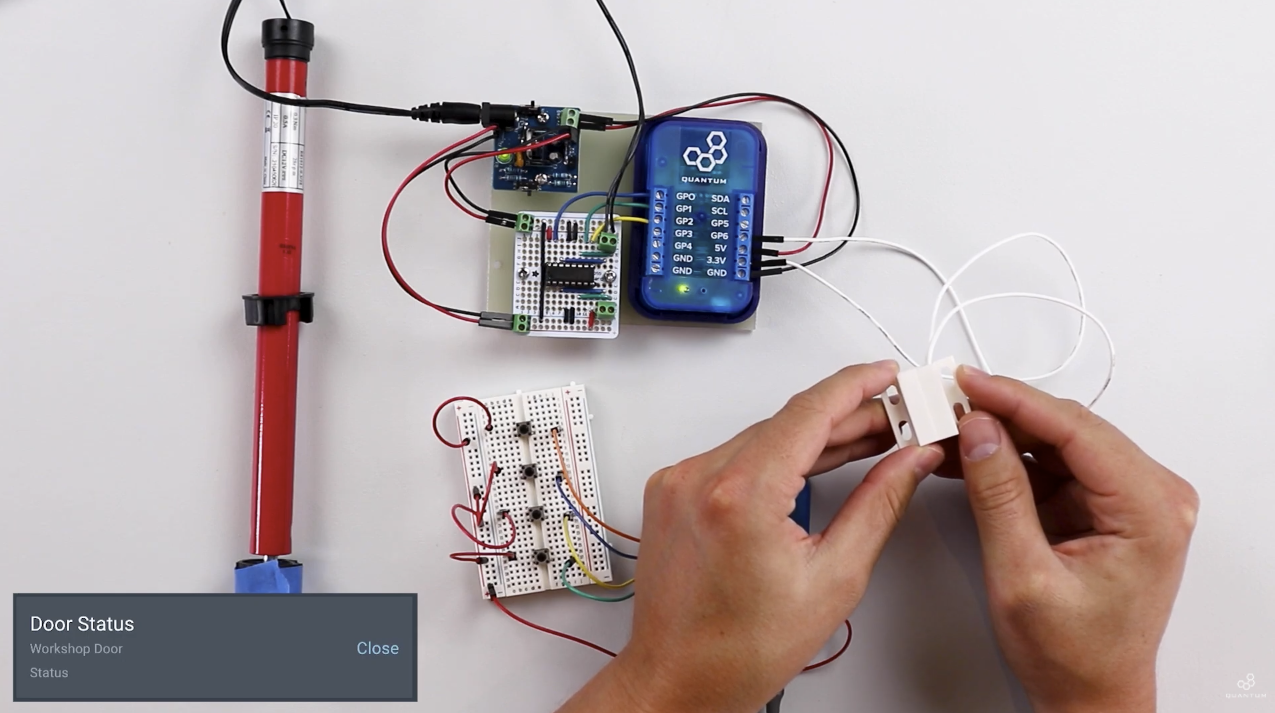
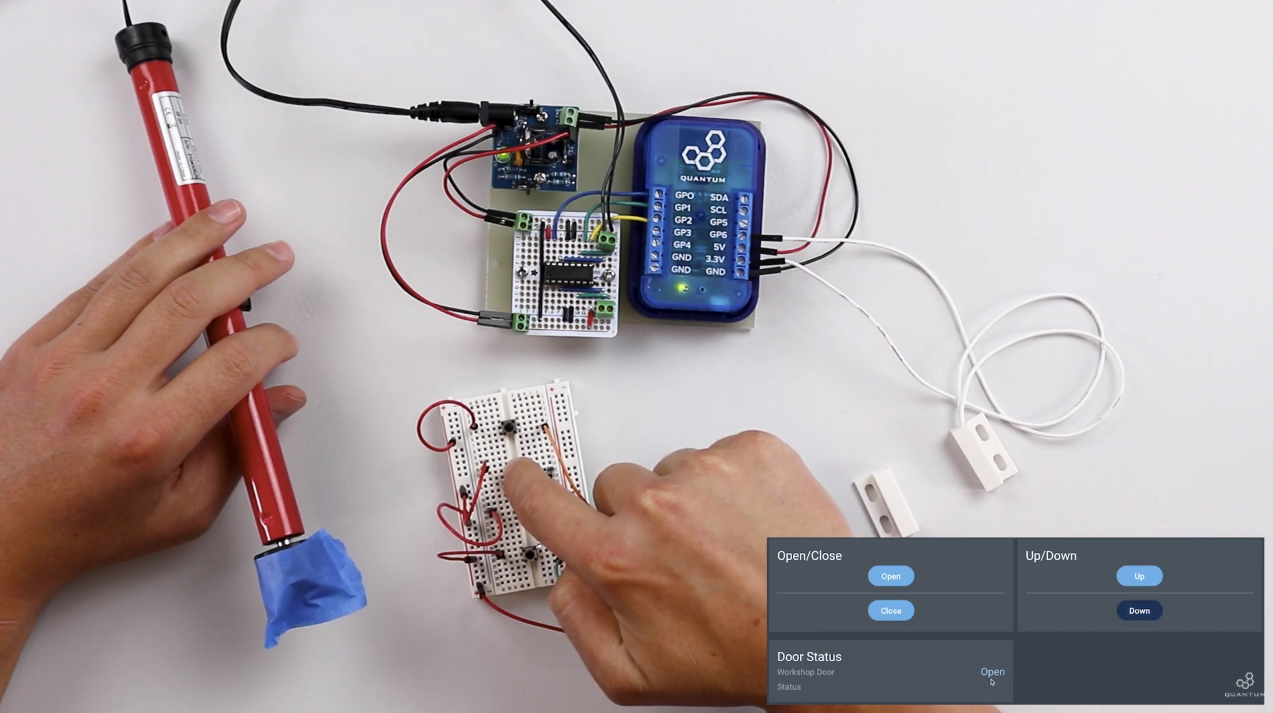
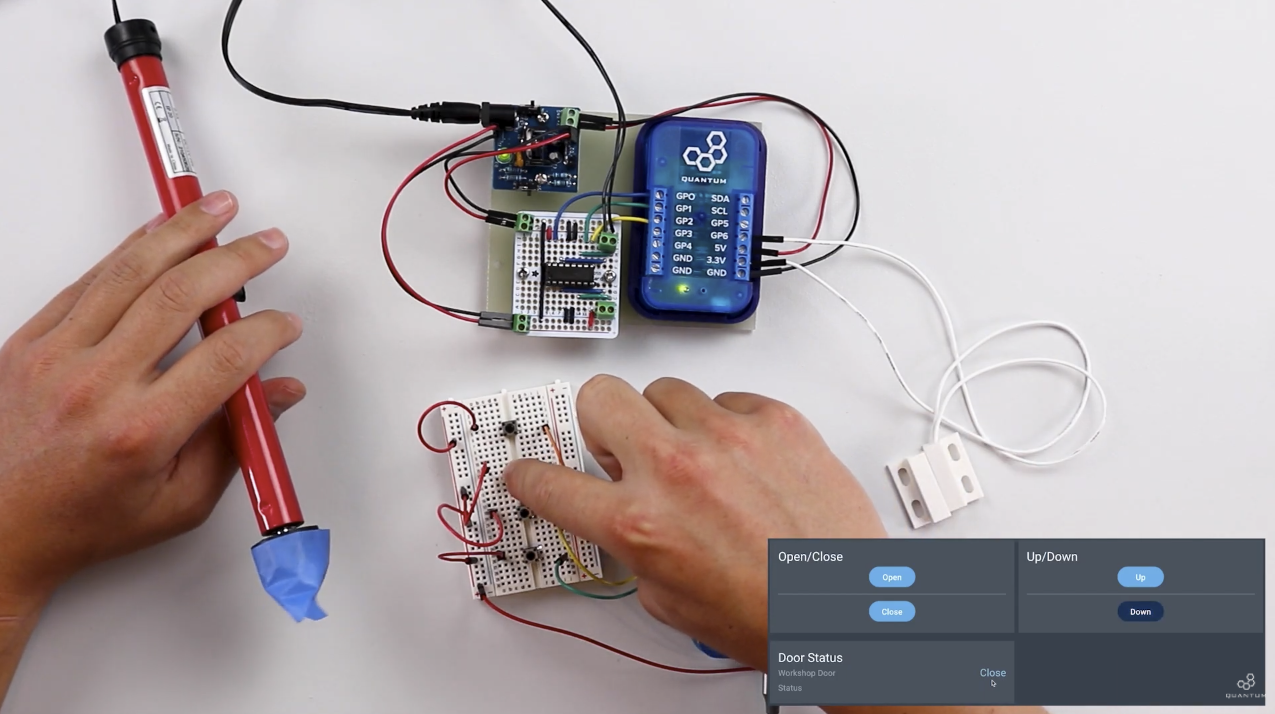
The app will now recognize wether the contact is open or not and it will tell you.
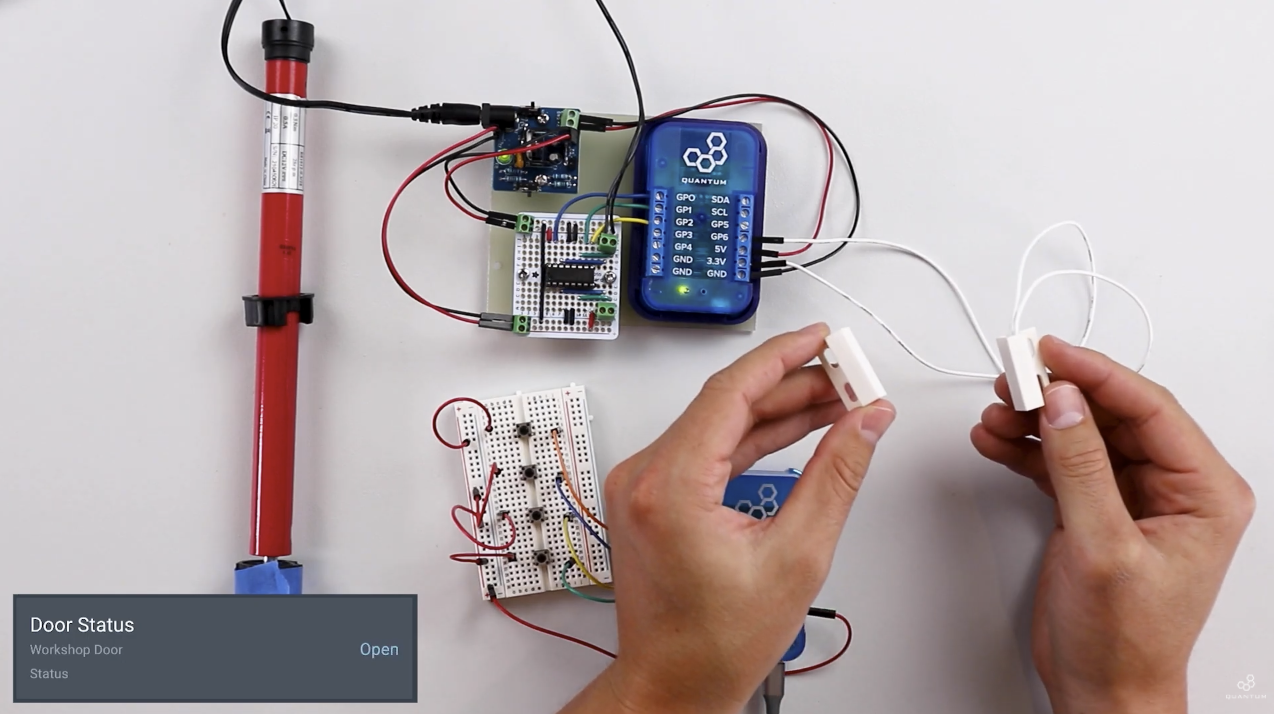
If you open the contact the message will change to “Open”.
If the door contact is open and you pressing the buttons nothing should move because the contact is not closed.
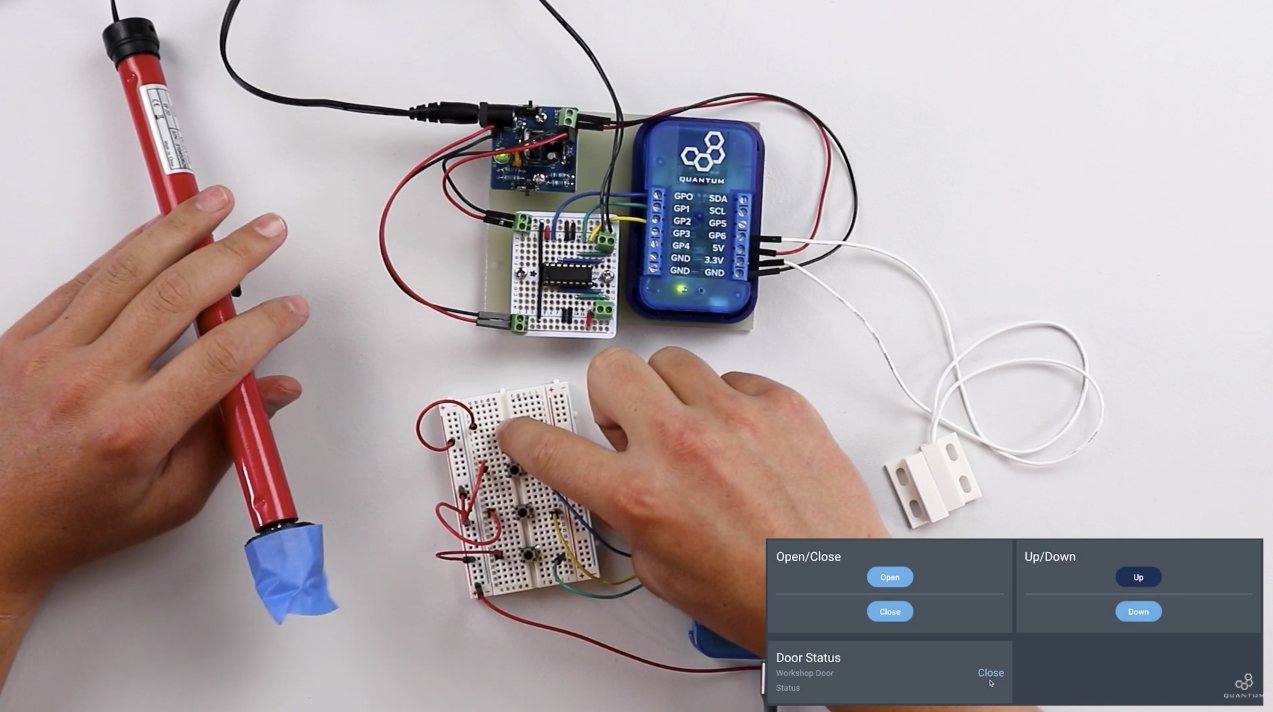
When you close the contact now and hit one of the buttons the tubular motor should start rotating.
You can either use your physical buttons to move the shade or you use your dashboard interface to control it.
Resources
Application |
| ||||||||
|---|---|---|---|---|---|---|---|---|---|
Firmware |
| ||||||||
Diagram |
|
